85
Network Settings
C
h
a
p
te
r 5
S
yst
em
Ad
m
in
is
tr
a
to
r Se
tt
in
g
s
For details on using the on-screen keyboard, see
“Using the On-Screen Keyboard” (page 29).
[Alternate DNS server]
Enter the IP address for the alternate DNS server using
the on-screen keyboard.
If you do not have nor need an alternate DNS server,
do not configure this setting.
For details on using the on-screen keyboard, see
“Using the On-Screen Keyboard” (page 29).
5
To configure settings in other tabs, use the
V
,
v
,
B
,
and
b
buttons to select a tab.
If you are finished configuring [Network Settings], use
the
V
,
v
,
B
, and
b
buttons to select [Apply], and press
the ENTER button to save the configurations.
[File Server] Tab
Configure these settings when specifying a server as the
storage location for recorded data.
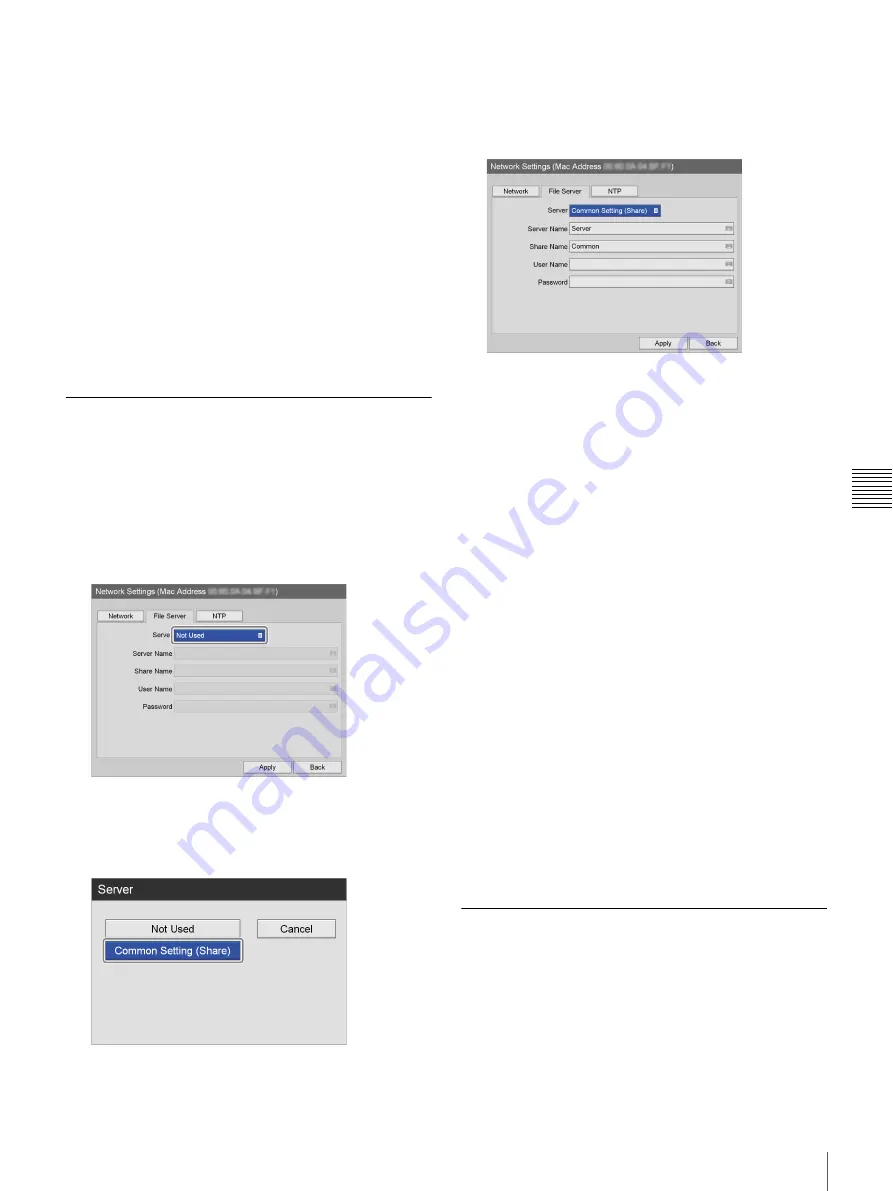
1
Use the
B
and
b
buttons to select the [File Server] tab.
2
Use the
V
and
v
buttons to select the [Server] box, and
press the ENTER button.
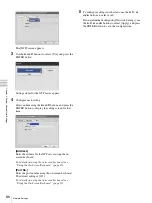
The [Server] screen appears.
3
Use the
V
and
v
buttons to select [Common Setting
(Share)], and press the ENTER button.
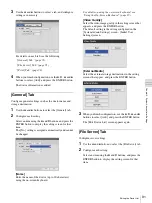
Settings items for common setting (share) server
appear.
4
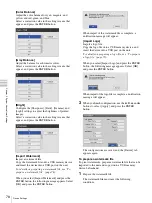
Configure each setting.
Select an item using the
V
and
v
buttons, and press the
ENTER button to display the setting screen for that
item.
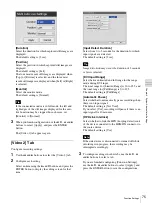
[Server Name]
Enter the server name using the on-screen keyboard.
For details on using the on-screen keyboard, see
“Using the On-Screen Keyboard” (page 29).
[Share Name]
Enter the share name using the on-screen keyboard.
Use only alphanumeric characters and symbols
(excluding " = / \ [ ] : | < > + ; , ? *).
For details on using the on-screen keyboard, see
“Using the On-Screen Keyboard” (page 29).
[User Name]
Enter a user name using the on-screen keyboard.
For details on using the on-screen keyboard, see
“Using the On-Screen Keyboard” (page 29).
[Password]
Enter the password using the on-screen keyboard.
For details on using the on-screen keyboard, see
“Using the On-Screen Keyboard” (page 29).
5
To configure settings in other tabs, use the
V
,
v
,
B
,
and
b
buttons to select a tab.
If you are finished configuring [Network Settings], use
the
V
,
v
,
B
, and
b
buttons to select [Apply], and press
the ENTER button to save the configurations.
[NTP] Tab
Configure these settings to obtain the current time from the
NTP server.
1
Use the
B
and
b
buttons to select the [NTP] tab.
2
Use the
V
and
v
buttons to select the [NTP] box, and
press the ENTER button.
Summary of Contents for HVO-500MD
Page 106: ......


