34
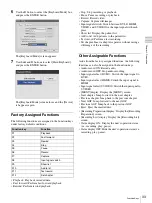
Operation Flow / Step 1 Record
Ch
apt
er 3 Bas
ic
Rec
o
rde
r Ope
rat
ions
Chapter
3
Basic Recorder
Operations
Operation Flow
This chapter describes how to record and play back videos
and capture still images while viewing the display on the
front panel of the unit and using only the buttons on the
front panel.
For details on operations while viewing the [MENU]
screen, see “Chapter 4 Recording and Playback”
(page 38).
To capture still images manually, the capture function
must be assigned to the CUSTOM button. (The default
setting for the CUSTOM button is [Capture].)
For details on assigning functions, see “[CUSTOM Button
Control]” under “[General 2] Tab” (page 69).
Step 1 Record
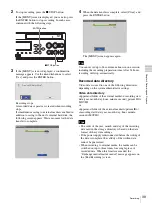
1
Press the
z
REC button.
Recording starts.
“REC” appears while recording is in progress.
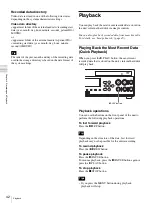
If images are recorded and patient information has not
been entered in the [Recording Preparation] screen,
patient IDs will be automatically assigned. The letter
“U” appears at the beginning of automatically
assigned patient IDs.
Step 1
Record
Use the buttons on front panel of the unit
to perform manual recording.
v
Step 2
Quick Playback
Play back recently recorded data.
v
Step 3
Capture Still
Images
Capture still images from live image
transmissions.
v
Step 4
Stop Recording
Stop recording operations.
Tip
Tip
z
REC button
REC 00:00:10
1234567890123456
Patient ID
Summary of Contents for HVO-500MD
Page 106: ......


