69
Function Settings
C
h
a
p
te
r 5
S
yst
em
Ad
m
in
is
tr
a
to
r Se
tt
in
g
s
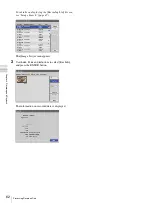
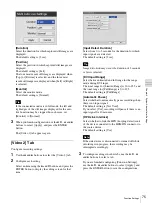
[Add 0 to Patient ID]
Select whether to add zeros to patient IDs with lengths
shorter than the specified number of digits in the
setting screen that appears, and press the ENTER
button.
The default setting is [Use].
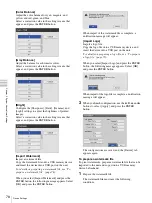
[Patient Name Field]
Select the number of display fields for the patient
name in the setting screen that appears, and press the
ENTER button.
If you select [2] or [3], the patient name field will be
separated into first, middle, and last names.
The default setting is [1].
[Change Patient Info.]
Select whether to allow changes to patient information
at any time in the setting screen that appears, and press
the ENTER button.
The default setting is [Not Used].
3
To configure settings in other tabs, use the
V
,
v
,
B
,
and
b
buttons to select a tab.
If you are finished configuring [Function Settings],
use the
V
,
v
,
B
, and
b
buttons to select [Apply], and
press the ENTER button to save the configurations.
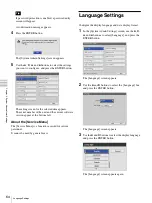
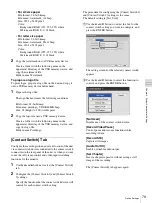
[General 2] Tab
Configure initial system settings.
1
Use the
B
and
b
buttons to select the [General 2] tab.
2
Configure each setting.
Select an item using the
V
and
v
buttons, and press the
ENTER button to display the setting screen for that
item.
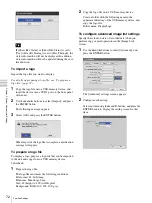
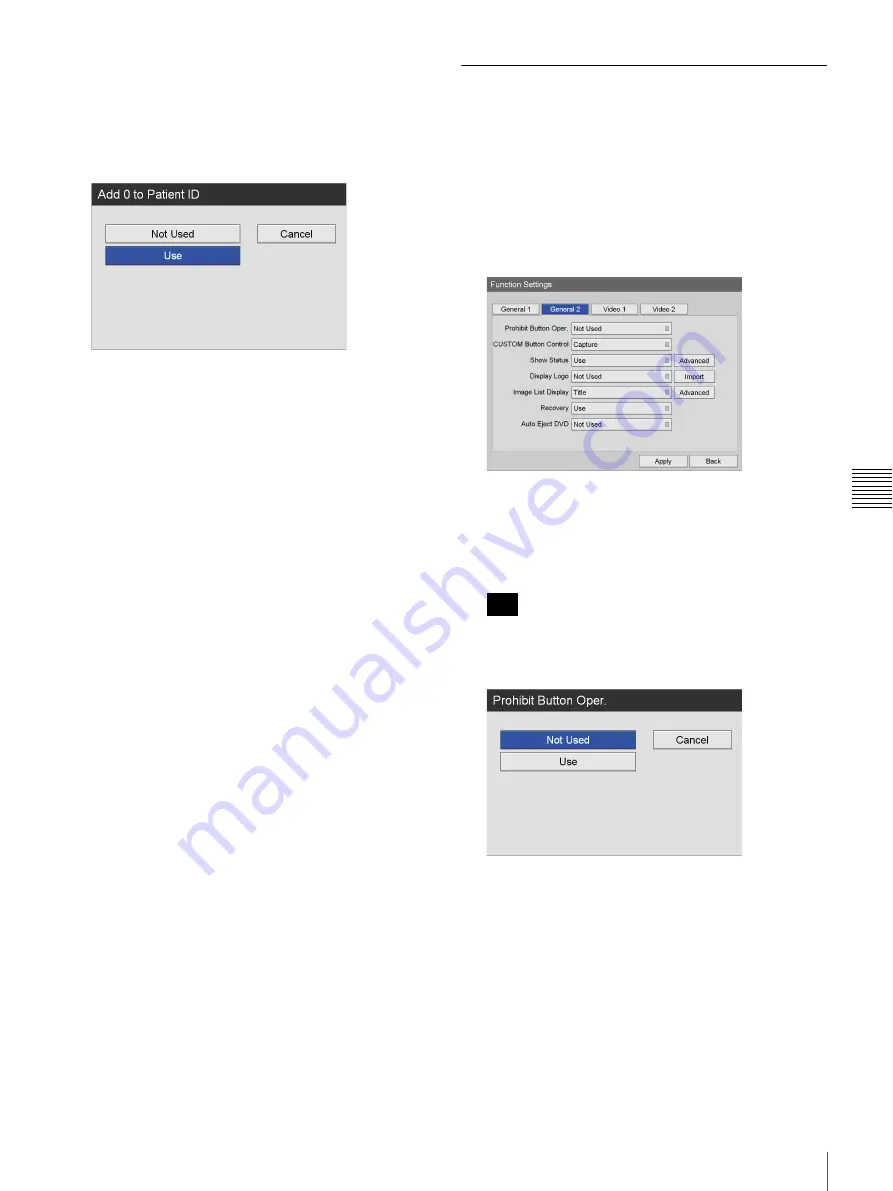
[Prohibit Button Oper.]
Select whether to prohibit operation of the unit via the
buttons on the front panel in the setting screen that
appears, and press the ENTER button.
The default setting is [Not Used].
The prohibit button operation function does not apply
to the MENU,
V
,
v
,
B
,
b
, BACK, and ENTER buttons
and the
1
(on/standby) switch.
[CUSTOM Button Control]
Select the function to assign to the CUSTOM button in
the setting screen that appears, and press the ENTER
button.
The default setting is [Capture].
Tip
Summary of Contents for HVO-500MD
Page 106: ......


