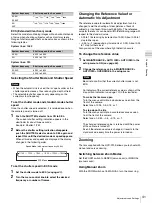
29
Setting the Area of Use
Cha
p
te
r 2
P
repa
rat
ion
s
1
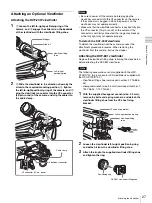
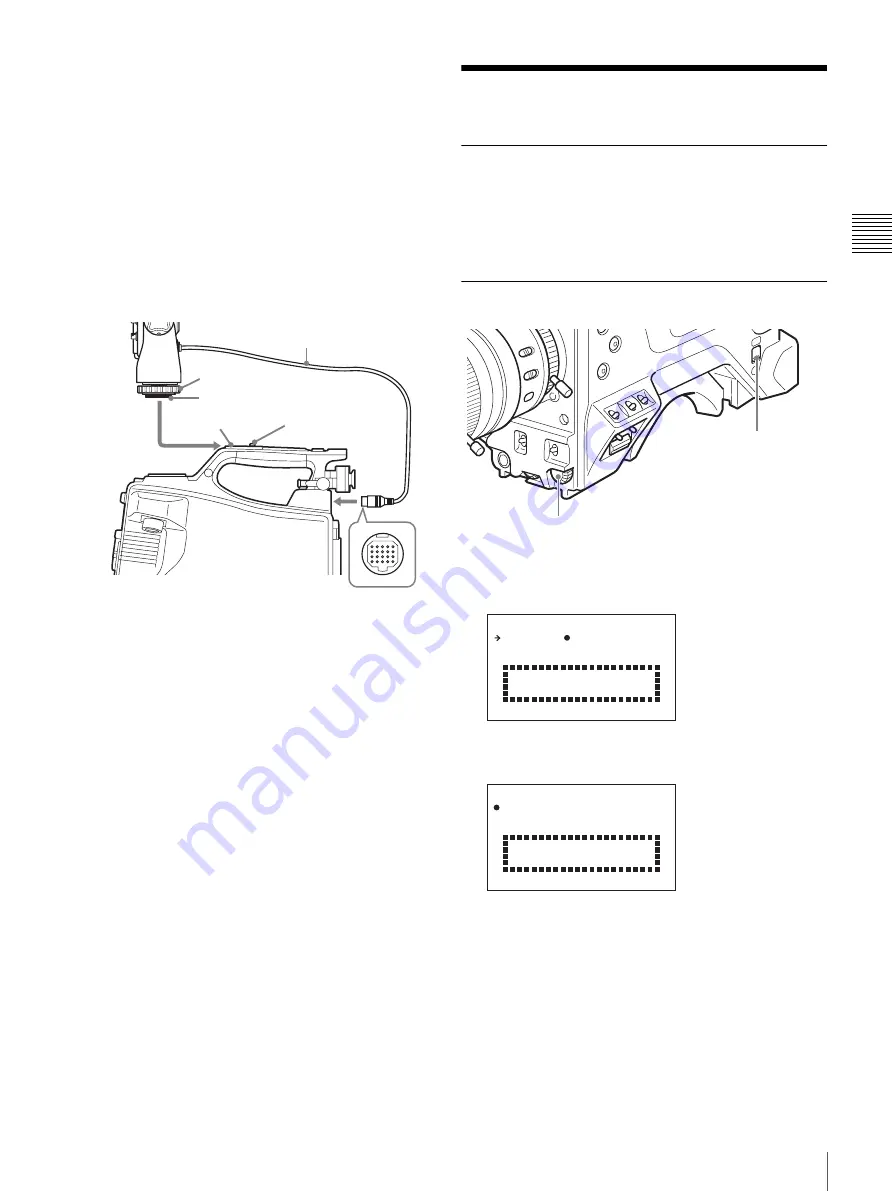
Detach the plate after loosening the screw (M2×5).
2
Attach the accessory shoe using either the four
screws used for the camera (K3×8) or the four screws
supplied with the shoe kit (K3×12).
3
Slide the plate spring in the direction shown by the
arrow and secure the spring using the stopper.
4
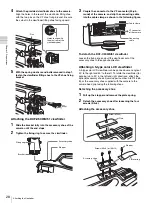
Slide the bracket fully into the accessory shoe until
the end stop, and tighten the fixing ring to secure the
viewfinder.
5
Couple the connecting cable to the VF connector (20-
pin, round) of the camera.
Setting the Area of Use
When using the camera for the first
time
The area of use is not factory preset. Before using the camera,
you need to set this item. (You cannot use the camera without
setting this item.)
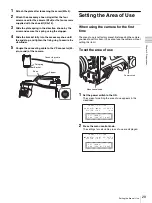
To set the area of use
1
Set the power switch to the ON.
The screen for setting the area of use appears in the
viewfinder.
2
Press the menu control knob.
The settings for selectable areas of use are displayed.
Connecting cable
Bracket
Shoe
Fixing ring
Stopper
Menu control knob
Power switch
F O
M A T
S E T T I N G
C O U N T R
R
Y :
N O T
S E L E C T
S Y S T E M
L I N E
:
1 0 8
S E T
F O R M A T
A N D
T U R N
O F F
O N C E .
E D
0
F O
M A T
S E T T I N G
?
C O U N T R
R
Y :
N O T
S E L E C T
S Y S T E M
L I N E
:
1 0 8
S E T
F O R M A T
A N D
T U R N
O F F
O N C E .
E D
0
Summary of Contents for HXC-D70 Series
Page 83: ......

