111
Monitoring
Chap
ter
5
Oper
at
ion and
C
ont
ro
l
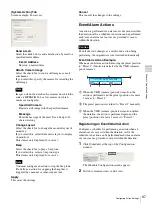
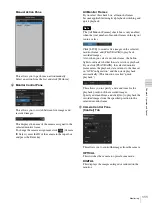
Manual Action Pane
This allows you to perform an action manually.
Select an action from the list, and click [Perform].
G
Monitor Control Pane
This allows you to switch between live images and
recorded images.
This displays the name of the camera assigned to the
selected monitor frame.
To change the camera assignment, click
(Camera
ID Select), enter the ID of the camera in the input box,
and press the Enter key.
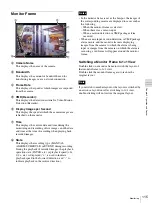
All Monitor Frames
If you select this check box, all monitor frames
become applicable during live/playback switching and
quick playback.
The [All Monitor Frames] check box is only enabled
when the total number of monitor frames in the layout
is nine or less.
Click [LIVE] to monitor live images in the selected
monitor frame, and [PLAYBACK] to play back
recorded images.
Also, when you select a monitor frame, the button
lights to indicate whether the state is live or playback.
If you click [PLAYBACK], the selected monitor
frame enters the playback state, returns to the time set
in “GUI Configuration,” and then starts playback
automatically. (This function is called “quick
playback.”)
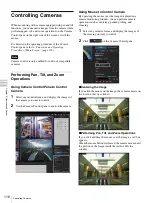
This allows you to specify a date and time for the
playback position of the recorded images.
Specify a date and time, and click [Go] to play back the
recorded images from the specified position in the
selected monitor frame.
H
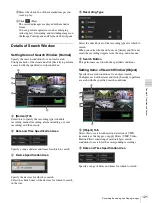
Camera Control Pane
[Control] Tab
This allows you to control the images from the camera.
OPTICAL
This switches the camera to optical zoom mode.
DIGITAL
This displays the images enlarged or reduced on the
monitor.
Note
Summary of Contents for Ipela NSR-1050H
Page 138: ......

