15
Changing Initial Settings with the Setup Menu
C
h
ap
te
r 2
A
d
m
inis
tra
tion M
enu
To use a DHCP to obtain the address setting automatically:
Select [DHCP].
To configure the address setting manually:
1
Click [Static].
2
Enter the following address.
IP Address
Enter the IP address.
• Before you enter the IP address, make sure there is
no machine that uses the same value on the same
network. Even if a machine that uses the same value
does exist, an error message will not be displayed.
However, be careful because more than one machine
using the same value will result in incorrect
operation.
• Even if you set an IP address that is prohibited under
the IP address assignment rules, it will not be
reflected in the system.
Example: 224.0.0.0 to 255.255.255.255
0.0.0.0
127.0.0.1, etc.
Netmask
Enter the subnet mask.
The default values for a network device are shown
below.
IP Address: 192.168.[0/1/2]
1)
.1
Netmask: 255.255.255.0
1)
The setting values for each of the network devices [#1/#2/
#3].
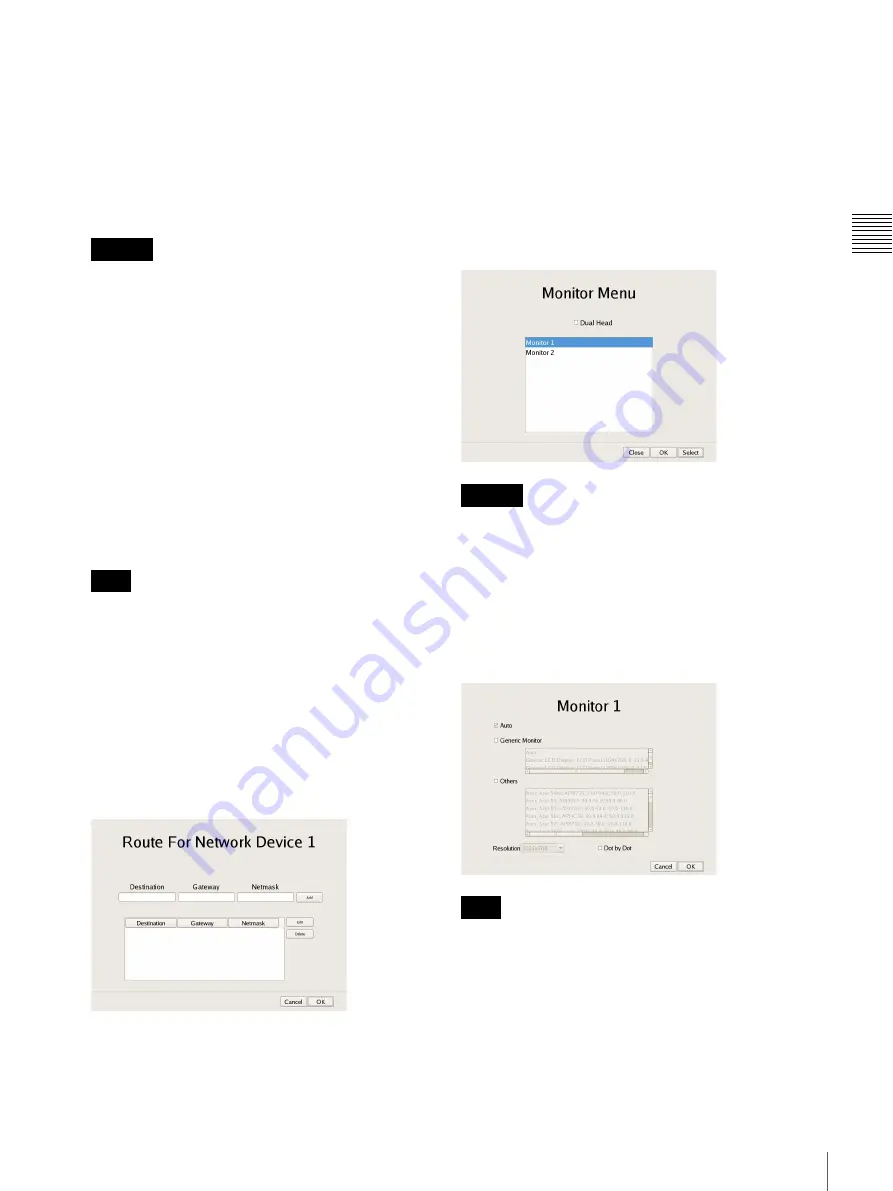
Route Setting
Click this when you need to configure the route to
another network.
Configure the settings as follows on the Route For
Network Device 1 screen that appears.
1
Enter the address, gateway, and netmask of the
other network to which to connect, and click [Add]
to add the network to the list.
For details, contact the administrator of the network
to which you will connect.
2
Click [OK].
Setting Items of Monitor Menu Screen
Select the monitor you want to configure, and click
[Select].
When you want to use two monitors connected to NSR,
selecting the [Dual Head] check box allows you to
configure the second monitor.
After you configure the second monitor, the system needs
to be restarted while the second monitor is connected.
x
Setting Items of Monitor 1 to 2
Select the type and resolution of the monitor connected to
this equipment, and click [OK].
If you select [Auto], the type and resolution of the
connected monitor is detected and the setting is configured
automatically.
When an HDMI monitor is connected, the image may be
compressed to fit the screen and text may appear blurry.
You may be able to improve the image quality by selecting
the [Dot By Dot] check box so that each pixel of image
data is displayed as one dot on the monitor, without
expansion or compression processes. You may also need
to configure settings on the monitor side. Refer to the
operating instructions for your monitor.
Caution
Note
Caution
Note
Summary of Contents for Ipela NSR-1050H
Page 138: ......


