70
Configuring Motion Detection Settings
C
h
a
p
te
r 4
A
ppli
c
at
ion S
e
ttings
Type
Select the filter type.
The filters that can be set differ depending on the package
type (“Moving” or “Unattended”).
x
For “Moving” packages
Appearance
This detects the appearance of objects that match the
detection criteria within the configured area.
Even if the moving object remains in the area after
alarm detection, the alarm ends after one second.
Disappearance
This detects the disappearance of objects that match
the detection criteria within the configured area.
Existing
This detects when objects that match the detection
criteria remain within the configured area.
Capacity
This detects when the number of objects that match the
detection criteria has exceeded the specified number
within the configured area.
Passing
This detects when objects that match the detection
criteria cross a configured line.
x
For “Unattended” packages
Unattended/Removed
This detects non-motion or when an object has been
removed.
Duration
When [Sequential] is selected, this option allows you to
enter in seconds the duration to apply the filter on the left
(before moving to the next filter).
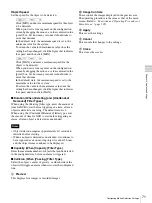
Set the button to
(On), and
create an inactive area in the area of
L
.
Clicking the button switches it between
(On) and
(Off).
This switches the order of the filters on the left and right.
J
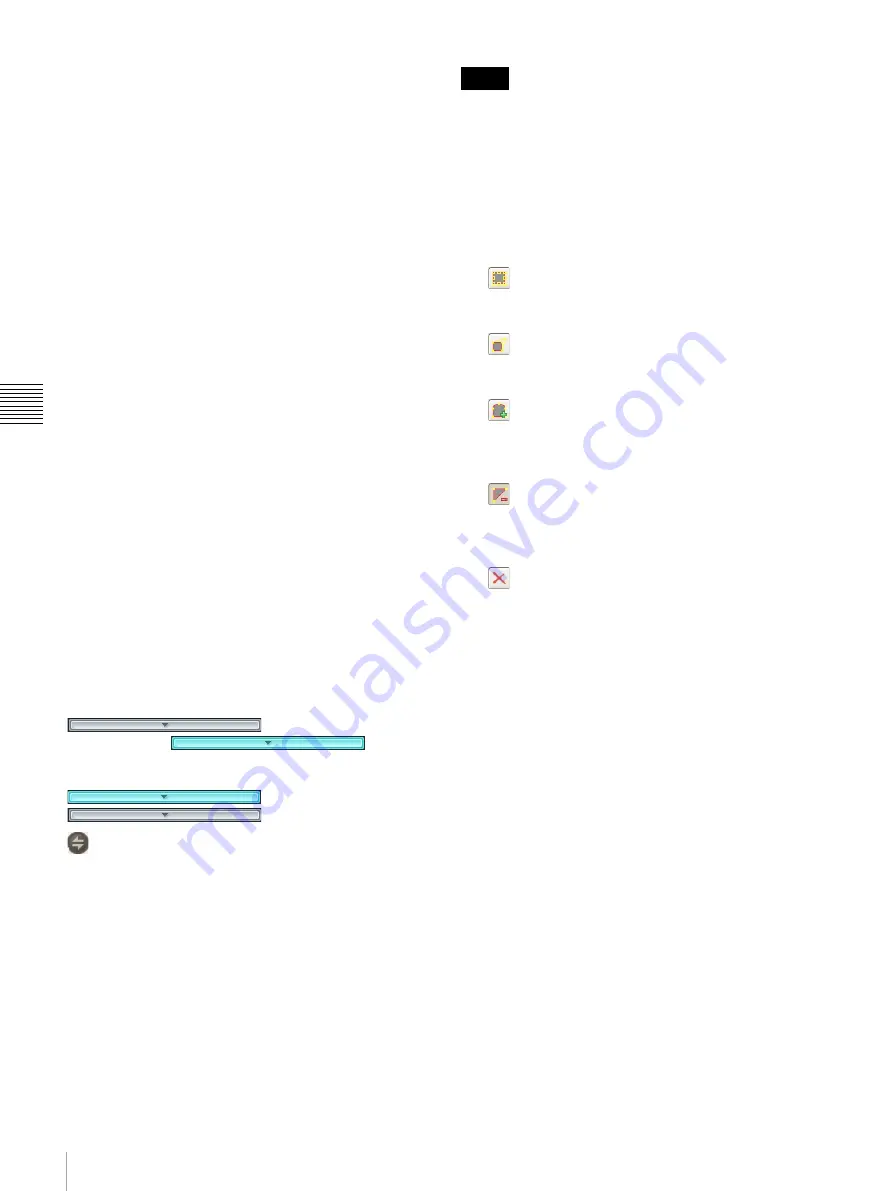
Tool Buttons
Create and edit the filter and inactive area while checking
the image in the preview.
• Up to eight vertices can be set for a convex polygonal
area.
• When the filter type is set to [Passing], set the direction
along which to detect the object’s passing. After setting
the end points, click near the center of the line to set the
arrow indicating the direction of passage. With each
click, the orientation of the arrow changes as follows:
both directions
→
right direction
→
left direction
→
both directions...
(Move Polygon)
Use this button to create a rectangular area or move a
area by dragging with the mouse.
(Edit Point)
Use this button to move the position of points and to
create areas of complex shape.
(Add Point)
Use this button to divide a line at a specific location.
You can also add an edit point to an area by clicking a
line while holding down the Ctrl key.
(Remove Point)
Use this button to decrease the number of lines by one.
You can also remove an edit point from a area by
clicking an edit point while holding down the Ctrl key.
(Remove Polygon)
Use this button to delete the selected area.
K
Object Size
Set the size for the object to be detected.
MIN
This sets a minimum size for the object to be detected.
Drag the light blue frame that appears on the
configuration screen with your mouse to change the
size of the frame.
MAX
This sets a maximum size for the object to be detected.
Drag the blue frame that appears on the configuration
screen with your mouse to change the size of the
frame.
Notes
Summary of Contents for Ipela NSR-1050H
Page 138: ......


