81
Configuring Recording Schedules
C
h
ap
te
r 4
A
pplic
at
io
n
S
e
tti
n
gs
3
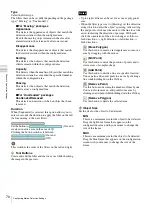
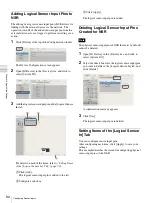
Select [Automatic Schedule Record Configuration] to
configure schedule recording or select [Automatic
Alarm Record Configuration] to configure alarm
recording, and click [Next].
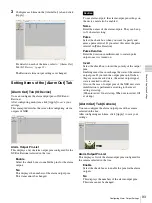
A confirmation message appears.
4
Click [Next].
Screen example: When [Automatic Schedule Record
Configuration] is selected:
If you selected [Automatic Schedule Record
Configuration], proceed to Step 5.
If you selected [Automatic Alarm Record
Configuration], proceed to Step 6.
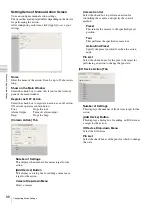
5
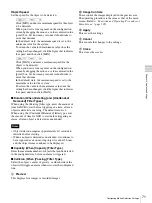
Enter the number of days to store the recording data,
and click [Next].
6
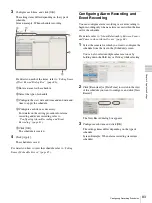
Check the displayed setting values, and click [Finish].
In the case of schedule recording, setting values
corresponding to the storage period configured in Step
4 appear.
In the case of alarm recording, preset values appear.
The automatic recording schedule is configured for all
cameras.
You can confirm details of the configuration in the
Schedule Configuration screen.
Configuring Schedules Manually
You can manually configure the durations for performing
schedule recording, alarm recording, and event recording.
For details on settings such as the codec and frame rate for
images captured from the camera during schedule
recording, alarm recording, or event recording, refer to
“Configuring Camera Video Settings” (page 44)
Configuring Recurrent Schedules
You can configure a recurrent schedule to repeat a
schedule weekly.
1
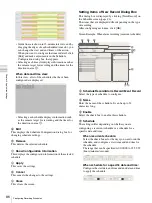
Select the camera for which you want to configure the
schedule from the [Schedule] tree of the Schedule
screen.
You can also select multiple cameras at once by
holding down the Shift key or Ctrl key while selecting.
Note
Summary of Contents for Ipela NSR-1050H
Page 138: ......


