84
Configuring Recording Schedules
C
h
a
p
te
r 4
A
ppli
c
at
ion S
e
ttings
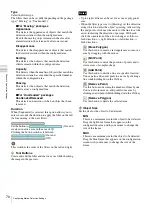
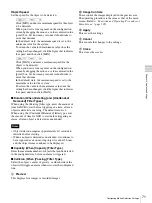
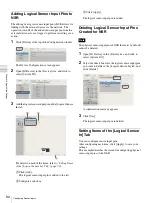
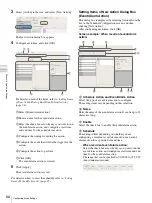
For details on each of the items, refer to
of New Record Dialog Box” (page 86)
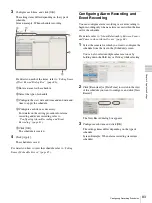
1
Select [Alarm Record] or [Event Record].
2
Enter a name for the schedule.
3
Configure the days and time to run the schedule, or
configure the period to run the schedule.
4
Specify a condition to start recording and a
condition to end recording, and configure the
recording duration.
5
In the case of alarm recording, select [Record by
each event] or [Record by selected event].
• When [Record by each event] is selected, the
input pin of the selected camera itself is the
trigger to begin recording.
• When [Record by selected event] is selected, all
set input pins are triggers, and recording begins
on all selected cameras.
For details, refer to
Sensor and Camera when Alarm Occurs” (page 84)
6
When [Record by each event] is selected, configure
the input pin of the camera or I/O device that will
be the trigger for alarm recording or event
recording.
7
Configure the camera to record images.
8
Click [OK].
The schedule is created.
4
Click [Apply].
The schedule is saved.
For details on how to view the schedule, refer to
Items of Schedule Screen” (page 85)
.
Changing Settings
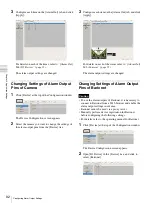
1
Select the camera you want to change the settings of
from the [Schedule] tree on the Schedule
Configuration screen.
2
Switch to recurrent view or date view.
3
Select the time slot (recurrent view) or schedule (date
view) for which you want to change the settings, and
click [Edit].
The Schedule Configuration dialog box appears.
4
Reconfigure each item.
For details on each of the items, refer to
of New Record Dialog Box” (page 86)
.
5
Click [Apply].
The settings are saved.
Deleting a Schedule
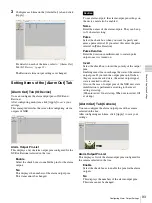
1
Select the schedule you want to delete from the
[Schedule] tree on the Schedule Configuration screen.
2
Click [Remove].
A confirmation message appears.
3
Click [OK].
The schedule is deleted.
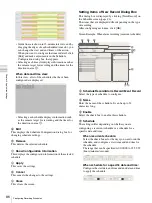
About Relationship Between Sensor and
Camera when Alarm Occurs
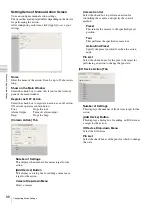
When [Record by each event]:
The input pin of the selected camera itself triggers the
beginning of recording.
For example, if camera A and camera B are selected as the
cameras for recording images, and motion detection of
camera A and sensor input of camera B are configured as
the triggers, recording begins on camera A when motion
detection occurs for camera A, and recording begins on
camera B when sensor input turns on for camera B.
1
8
6
2
3
4
7
5
Summary of Contents for Ipela NSR-1050H
Page 138: ......

