64
Status Indications
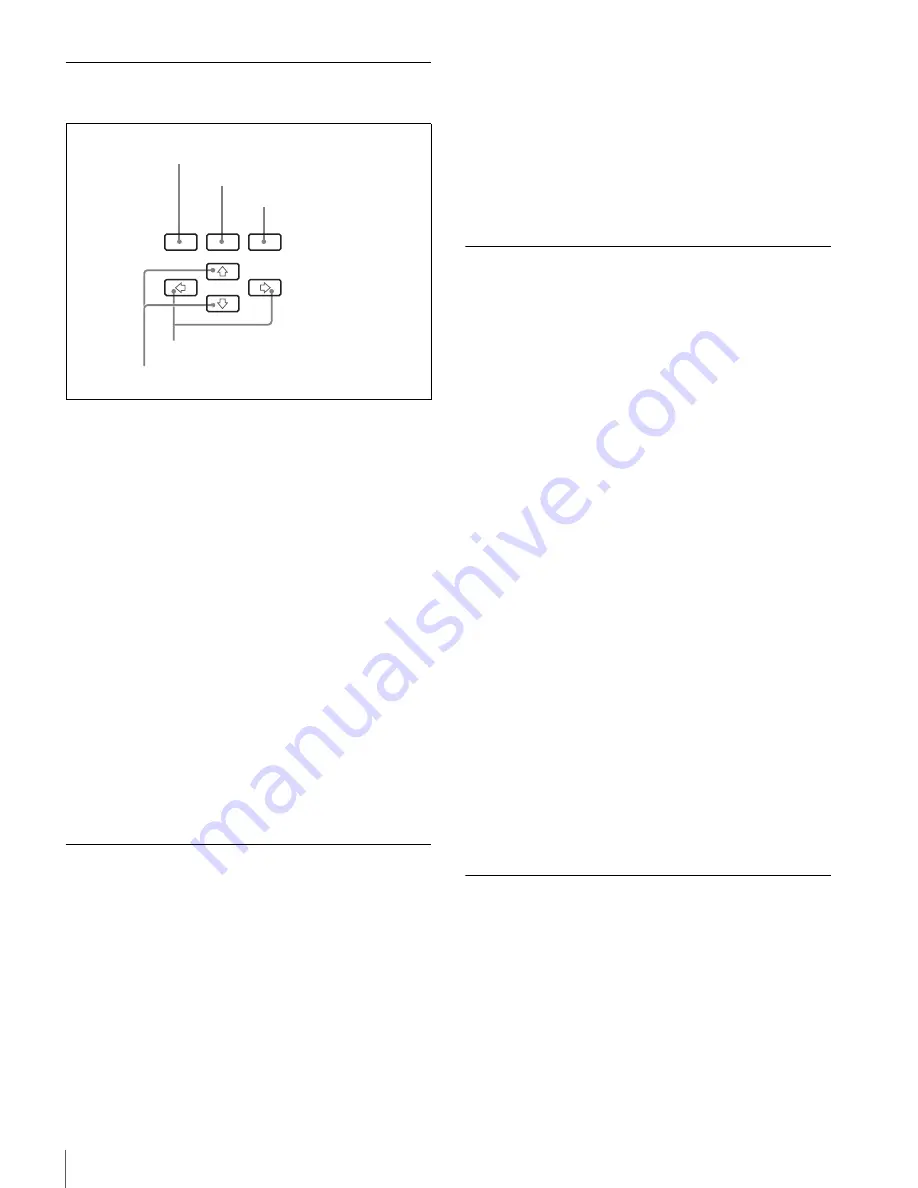
Functions of the Operation Buttons
a
MENU button
Press to return to the top display.
b
CANCEL button
On a layer below the top menu, this button lets you move
to the next layer above.
Press to retrieve the stored settings, canceling any changes
not yet stored.
c
ENTER button
This button lets you move to the next layer below.
Press to store your settings when the settings have been
changed.
When this button is pressed together with the MENU
button, the setting menu is displayed.
d
G
g
buttons
Press to select an option or move to the adjacent digit of the
value.
e
F
f
buttons
Press to change the displayed item on the same layer.
Basic Operations
Basic operations using the operation buttons are as
follows:
To display the top display in the display window
Press the MENU button. The top display (INTEGRATED
ROUTING SYSTEM) appears in the display window.
If the backlight is not lit, press the MENU button again,
and the backlight will light.
To move to the next layer below
Press the ENTER button.
To move to the next layer above
Press the CANCEL button.
To change the displayed item on the same layer
Press the
F
or
f
button.
To return to the top display
Press the MENU button.
Confirming the Status of the
Machine
You can confirm the settings of the DIP switches on the
internal board, Station ID of the S-BUS station, etc.
Proceed as follows:
1
Press the MENU button to display the top display.
2
Press the
F
or
f
button to display DISP UNIT
STATUS in the display window.
3
Press the ENTER button.
4
Press the
F
or
f
button to select an item whose
settings are to be confirmed.
CPU RUN:
Which CPU (main or backup) is active
CPU SW SETTING:
Settings of the DIP switches on
the CA-65 board
IP ADDRESS:
IP address of the network connection
of the CPU
SBUS STATION ID:
Station ID of the S-BUS station
PSU ELAPSED TIME:
Elapsed time of each power
unit
FAN ELAPSED TIME:
Elapsed time of each fan
unit
5
Press the ENTER button.
The item selected in step
4
appears on the second line
of the display window.
Press the
F
or
f
button to change the displayed item.
Adjusting the Contrast of the
Display Window
You can adjust the contrast of the display window.
Proceed as follows:
1
Press the MENU button to display the top display.
2
Press the
G
or
g
button to adjust the contrast.
Pressing the
g
button increases the contrast, and
pressing the
G
button decreases it.
MENU
ENTER
CANCEL
a
MENU button
b
CANCEL button
c
ENTER button
d
G
g
buttons
e
F
f
buttons


