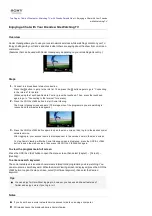
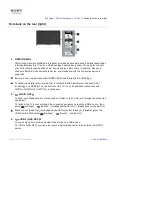


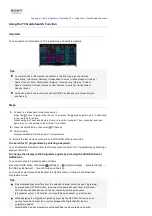

SOCIAL VIEW
You can enjoy watching TV with friends far and near, using social network
services.
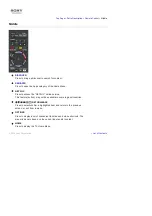
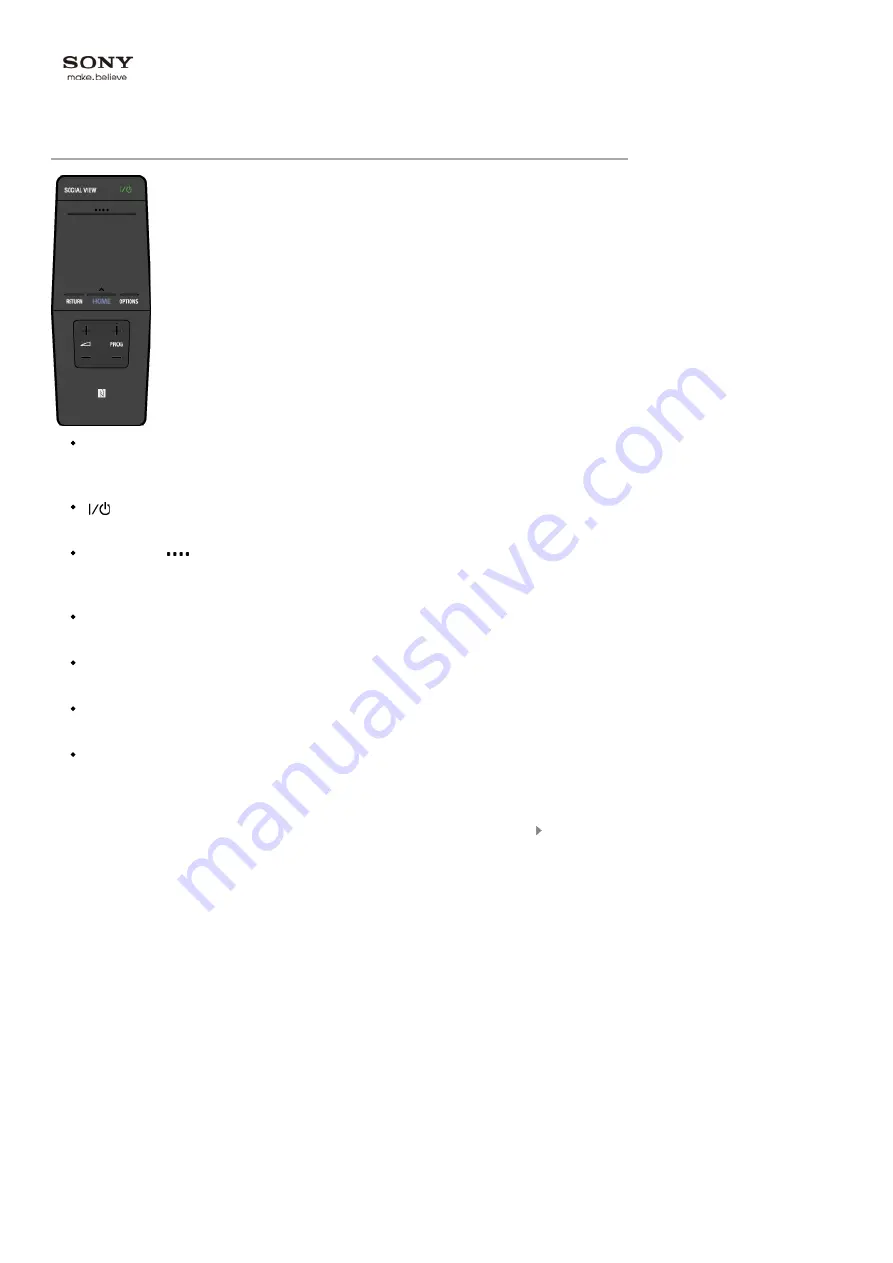
(TV standby)
Press to turn the TV on or off (Standby mode).
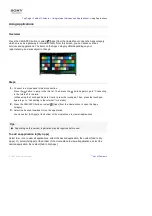
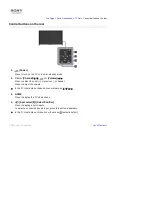
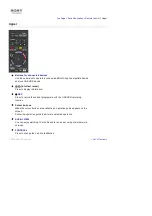
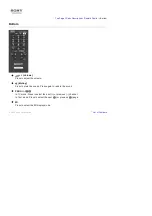
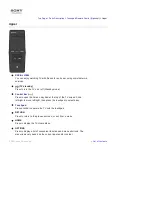
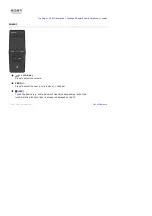
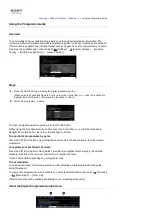
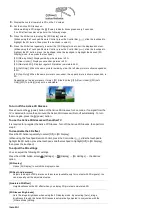
Control Bar (
)
Press to open the Screen Key Pad at the top of the TV screen. Slide
left/right to move left/right, then press the touchpad to select a key.
Touchpad
Press or slide to operate the TV with the touchpad.
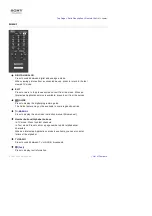
RETURN
Press to return to the previous screen, or exit from a menu.
HOME
Press to display the TV Home Menu.
OPTIONS
Press to display a list of convenient functions and menu shortcuts. The
menu items vary based on the current input and/or content.
Top Page > Parts Description > Touchpad Remote Control (Optional) >
Upper
Upper
List of Contents
© 2014 Sony Corporation
Summary of Contents for KDL-50W705B
Page 1: ...Top Page KDL 50W706B KDL 50W705B List of Contents 2014 Sony Corporation ...
Page 51: ...List of Contents 2014 Sony Corporation ...
Page 100: ...Optimal picture for viewing tables and characters List of Contents 2014 Sony Corporation ...


