8
GB
Preset channels automatically
1
Select the symbol
for “Preset” with
>
+ or
?
– and press OK.
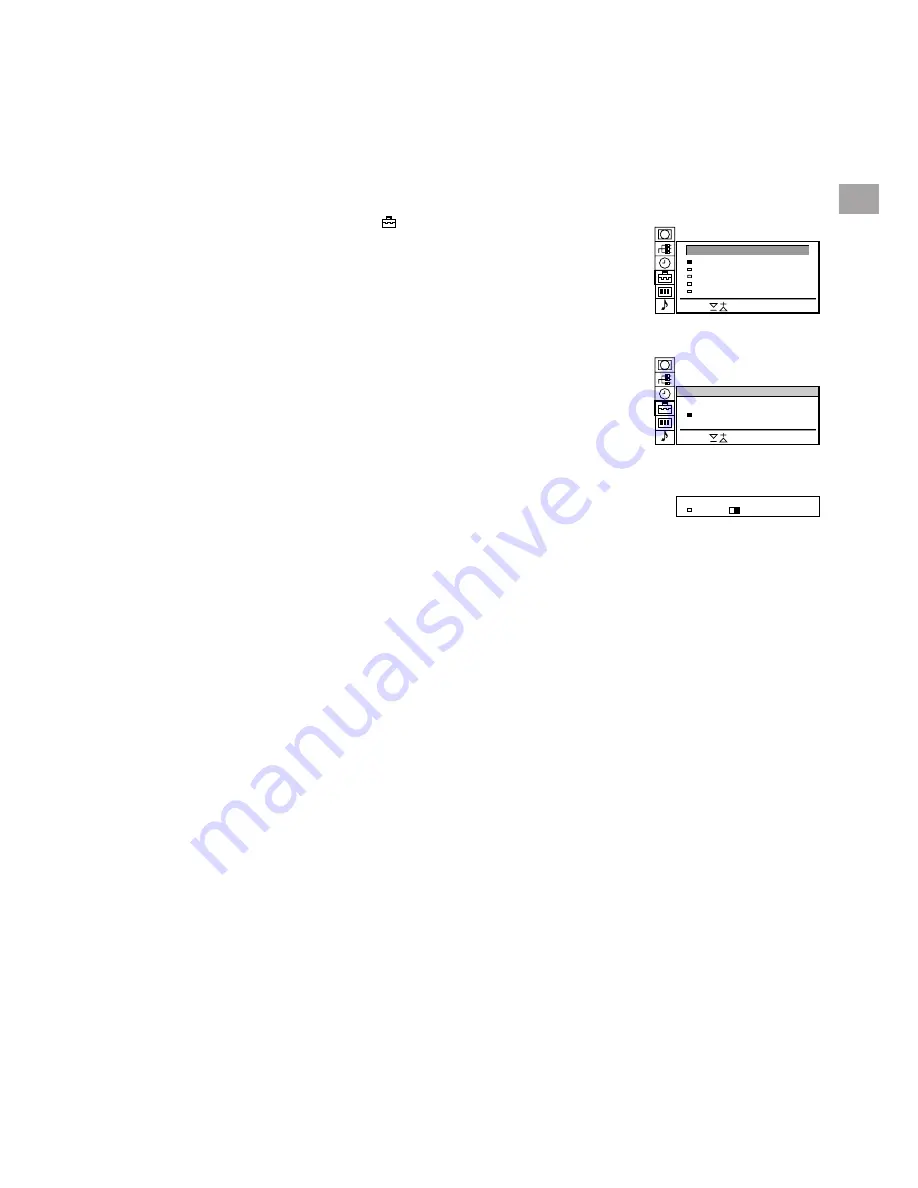
The PRESET menu appears. (See Fig. 3.)
2
Select “Auto Programme” with
>
+ or
?
– and press OK.
The AUTO PROGRAMME menu appears. (See Fig. 4.)
3
Press OK.
Select if necessary the TV broadcast system (B/G for Western
European or D/K for Eastern European countries) with
>
+ or
?
–
and press OK. The first element of the “PROG” number will be
highlighted.
4
Select the programme (number button) from which you want to
start presetting. Select the first element of the double-digit number
with
>
+ or
?
– or the number buttons (e.g., For “04,” select “0”
here) and press OK.
The second element of “PROG” will be highlighted.
5
Select the second element of the double-digit number with
>
+ or
?
– or the number buttons (e.g., For “04,” select “4” here) (See Fig.
5) and press OK.
6
Select “C” or “S” with
>
+ or
?
– and press OK.
The automatic channel presetting starts.
When presetting is finished, the preset menu reappears. All
available channels are now stored on successive number buttons.
Press menu to restore normal TV picture.
To go back to the main
menu
Keep pressing
≅
.
To stop automatic
channel presetting
Press
≅
on the Remote
Commander.
Notes
• After presetting the
channels automatically,
you can check which
channels are stored on
which programme
positions.
For details, see
“Displaying the
Programme Table” on
page 15.
• You can sort the
programme positions to
have them appear on
screen in the order you
like. For details, see
“Sorting Programme
Positions” on page 10.
3
Fig. 3
Fig. 4
Fig. 5
Installation
Select
and press OK
Programme Sorting
Manual Programme Preset
Auto Programme
PRESET
Parental Lock
B/G
Select
and press OK
AUTO PROGRAMME
SYS
PROG
C25
CH
–
LABEL
– – – –
0 1
B/G
SYS
PROG
C25
CH
–
LABEL
– – – –
0
4


