22
Additional Equipment
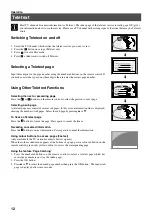
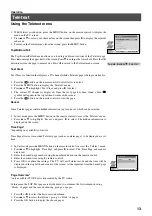
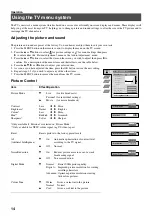
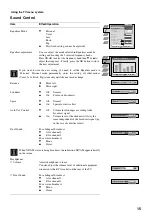
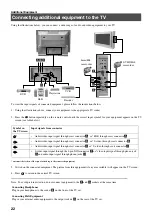
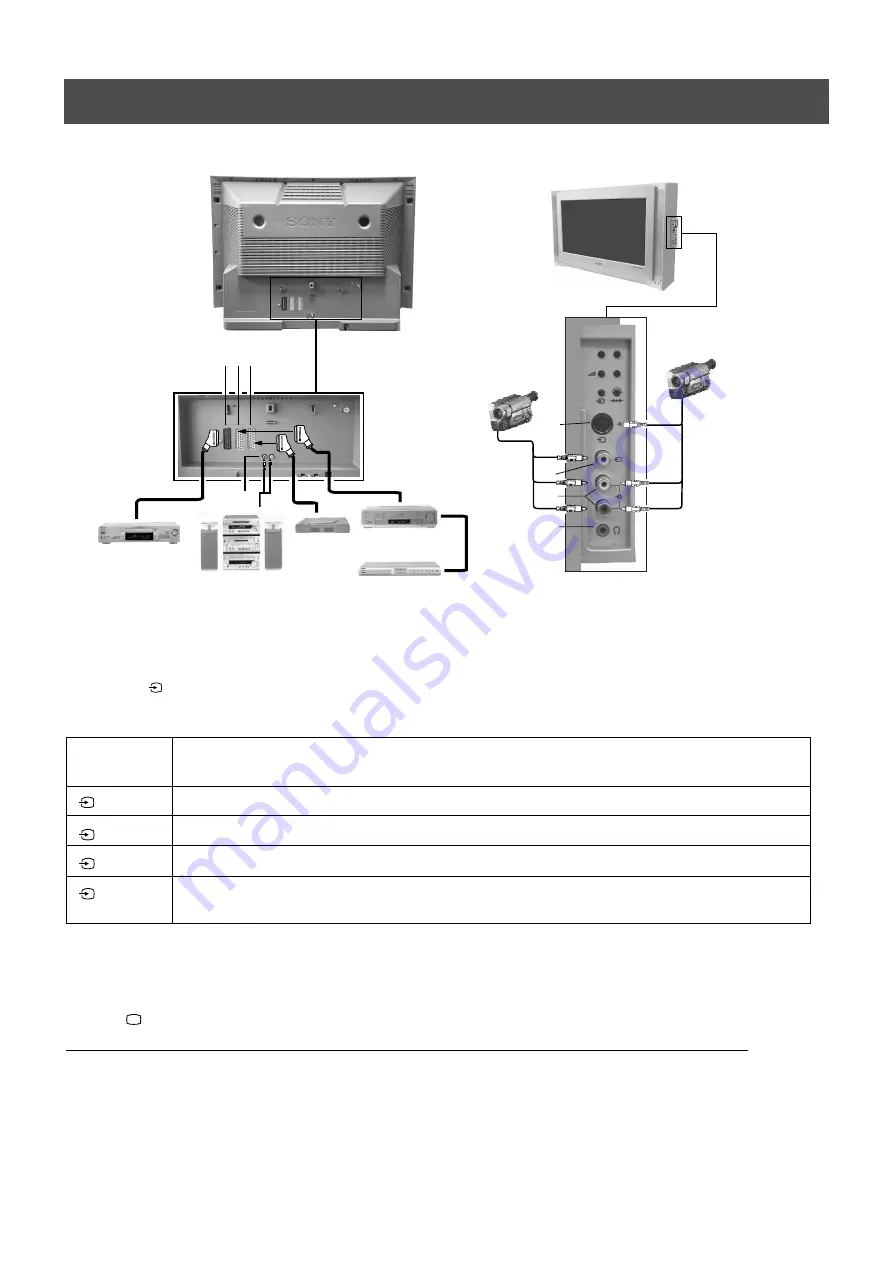
Using the illustrations below, you can connect a wide range of audio and video equipment to your TV.
Connecting additional equipment to the TV
p
- +
4
MONO
4
L/G/S/I
R/D/D/D
s
4
p
- +
4
MONO
4
L/G/S/I
R/D/D/D
s
4
To view the input signals of connected equipment, please follow the instructions below.
1. Using the illustrations above, connect your equipment to the appropriate TV socket.
2. Press the
button repeatedly on the remote control until the correct input symbol for your equipment appears on the TV
screen (see table below):
* automatic detection of the signal according to the connected equipment
3. Switch on the connected equipment. The picture from this equipment (if any are available) will appear on the TV screen.
4. Press
to return to the normal TV screen.
Note: To avoid picture distortion, do not connect equipment to the
F
and
G
sockets at the same time
Symbol on
the TV screen
Input signals from connector
•
Audio/video input signal through scart connector
A
or* RGB through scart connector
A
•
Audio/video input signal through scart connector
B
or* S-video through scart connector
B
•
Audio/video input signal through scart connector
C
or* S-video through scart connector
C
•
S-video input signal through the 4-pin DIN connector
F
or* video input signal through phono jack
G
and audio input signal through phono jacks
H
1
2
3
4
Connecting Headphones
Plug in your headphones to the socket
E
on the front of the TV set.
Connecting Hi-fi Equipment
Plug in your external audio equipment to the output sockets
D
on the rear of the TV set.
DVD
Hi-Fi
Playstation
VCR
Decoder
D
A B C
E
H
G
F
8mm/Hi8
camcorder
S-VHS/Hi8
camcorder

