—
9
—
KV
-32XBR200/KV
-36XBR200
Learning Menu Selection
Use the MENU button to access a menu and
use the joystick to alter settings. Use the
following example, in which we activate the
CABLE, to learn how to modify settings.
1
Press the MENU button.
The main menu appears.
MENU
VIDEO
MODE: VIVID
PICTURE
HUE
COLOR
BRIGHTNESS
SHARPNESS
TRINITONE: HIGH
MENU
Exit
MENU
COLOR CORRECT: OFF
Move
Select
2
Press up or down on the joystick to
highlight the desired menu and press
to activate it.
SET UP
CHANNEL SET UP
FAVORITE CHANNEL
VIDEO LABEL
LANGUAGE: ENGLISH
TILT CORRECTION: 0
MENU
Exit
MENU
Move
Select
3
Press up or down on the joystick until the
cursor points to the desired option.
SET UP
CHANNEL SET UP
FAVORITE CHANNEL
VIDEO LABEL
LANGUAGE: ENGLISH
TILT CORRECTION: 0
MENU
Exit
MENU
Move
Select
4
Press
.
Options for your selection will be
displayed.
CHANNEL SET UP
MENU
Exit
MENU
CABLE: OFF
CHANNEL FIX: OFF
AUTO PROGRAM
CHANNEL SKIP / ADD
CHANNEL CAPTION
Move
Select
5
Press up or down on the joystick to make
your selection and press
to activate it.
CHANNEL SET UP
MENU
Exit
MENU
CABLE: ON
CHANNEL FIX: ON
AUTO PROGRAM
CHANNEL SKIP / ADD
CHANNEL CAPTION
Move
Select
When you are done with changes to the
selected menu, choose MENU to return to
the main menu.
SET UP
CHANNEL SET UP
FAVORITE CHANNEL
VIDEO LABEL
LANGUAGE: ENGLISH
TILT CORRECTION: 0
MENU
Exit
MENU
Move
Select
Notes
• Pressing MENU on the remote control will
allow you to exit from the menus at any
time.
• If any menu items are “grayed out” press
the ANT button on your remote control
until a channel number appears.
Using your Menus
21
CH +
CH –
FREEZE
OFF
TV/VIDEO
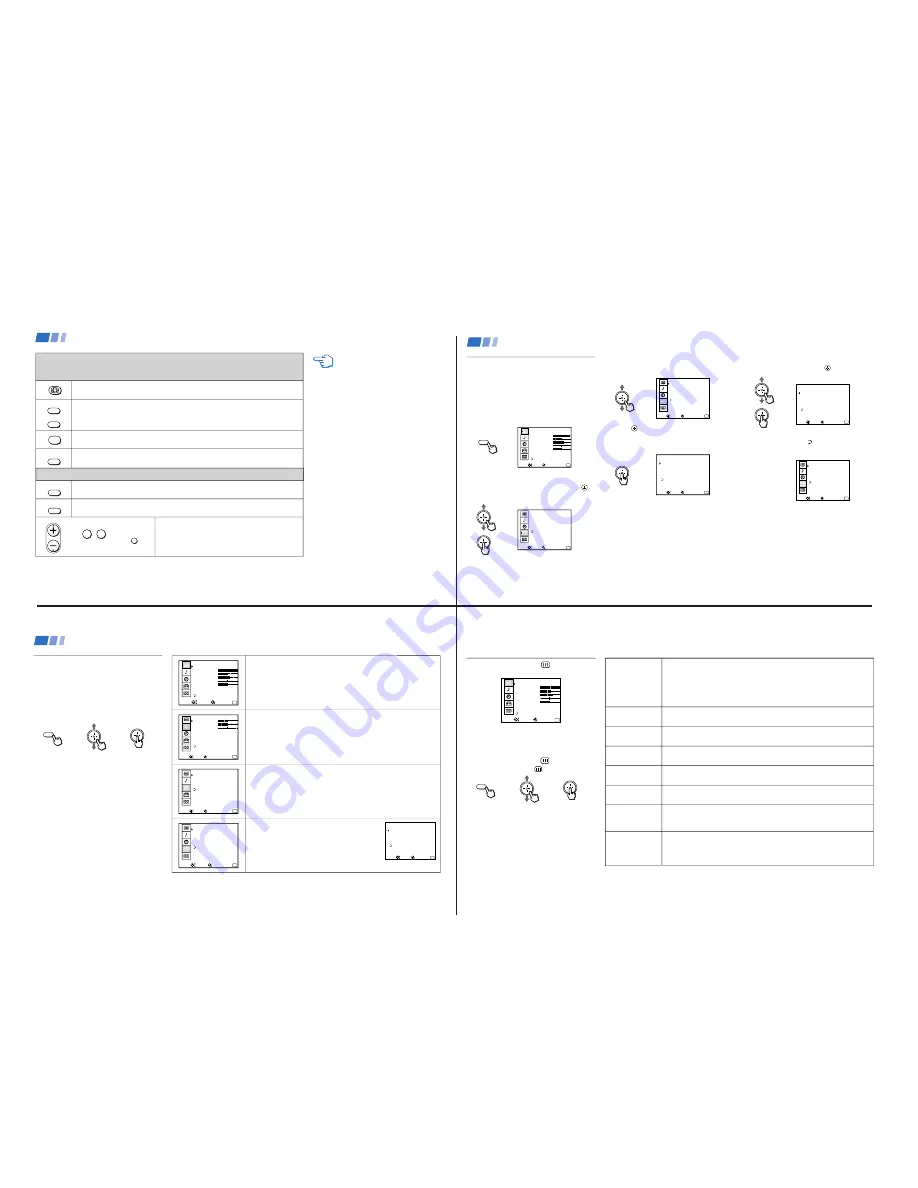
Press to access CHANNEL INDEX.
Press again to access the next twelve receivable channels.
Press to cycle through the receivable channels one at a time.
Press to cancel the current operation and return to normal TV viewing.
Press to freeze the center picture.
Press again to cancel the frozen picture and resume normal center picture viewing.
ANT
Using the Yellow Labeled Buttons for CHANNEL INDEX Operations
Some control buttons are located under the cover
on the top of the remote control.
Using the White Labeled Buttons for Center Picture Operations
0
9
-
Press to cycle the center picture through the video inputs.
The surrounding channels will not change.
Press to replace the center picture with a channel received through the AUX input.
Press again to return to CATV input.
Press to select the channel for the center picture.
(see “Watching the TV” on pages 15-16)
and ENTER
CH
REFER TO THE ILLUSTRATION OF THE
REMOTE CONTROL ON THE INSIDE
FRONT COVER OF THIS MANUAL AS
YOU REVIEW THIS CHART
JUMP
or or
Using your New TV (continued)
20
VIDEO
MODE: VIVID
PICTURE
HUE
COLOR
BRIGHTNESS
SHARPNESS
TRINITONE: HIGH
MENU
Exit
MENU
COLOR CORRECT: OFF
Move
Select
AUDIO
TREBLE
BASS
BALANCE
EFFECT: OFF
MTS: STEREO
SPEAKER: ON
MENU
Exit
MENU
AUDIO OUT: VARIABLE
Move
Select
TIMER
DAYLIGHT SAVING: YES
CURRENT TIME SET
ON / OFF TIMER
CHANNEL BLOCK
MENU
Exit
MENU
– – :
– AM
–
– –
–
Move
Select
SET UP
CHANNEL SET UP
FAVORITE CHANNEL
VIDEO LABEL
LANGUAGE: ENGLISH
TILT CORRECTION: 0
MENU
Exit
MENU
Move
Select
Quick start to the menus
The following is a guide to your menus.
For detailed information on using the remote
control to modify menu settings, refer to
“Learning menu selection” on page 21.
To select a menu:
Display
/
Highlight
/
Select
MENU
The VIDEO menu allows you to make adjustments to your picture settings.
It also allows you to customize the picture MODE based on the type of
program you are watching.
The AUDIO menu offers enhanced audio options such as listening to
second audio programming (SAP), or customizing the EFFECT of the
sound on your TV.
The TIMER menu sets the clock on your TV and allows you to program
your TV for scheduled viewing using the ON/OFF TIMER.
The SET UP menu provides several options for
setting up your channels, labeling your TV/VIDEO
inputs, and selecting the LANGUAGE of your menus.
The CHANNEL SET UP menu is a sub-menu which
provides further options for setting up your TV.
CHANNEL SET UP
MENU
Exit
MENU
CABLE: ON
CHANNEL FIX: OFF
AUTO PROGRAM
CHANNEL SKIP / ADD
CHANNEL CAPTION
Move
Select
Using your Menus (continued)
22
Using the VIDEO
Menu
VIDEO
MODE: VIVID
PICTURE
HUE
COLOR
BRIGHTNESS
SHARPNESS
TRINITONE: HIGH
MENU
Exit
MENU
COLOR CORRECT: OFF
Move
Select
For detailed information on using the remote
control to modify menu settings, refer to
“Learning Menu Selection” on page 21.
To select the VIDEO
menu:
Display
/
Highlight
/
Select
MENU
MODE
Customized picture
viewing
PICTURE
Picture contrast
BRIGHTNESS
Picture adjustment
COLOR
Color saturation
HUE
Color tones
SHARPNESS
Picture detail
TRINITONE
White intensity
adjustment
COLOR
CORRECT
Color ratio
adjustment
VIVID: Select for enhanced picture contrast and sharpness.
STANDARD: Select to display a standard picture.
MOVIE: Select to display a softer picture.
SPORTS: Select to display a bright picture.
You can alter the VIDEO menu settings (e.g., PICTURE, HUE) for each MODE.
Select each MODE individually and then press RESET to restore factory settings.
Adjust right to increase picture contrast and create more vivid color.
Adjust left to decrease picture contrast and soften the color.
Adjust right to brighten the picture.
Adjust left to darken the picture.
Adjust right to increase color intensity.
Adjust left to decrease color intensity.
Adjust right to increase the green tones.
Adjust left to decrease the green tones.
Adjust right to sharpen the picture.
Adjust left to soften the picture.
HIGH: Select to give the white colors a blue tint.
MEDIUM: Select to give the white colors a neutral tint.
NTSC STD: Select to give the white colors a red tint.
Select ON to emphasize reds and blues.
Select OFF to emphasize greens.
Adjustment
Bars
To restore the factory VIDEO settings
Press RESET on the remote control while the
VIDEO menu is selected.
}
23


