


4-449-052-
13
(1)
LBT-GPX77/GPX55
MHC-GPX88/GPX77/GPX55/GPX33
HOME AUDIO
SYSTEM
Operating Instructions
model name [LBT-GPX77/GPX55/MHC-GPX88/GPX77/GPX55/GPX33]
[4-449-052-
13
(1)] GB
filename[D:\MASNI JOB
FOLDER\SO130010\GB\4449052131\4449052131\01COV.fm]
masterpage:Cov
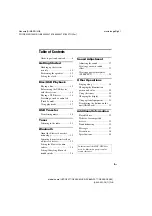
Getting Started
USB Transfer
Tuner
Bluetooth
Sound Adjustment
Disc/USB Playback
Other Operations
Additional Information


