42
English
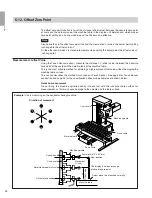
5-12. Offset Zero Point
The offset zero point function is to set the distance (offset value) between the absolute zero point
of scale and the datum plane of the machine table in the display unit beforehand, which makes
zero point setting on a boring machine and the like easy and effective.
Note
Also notice that, in the offset zero point function, the memorized L value in the datum point setting
is changed to the offset value
∆
Y.
On the other hand, when L is stored into memory when setting the datum point, the offset value
∆
Y
is changed to L.
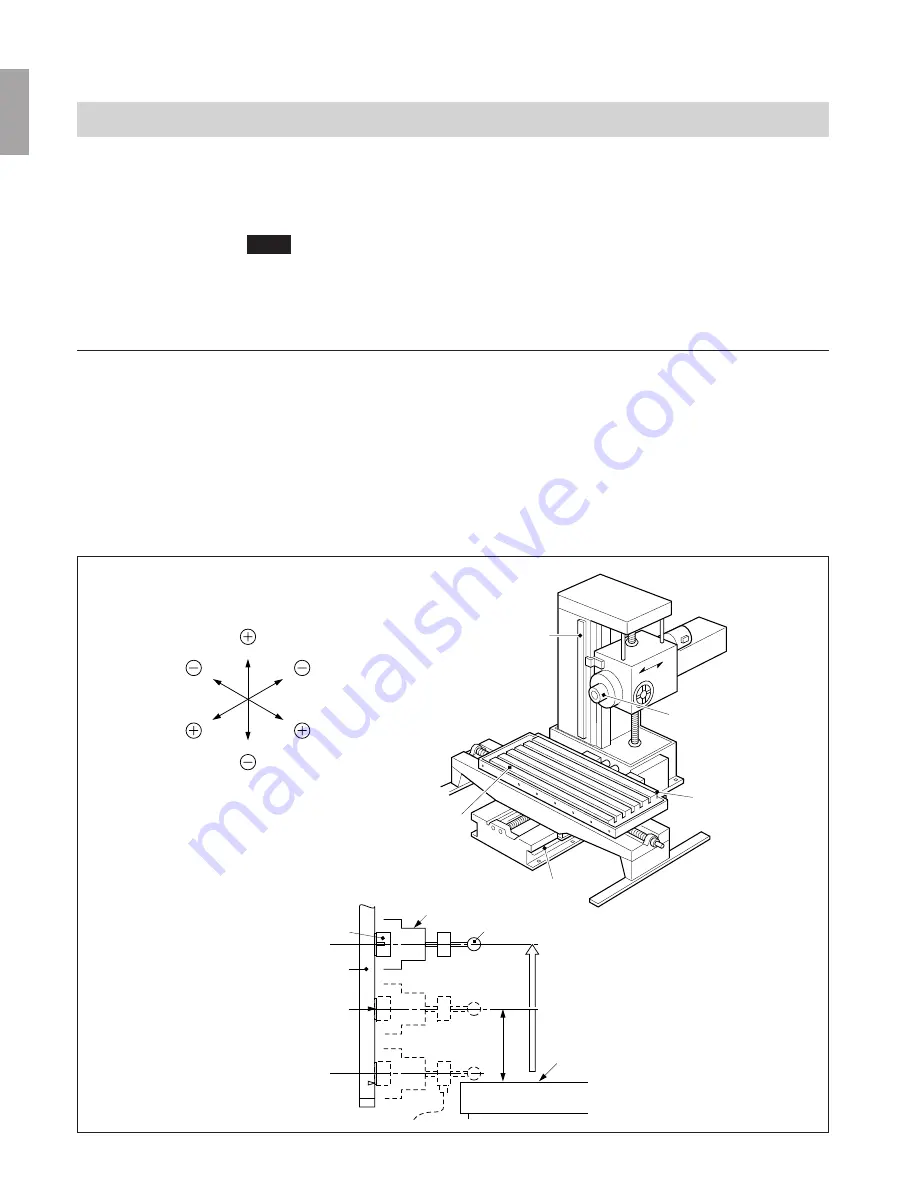
Measurement of offset Value
Using the Touch Sensor (option), measure the distance
∆
Y (offset value) between the absolute
zero point of the scale and the datum plane of the machine table.
This is the most suitable method for obtaining a high-accuracy offset value without damaging the
machine table surface.
This section describes the method which uses our Touch Sensor. See page 5 for Touch Sensor
connection and page 35 for the specifications. Measuring examples are shown below.
Notes on measurement
Do not bring the machine spindle directly into contact with the machine table surface for
measurement, as this may cause damage to the spindle and the table surface.
Machine spindle
Feeler ball (ø10/0.39" dia.)
Spot position
The display is held on passage
of absolute zero point.
Datum plane to be touched carefully
Machine table
Movement
(Y-axis)
Pick-up head
Y-axis scale
Absolute zero point of scale
Datum plane setting
∆
Y
Offset value
Y
X
Z
Machine spindle
W
Z-axis scale
Machine table
Y-axis scale
Direction of movement
X-axis scale
Example:
Y-axis machining on the horizontal boring machine


