In
tr
od
uc
tio
n
Location and Function of Parts and Controls
7
F
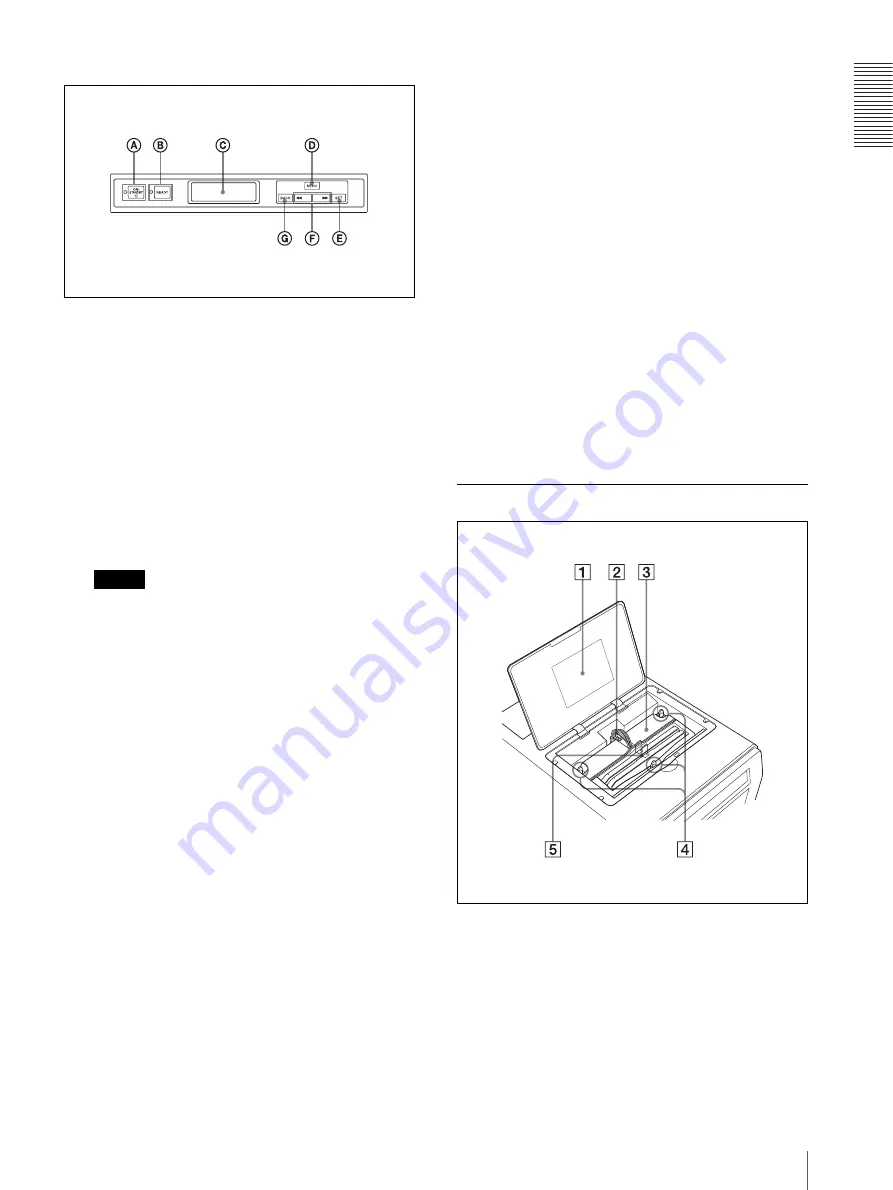
Operation panel
A
1
ON/STANDBY button/indicator (9, 10)
Used to switch the printer to on or to standby status.
When the ON/STANDBY button is set to on, the
power is on and the indicator lights in green. When
the printer is in standby mode, the indicator lights
in orange. To restore the power from the standby
mode, push the ON/STANDBY button again. In the
standby mode, the printer does not print, however,
power is saved. When the printer is not used for a
long time, it is recommended that you turn the
printer off. To turn the printer off, set this ON/
STANDBY button to the standby mode and set the
main power switch on the rear panel to off.
Note
If the main power switch on the rear panel is not set
to on, the power is not on, even though the ON/
STANDBY button on the front is set to on.
B
READY button/indicator (9, 10, 46, 56)
Used to set the printer so that it is ready to receive
data from a computer so that it can be printed.
When you push the MENU button during setup,
when confirming the status, or performing
maintenance, the READY indicator goes off. When
the READY indicator is not lit, the printer cannot
print. If the READY indicator is not lit when you
want to print, push the READY button so that the
indicator will light.
Also, if you push the READY button during
printing, the READY indicator starts blinking and
the printer stops printing temporarily. To restart
printing, push the READY button again.
For detailed information on the relationship
between the ON/STANDBY indicator and the
READY indicator, see “Relationship Between the
ON/STANDBY Indicator and the READY
indicator” on page 10.
C
Printer window display (Liquid Crystal Display
(LCD)) (41, 42, 46, 55, 62)
Displays messages during setup, when confirming
the status, or performing maintenance.
D
Push this button to display the menu on the LCD.
E
Used to execute the operation displayed on the
LCD and to go to the next operation/step.
F
bb
/
BB
(select) buttons (41, 42, 46, 62)
Used to change setting items or the numerical
values displayed on the LCD.
G
BACK button (63)
Used to cancel the condition displayed on the LCD
and to go back to the previous step.
G
Eject buttons (57)
Provided on both the left and right sides of the
printer.
Used to open the main cover when removing paper
jammed inside the printer, and so on. Push both left
and right buttons so that the main cover pops open
and you can pull it upward.
When the Head Cover is Opened
A
Label
Shows the note on handling the head cover.
B
Head cartridge cable
Provided to supply power to the head cartridge.
C
Head cartridge
This head cartridge is equipped with a print head.
The ink sprays out from the print head when
printing.


