Hooking up the audio components/Setting the clock
12
GB
Gettin
g
Sta
rted
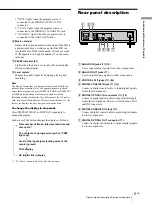
To connect a CONTROL A1
ΙΙ
compatible
component
D
Monaural (2P) mini-plug cables (2) (not supplied)
For details, see “Using the CONTROL A1
To connect the AC power cord
Connect the AC power cord of the deck to a wall outlet.
Note
If you use a timer, connect the AC power cord to the outlet of the
timer.
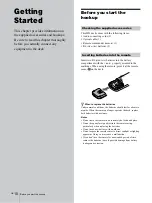
When you turn on the MD deck and there is no MD in the
deck, demonstration mode is activated automatically after
about ten minutes. To deactivate the demonstration mode,
press any button on the deck or on the remote.
z
To turn off the demonstration mode
Press
x
and CLEAR simultaneously when there is no MD in the
deck.
“Demo Off” appears in the display.
To turn on the demonstration mode again, perform the same
procedure described above.
“Demo On” appears in the display.
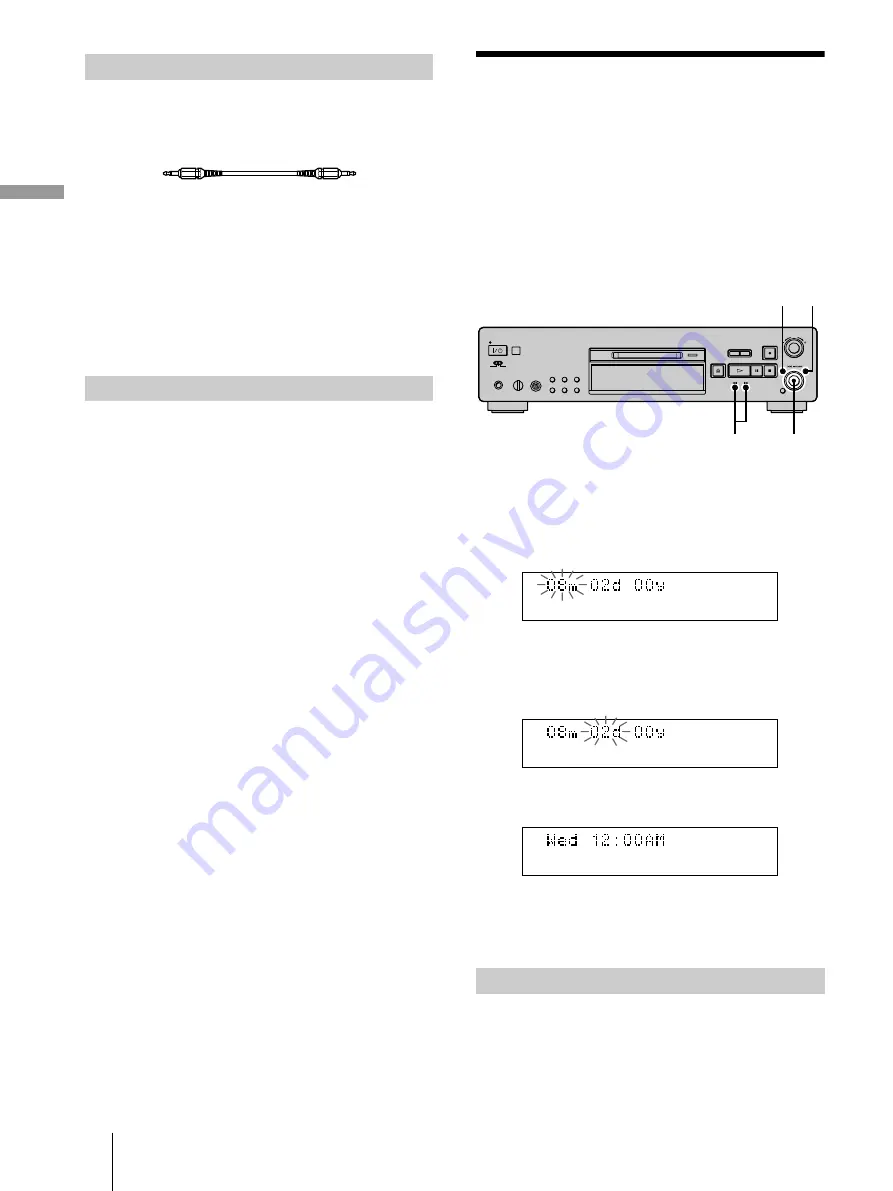
Setting the clock
Once you set the MD deck’s internal clock, the MD deck
will automatically record the date and time of all
recordings. For USA and Canadian models, date is
displayed in the order of month, day, year, and time on a
12-hour clock. For European model, date is displayed in
the order of day, month, year, and time on a 24-hour clock.
Note
The display windows below are of USA and Canadian models.
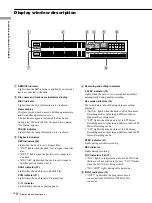
1
While the deck is stopped, press MENU/NO twice.
“Setup Menu” appears in the display.
2
Turn AMS (or press
.
/
>
repeatedly) until
“Clock Set ?” appears, then press AMS.
The month (or day) indication starts flashing.
3
Turn AMS (or press
.
/
>
repeatedly) to enter
the current day, then press AMS.
The month (or day) indication stops flashing, and the
day (or month) indication starts flashing.
4
Repeat step 3 to enter the month, day, year, hour,
and minute.
Complete!!
1
Do steps 1 and 2 above.
2
Press AMS or
m
/
M
repeatedly until the setting
you want to change flashes.
Other connections
Demonstration mode
Changing the clock setting(s)
MENU/NO YES
AMS
m
/
M


