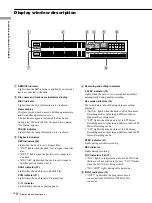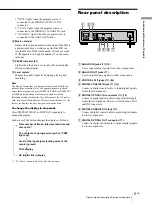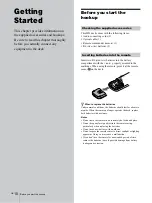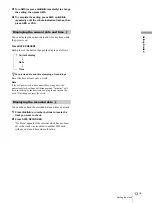
Adjusting the recording level/Recording tips
18
GB
R
e
cor
d
ing to
MDs
Note
The volume can only be increased up to +12.0 dB (for analog
recording) or +18.0 dB (for digital recording). Therefore, if the
output level of the connected component is low, it may not be
possible to set the recording level to maximum.
Recording tips
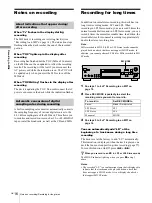
Press TIME repeatedly.
You can monitor the selected input signal even when you
are not recording it.
1
Press EJECT
A
to eject the MD.
2
Press INPUT repeatedly to select the jacks
(connector) where the signal you want to monitor
is being input.
3
Press REC
z
.
When INPUT is set to ANALOG
The analog signal input from the ANALOG IN jacks is
output to the DIGITAL OUT connector after A/D
conversion, and then to the ANALOG OUT jacks and
PHONES jack after D/A conversion. “AD – DA”
appears in the display during this time.
When INPUT is set to OPT1, OPT2 or COAX
The digital signal input from the DIGITAL IN
connector is output to the DIGITAL OUT connector
after passing through the sampling rate converter, and
then to the ANALOG OUT jacks and PHONES jack
after D/A conversion. “ – DA” appears in the display
during this time.
Checking the remaining recordable time
on the MD
While the deck is
The following information
appears
Stopped
Total number of tracks and total
recorded time
y
Total number of
tracks and remaining recordable time on
the MD
1)
1) Not shown for premasterd discs.
Recording
Track number and recorded time of the
current track
y
Track number and
remaining recordable time
2)
on the MD
2) Time shown in the display differs depending on the setting of
REC MODE.
Monitoring the input signal
(Input Monitor)
REC
z
INPUT
TIME
MENU/NO
YES
AMS
EJECT
A

