

18
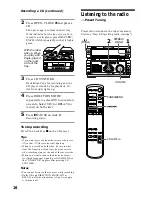
CD
1
2
DOLBY NR
3
4 5
6
3
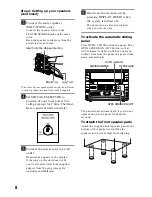
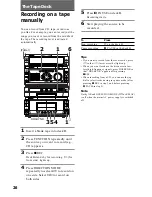
Press
§
and insert a blank tape into
deck B.
4
Press
r
REC.
Deck B stands by for recording.
5
Press DIRECTION MODE
repeatedly to select
A
to record on
one side. Select
ß
(or RELAY) to
record on both sides.
6
Press
P
PAUSE on deck B.
Recording starts.
To stop recording
Press
π
on deck B.
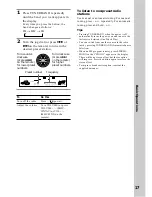
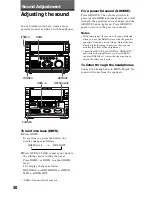
Tips
• If you want to record from the reverse side, press
ª
so that
ª
(for reverse side) lights up.
• When you record on both sides, be sure to start
from the front side. If you start from the reverse
side, recording stops at the end of the reverse side.
• To record non-preset stations, use – and + to tune
in the desired station manually.
• When you want to reduce the hiss noise in low-
level high-frequency signals, press DOLBY NR so
that “DOLBY NR ON” appears after pressing
r
REC.
• If noise is heard while recording from the radio,
move the respective antenna to reduce the noise.
Note
Dolby NR and DIRECTION MODE (
ß
or RELAY)
is off when the mains AC power supply is switched
off.
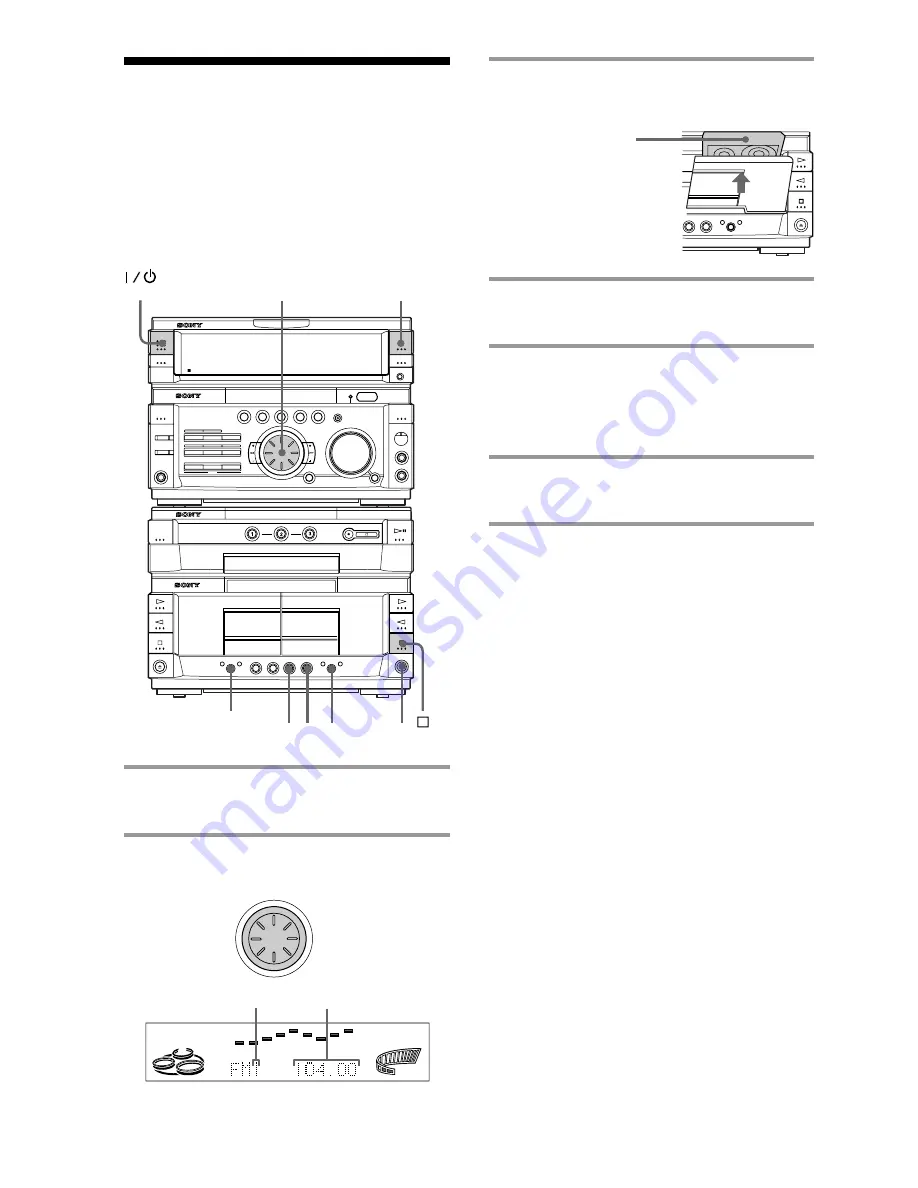
With the side
you want to
record facing
forward
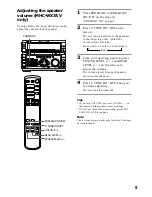
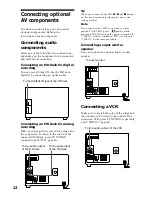
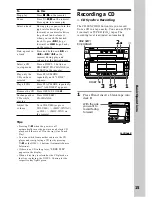
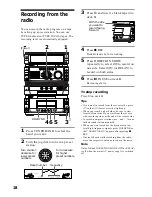
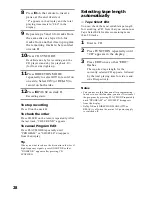
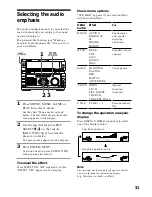
Recording from the
radio
You can record the radio program on a tape
by calling up a preset station. You can use
TYPE I (normal) or TYPE II (CrO
2
) tapes. The
recording level is automatically adjusted.
Frequency
1
Press TUNER BAND to select the
band you want.
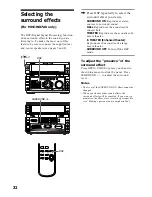
2
Turn the jog dial to tune in a preset
station.
Turn clockwise
for higher
preset numbers.
Turn counter-
clockwise for
lower preset
numbers.
Preset number
ß
RELAY
DAILY 1 2 REC SLEEP
DAILY 1 2 REC SLEEP
DOLBY NR
DOLBY NR
PROGRAM
REPEAT1
SHUFFLE
ALL DISCS
1
TUNED
MONO
STEREO
SYNC
STEP
MHz
kHz
REC
t
VOLUME
SUR
1
(Power)


