Sony Not
e
book Us
er
G
u
id
e
Using your notebook
47
Removing a PC Card
Follow the steps below to remove the PC Card while your computer is on. If it is not removed properly, your
system may not work properly. If you want to remove a PC Card when your computer is off, skip steps 1 to 7.
To remove a PC Card, proceed as follows:
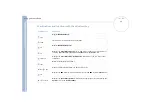
1
Double-click the
Unplug or Eject Hardware
icon in the taskbar.
The
Unplug or Eject Hardware
dialog box appears.
2
Select the hardware you want to unplug.
3
Click
Stop
.
4
In the
Stop a Hardware Device
dialog box, confirm that the device can be safely removed from the
system.
5
Click
OK
.
A message appears explaining that it is safe to remove the device.
6
Click
OK
.
7
Click
Close
.
8
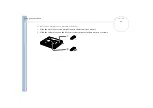
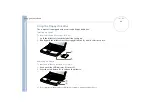
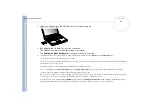
Press the PC Card release button so that it pops out.
9
Push the PC Card release button to eject the card.
10
Gently grasp the card and pull it out.
11
If the PC Card release button is still out, push the PC Card release button in the notebook.
If you unplug the PC Card from the computer when this is still turned on, your system might crash and you might lose data that you did not save before.
Before you remove the PC Card, click the PC Card icon in the taskbar and close the card. Close any applications that use the PC Card before removing
the card. Otherwise, data may be lost.
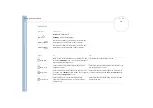
While the card is inserted, your computer may not enter the Hibernate power management mode. It may enter
Standby
mode. It is recommended
to remove the card when your computer enters Hibernate mode by pressing
<Fn>+<F12>
, and when it is set to enter
Hibernate
automatically
while using a battery as the source of power.
Some PC Cards or their functions may not be compatible with this computer.

