Sony Notebook
User Guide
Using your notebook
42
Using PC Cards
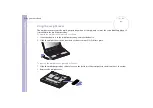
Your computer includes two PC Card slots. PC Cards allow you to connect portable external devices.
Inserting a PC Card
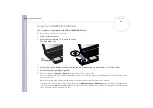
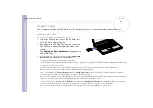
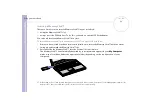
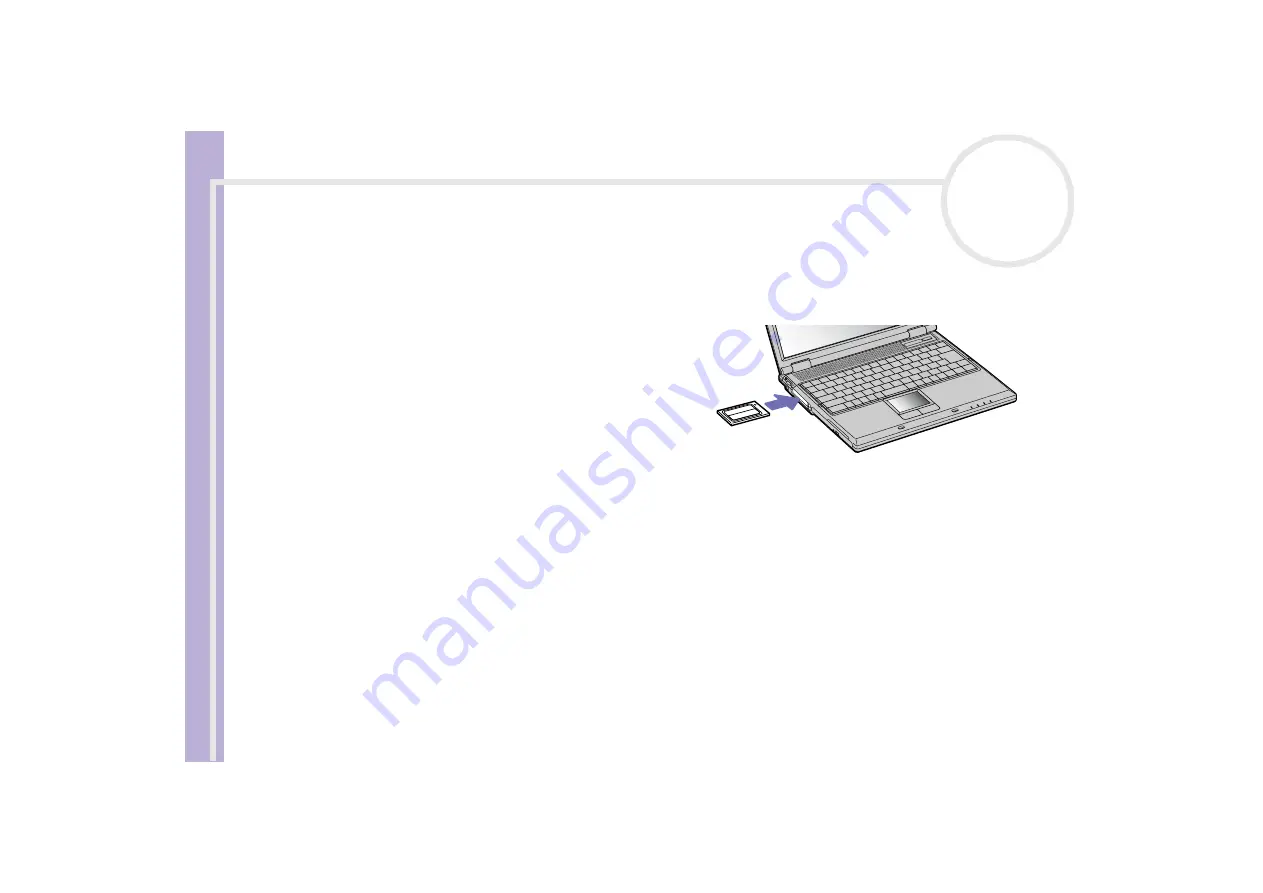
To insert a PC Card, proceed as follows:
1
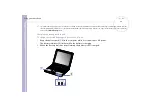
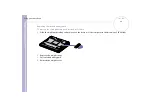
Insert the PC Card into one of the PC Card slots
with the front label facing up.
2
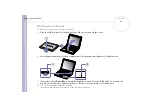
Gently push the PC Card slot into the connector.
The PC Card is automatically detected by your
system.
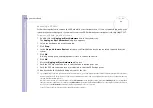
The
Unplug or Eject Hardware
icon appears in
the system tray.
✍
Some devices may not function properly if you repeat
Returning to
Normal mode
from
Standby
mode or
Hibernate
mode.
The computer will return to its original state if you restart it.
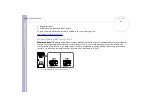
The PC Card slots can accommodate (at the same time) two Type I, two Type II or one Type III PC Card. These slots are compatible with Card Bus ports.
Use the lower slot for PC Type III cards.
Some PC Cards may require you to disable idle devices when using the PC Card. You can use Sony Notebook Setup to disable devices.
Make sure you use the most recent software driver provided by the PC Card manufacturer.
If an “!” mark appears on the
Device Manager
tab in the
System Properties
dialog box, remove the software driver and then reinstall it.
You do not need to shut down the computer before inserting or removing a PC Card.
Do not force a PC Card into the slot. It may damage the connector pins. If you have difficulty inserting a PC Card, check that you are inserting the PC
Card in the correct direction. See the manual supplied with your PC Card for more information on use.
For some PC Cards, if you alternate between
Normal
power operation and
Standby
or
Hibernate
power management modes while the card is
inserted, you may find that a device connected to your system is not recognised. Reboot your system to correct the problem.
Do not carry your notebook while touching the head of a PC Card, as pressure or shock may damage the connector pins.

