


Sony Notebook
User Guide
Connecting peripheral devices
77
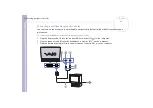
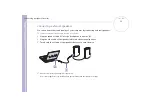
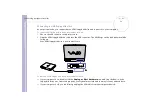
Connecting an external mouse or keyboard
You can connect an external mouse or keyboard to the optional port replicator using the PS/2 mouse/
keyboard connector. There is only one PS/2 connector, so you can only connect one external device at the
same time.
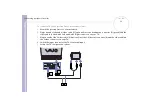
Of course, you can always connect an external USB mouse or keyboard. See
Universal Serial Bus (USB) device
Before you connect or disconnect the mouse or the keyboard, turn off the computer.
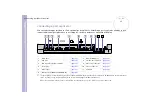
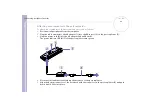
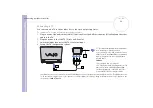
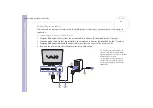
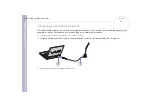
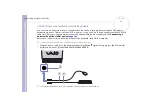
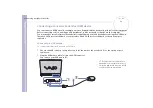
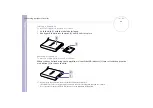
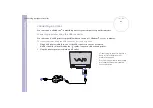
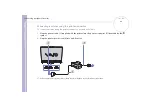
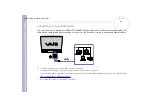
To connect an external mouse or keyboard, proceed as follows:
1
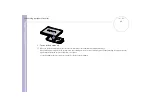
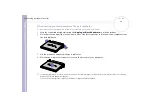
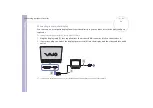
Plug the mouse cable (1) or the keyboard cable (2) with the
symbol facing up into the PS/2 mouse/
keyboard connector (3) identified by MOUSE/KEYBOARD.
✍
See the manual supplied with your mouse or keyboard for more information on installation and use.


