36
Setting Up the System for the First Time — Initial Setup Wizard
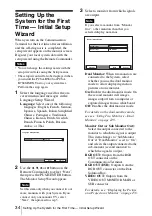
When you use the PCSA-B384S ISDN
unit and connect 2 or 3 ISDN lines, enter
the sub-addresses in the B1 to C2 text
boxes in addition to the A1 and A2 boxes.
When you use the PCSA-B768S and
connect 2 to 6 ISDN lines, enter the sub-
addresses in the B1 to F2 text boxes in
addition to the A1 and A2 boxes. To open
the menu with these text boxes, select
“Next”, then press the PUSH ENTER
button.
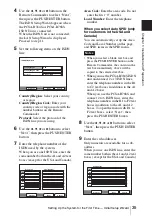
10
Use the
V
,
v
,
B
or
b
button to select
“Next”, then press the PUSH ENTER
button.
For customers in other countries than
the USA and Canada
The LAN Setup Wizard appears.
For customers in the USA and
Canada
The ISDN Setup Wizard (SPID menu)
appears.
Set the SPID items, then select “Next”
and press the PUSH ENTER button.
The LAN Setup Wizard appears.
For details on the SPID settings, see
“SPID Setting for Customers in the USA
and Canada” on page 60.
When you do not use the LAN, select
“Next” to display the message window for
confirmation, then proceed to step 13.
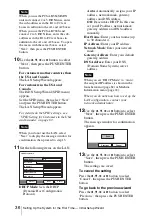
11
Set the following items on the LAN.
DHCP Mode:
Sets the DHCP
(Dynamic Host Configuration
Protocol).
Auto:
Automatically assigns your IP
address, network mask, gateway
address and DNS address.
Off:
Deactivates DHCP. In this case
set your IP address, network mask,
gateway address and DNS address
manually.
Host Name:
Enter your host name (up
to 30 characters).
IP Address:
Enter your IP address.
Network Mask:
Enter your network
mask.
Gateway Address
: Enter your default
gateway address.
DNS Address:
Enter your DNS
(Domain Name System) server
address.
When you set “DHCP Mode” to “Auto”,
the assigned IP address is shown in the
launcher menu (page 82) or Machine
Information menu (page 63).
When you do not know how to set up the
LAN configuration, contact your
network administrator.
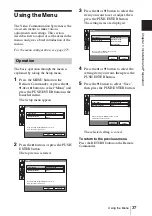
12
Use the
V
,
v
,
B
or
b
button to select
“Next”, then press the PUSH ENTER
button.
The message window for confirmation
appears.
13
Use the
V
,
v
,
B
or
b
button to select
“Save”, then press the PUSH ENTER
button.
The settings are saved.
To cancel the setting
Press the
V
,
v
,
B
or
b
button to select
“Cancel”, then press the PUSH ENTER
button.
To go back to the previous wizard
Press the
V
,
v
,
B
or
b
button to select
“Previous”, then press the PUSH ENTER
button.
Note
Note
LAN Setup Wizard
Cancel
Next
Previous
Off
DHCP Mode
Host Name
IP Address
Network Mask
Gateway Address
DNS Address
. . .
. . .
. . .
. . .
Note
Cancel
Previous
Save
Summary of Contents for PCS-1 - Video Conferencing Kit
Page 284: ...Sony Corporation ...

