50
Playback
Ch
apt
er 3 Rec
o
rdi
ng and
P
la
y
bac
k
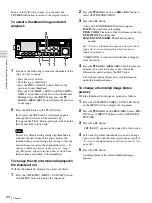
• Clips cannot be deleted when the Write Inhibit tab of the
disc is set to the recording disabled position, or when
“REC INH” on the HOME page of the function menu is
set to “ON”.
• Locked clips cannot be deleted.
• When the target clip is referenced in a clip list, the clip
list that references the clip will also be deleted.
• If the deletion target clip is referenced by the current clip
list, all of the referenced sub clips, and only those sub
clips, are deleted simultaneously.
1
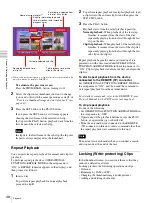
With the SUB CLIP button off, press the
THUMBNAIL button, turning it on.
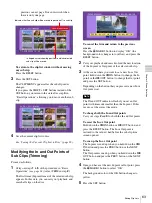
The thumbnails of the clips on the disc appear.
2
Select the clip to delete. (You can do this with the same
operations as step
1
).
3
Press the MENU button.
The CLIP menu appears.
4
Use the
V
/MARK1 or the
v
/MARK2 button to select
“DELETE CLIP”, and then press the SET button.
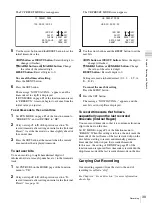
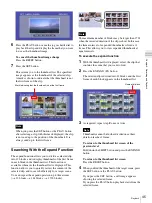
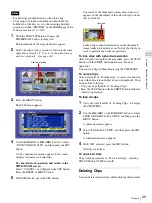
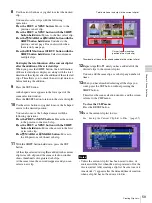
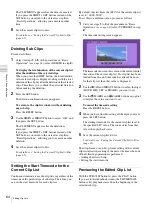
A deletion confirmation screen appears and then
thumbnails of four frames (the first frame,
intermediate frame 1, intermediate frame 2, and the
last frame) in the target clip appear. At the same time,
the clip name, title, date and time of creation, and
duration appear.
One of the following messages appears, depending on
whether the target clip is referenced in a clip list.
• When the target clip is not referenced in a clip list:
“DELETE CLIP?”
• When the target clip is referenced in a clip list:
“DELETE CLIP & CLIP LIST?” (The clip list that
references the clip will also be deleted.)
To cancel the deletion and return to the CLIP
MENU
Select “CANCEL”, and then press the SET button.
Press the RESET or MENU button.
5
Use the
V
/MARK1 button to select “OK”, and then
press the SET button.
The clip is deleted and you return to the thumbnail
screen.
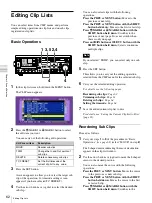
To go to the clip deletion screen without
displaying the CLIP MENU
After step
2
, press the RESET button with the SHIFT
button held down (shortcut operation).
The clip deletion screen appears directly, without
displaying the CLIP MENU.
To delete all clips
1
Carry out steps
1
and
3
of “Deleting Clips” to display
the CLIP MENU.
2
Use the
V
/MARK1 or the
v
/MARK2 buttons to select
“LOCK OR DELETE ALL CLIPS”, and then press
the
b
/OUT button.
A sub menu appears.
3
Select “DELETE ALL CLIPS”, and then press the
SET button.
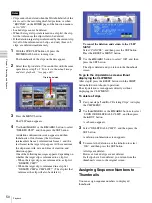
A deletion confirmation screen appears.
4
To execute the deletion, use the
V
button to select
“OK”, and then press the SET button.
All clips are deleted.
However, locked clips are not deleted.
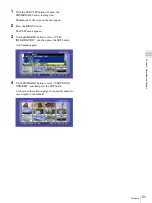
If all clips have been deleted, you return from the
thumbnail screen to the original screen.
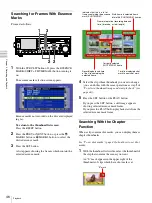
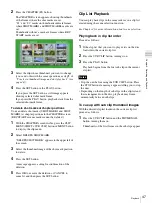
Assigning Sequence Numbers to
Thumbnails
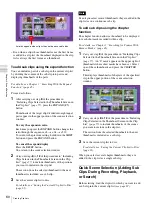
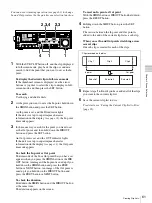
You can assign sequence numbers to displayed
thumbnails.
Notes
Clip to be deleted

