58
Creating Clip Lists
Cha
p
te
r 4
S
c
e
ne Sel
e
c
tio
n
2
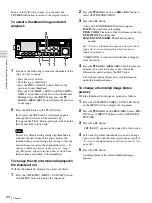
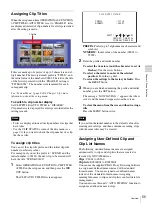
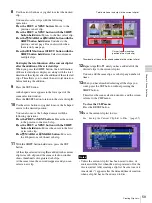
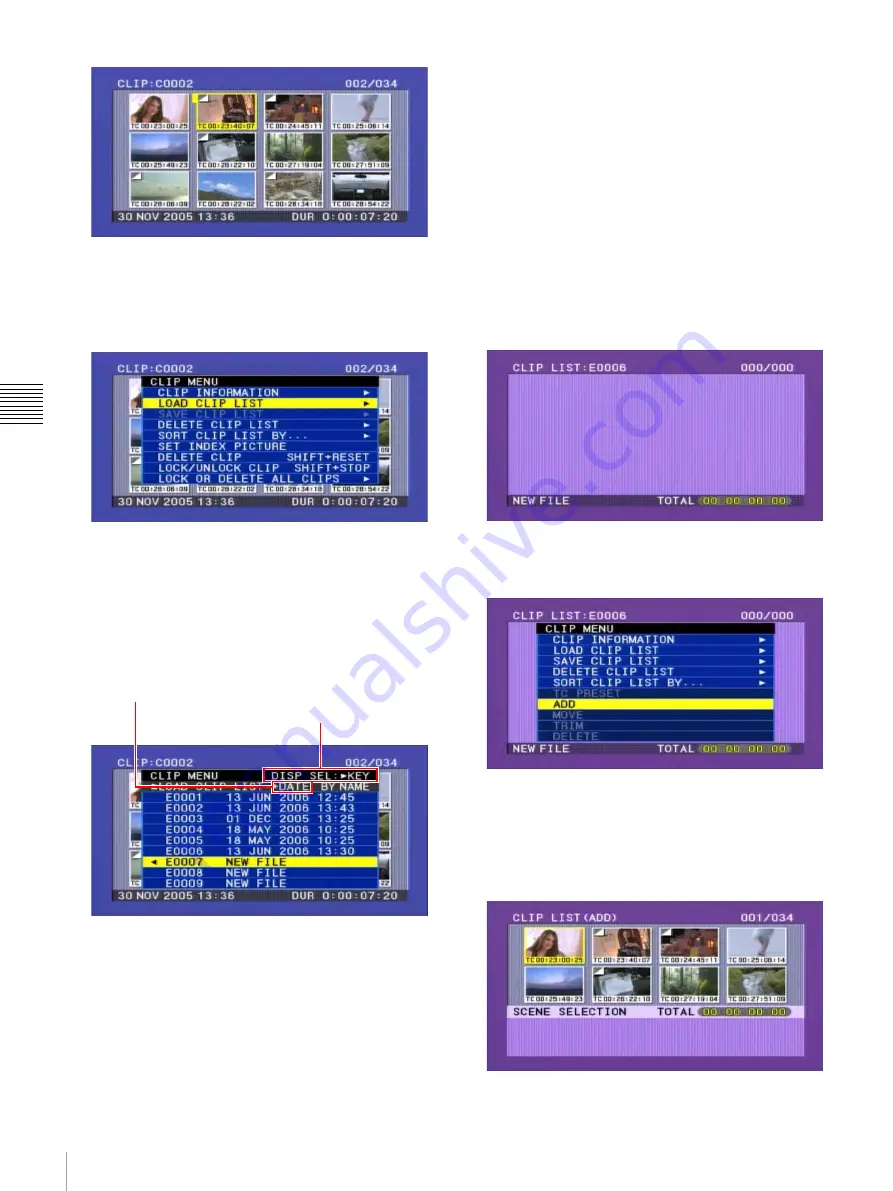
Press the MENU button.
The CLIP menu appears
(If no clip list is loaded in the current clip list, a screen
as shown in step
3
appears.)
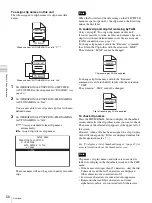
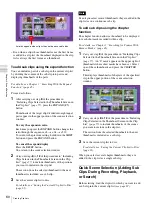
3
Use the
M
/MARK1 or
m
/MARK2 button to select
LOAD CLIP LIST, and then press the SET button.
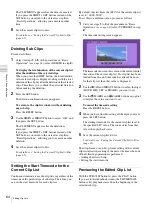
A clip list selection screen appears.
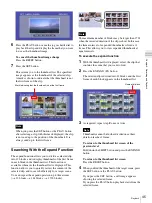
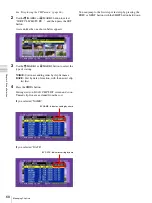
For an already created clip list, the details including
the creation date appear, and for an empty clip list,
“NEW FILE
”
appears.
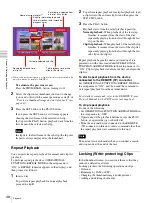
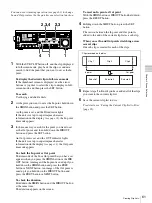
To select the type of clip list information to display
Press the
,
/OUT button.
Each press of the button switches the display in the
order Date >Title >Name.
The following informantion is displayed for display
item types
+DATE:
Date and time when the clip list was created
or last modified
+TITLE:
Title assigned to the clip list
+NAME:
Name of the clip list, or a user-defined name
You can use the supplied PDZ-1 Proxy Browsing
Software to assign titles to clip lists.
4
Use the
M
/MARK1 or
m
/MARK2 button to select a
clip list number such as E0001, and then press the SET
button.
This returns to the thumbnail screen.
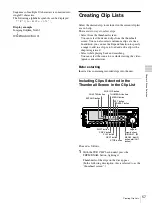
5
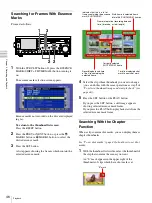
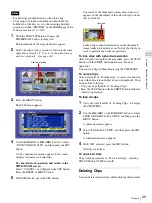
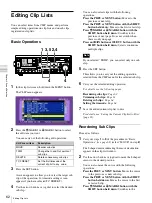
Press the SUB CLIP button.
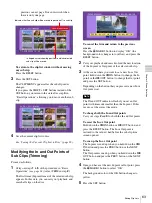
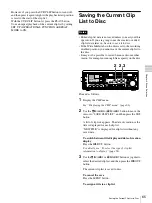
The clip list window appears.
If you selected NEW FILE in step
4
, the display shows
the state with no clips loaded as shown below.
Select NEW FILE to create a new clip list.
6
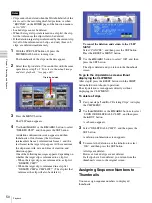
Press the MENU button.
The CLIP menu appears.
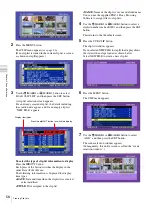
7
Use the
M
/MARK1 or
m
/MARK2 button to select
“ADD”, and then press the SET button.
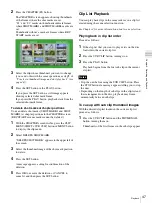
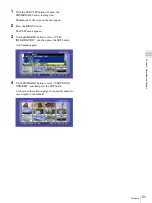
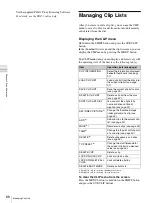
The scene selection window appears.
(Subsequently, this entire screen is called the “scene
selection window”.)
Press the
,
/OUT button to switch the display.
Display Item types

