Picsel Viewer
User Guide
Page 6
Panning and Zooming a
document
The document you wish to see is normally larger than the screen space
available. There are two ways to see more of it.
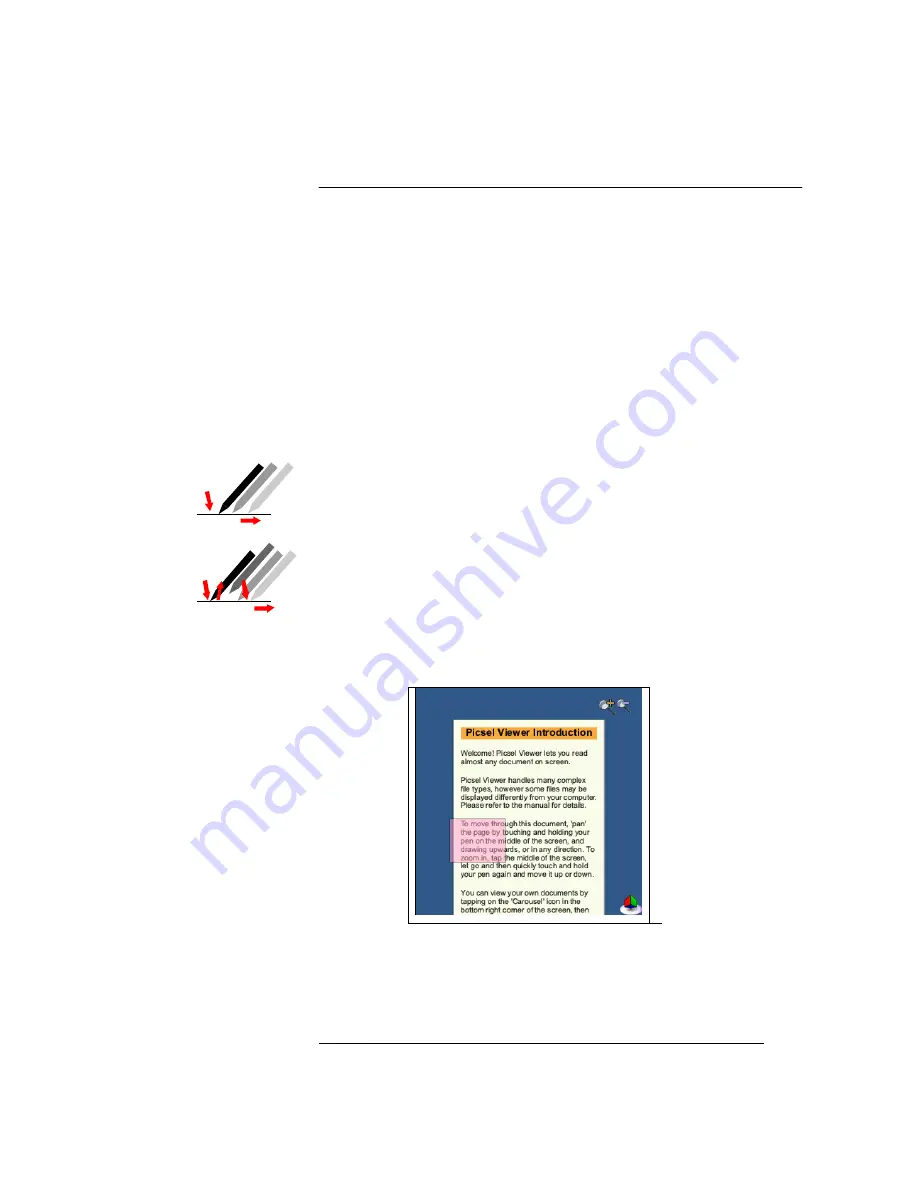
To pan (or ‘scroll’) to a different part of the document, simply stroke
your stylus across the screen in the direction you would like the page to
move. To pan the page up, touch and hold your stylus somewhere near
the middle of the screen and draw a line towards the top, then take your
stylus off the screen. You can do this repeatedly so that you can view
any size of document. Further, you can ‘throw’ the document across
the screen, and it will continue moving after you have released the
stylus. This gives you time to start another stroke. This inertia can be
used to save time while you pan around the document.
You can change the size of the document, so that more or less of it is
visible at a different size. Simply tap on the “+” magnifying glass icon
in the top right corner to zoom in, or on the “-” to zoom out. You can
also zoom in or out with a stylus movement; the tap-and-stroke gesture
for this is to tap your stylus briefly near the middle of the screen then tap
and hold it again in the same place. Now stroke your stylus up to zoom
in or down to zoom out. Release your stylus when you reach the scale
you like. Using this, you can view small print details on diagrams or get
an overview of a whole page.
The zoom box, showing in pink the area
that will be expanded using the horizontal
tap-and-stroke gesture.
A further method for zooming into a specific area of the document is
available in Picsel Viewer, called ‘Zoom Box’. Use the same tap-and-
Pan (Scroll):
1.
Zoom:
1. 2.
2.
4.
3.


