2-9.
Rear Panel Assembly
Preparation
1.
Remove the battery lid. (Refer to
2.
Remove the bottom cover. (Refer to
“2-3. Bottom Cover and Tripod Washer”
.)
3.
Remove the inside panel assembly. (Refer to
“2-4-1. Inside Panel Assembly”
.)
4.
Remove the outside panel assembly. (Refer to
“2-5-1. Outside Panel Assembly”
.)
5.
Remove the top panel assembly. (Refer to
6.
Remove the SxS slot assembly. (Refer to
Procedure
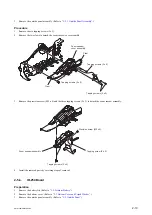
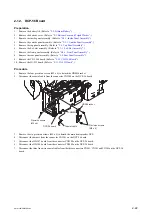
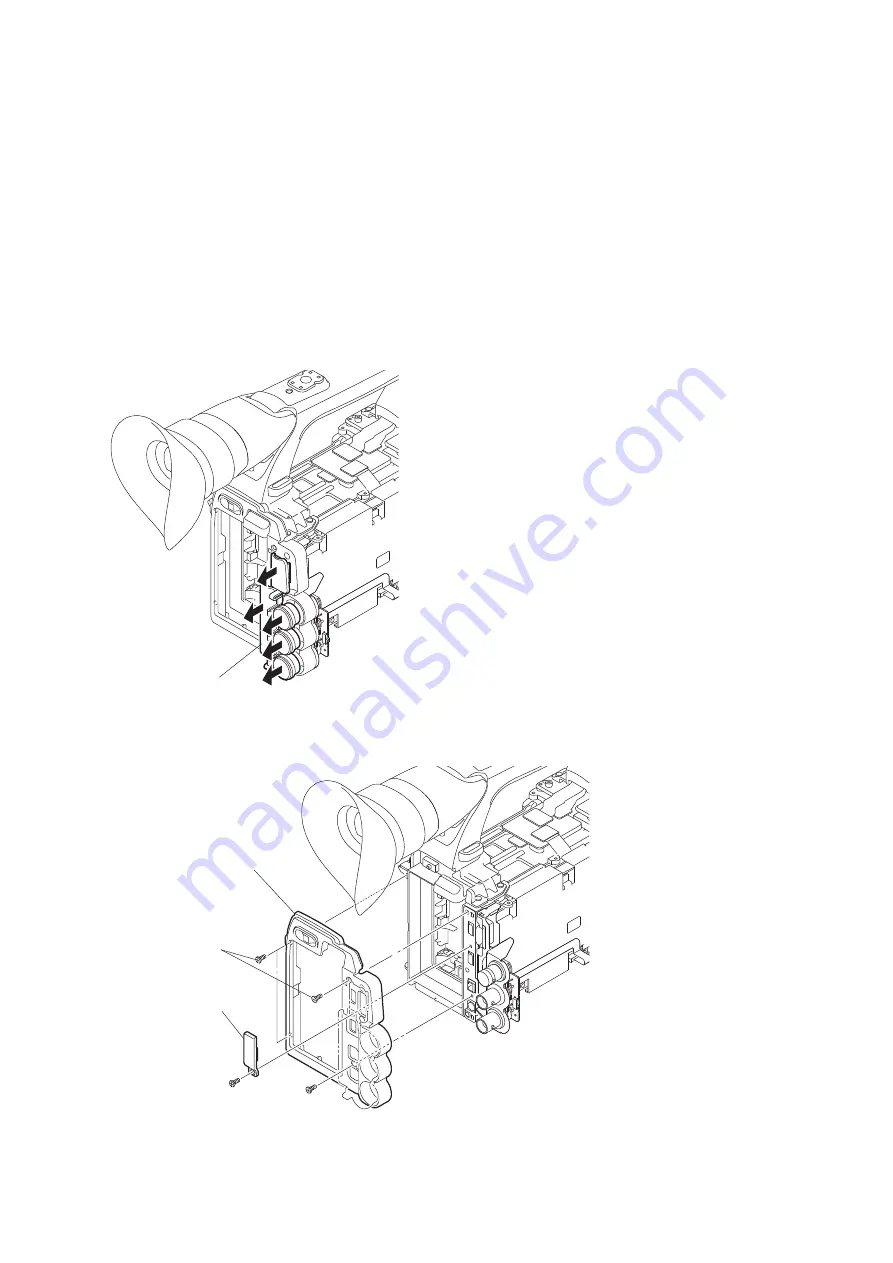
1.
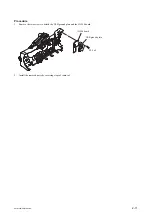
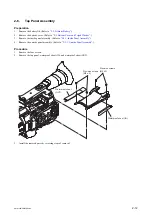
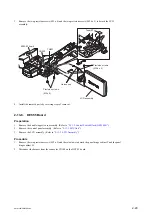
Detach the cap from the connector.
Caps
2.
Remove the (a) precision screw (M2 x 5) to detach the USB cap.
3.
Remove the four (b) precision screws (M2 x 5) to detach the rear panel assembly.
USB cap
Rear panel assembly
(a) Precision screw
(M2 x 5)
(b) Precision screws
(M2 x 5)
(b) Precision screws
(M2 x 5)
4.
Install the removed parts by reversing steps of removal.
PMW-200/PMW-EX280
2-18
Summary of Contents for PMW-200
Page 1: ...SOLID STATE MEMORY CAMCORDER PMW 200 PMW EX280 SERVICE MANUAL 1st Edition Revised 1 ...
Page 4: ......
Page 8: ......
Page 10: ......
Page 30: ......
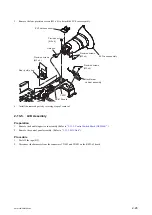
Page 38: ...3 Install the removed parts by reversing steps of removal PMW 200 PMW EX280 2 8 ...
Page 82: ......
Page 96: ......
Page 128: ......
Page 130: ......
Page 132: ......
Page 133: ......


