22
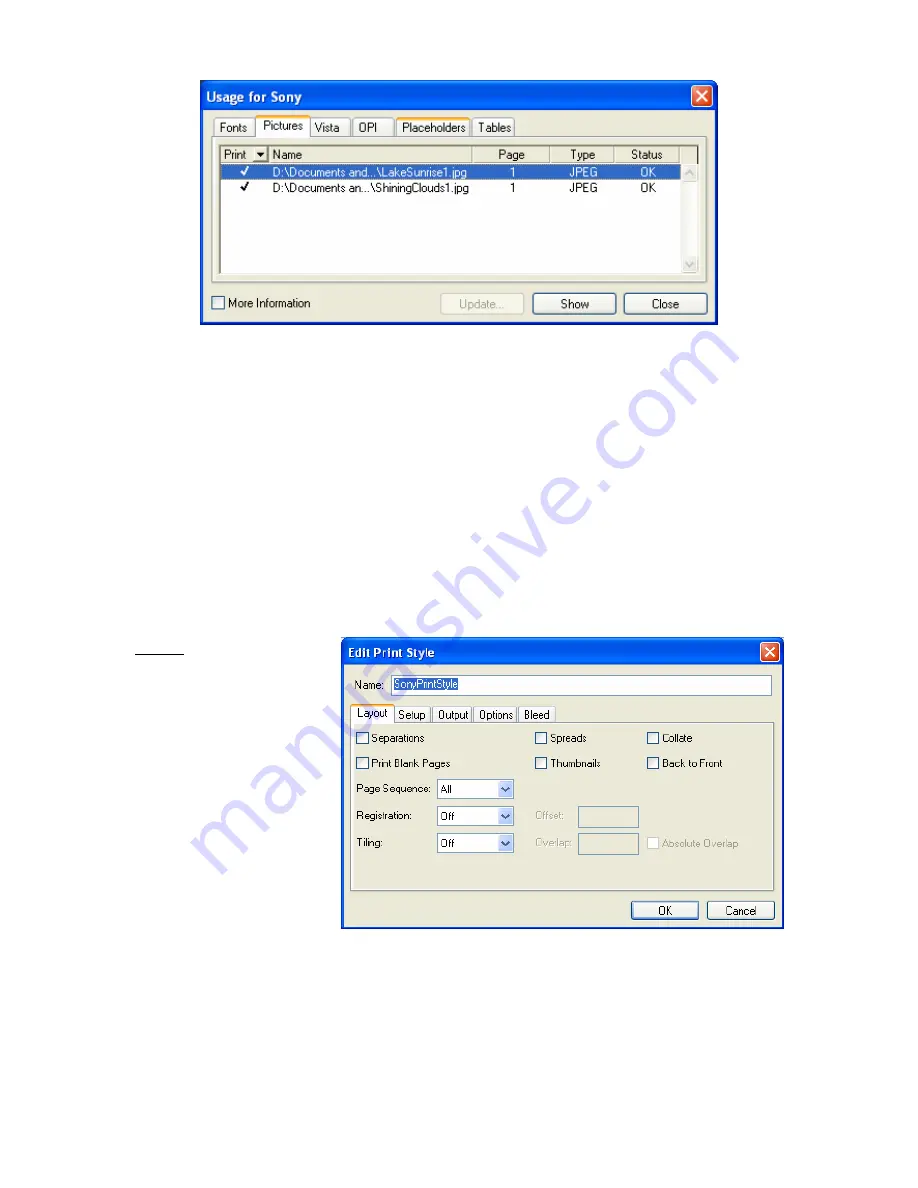
If the image status is “Missing,” click the “Update” button and navigate to the location of
the original image file.
Once all images are properly linked, press the “Done” button.
7. When you are ready to output your PDF, the first step is to define a Print Style
appropriate for the Sony
®
Reader. Once you have created this Print Style, it will
remain available for future use.
To define a Print Style, go to Edit
Print Styles.
In the dialog, select “New” and provide a name for your Sony
®
Reader-optimized print
style (for example, “SonyPrintStyle”).
Settings for the print style are as follows:
Layout
Summary of Contents for PRS950BC
Page 1: ...User s Guide to Creating PDFs for the Sony Reader 1 ...
Page 9: ...9 General tab Images tab ...
Page 10: ...10 Fonts tab Color tab ...
Page 23: ...23 Setup Output Options ...
Page 27: ...27 Setup Output Options ...
Page 32: ...32 General Setup For Paper Size select Custom Then provide settings as shown below ...
Page 33: ...33 Marks and Bleed Output ...
Page 34: ...34 Graphics Color Management ...
Page 40: ...40 Images tab Fonts tab ...


