66
67
���� �� �����
����
�����
������� ������� � ��
������
Connections (continued)
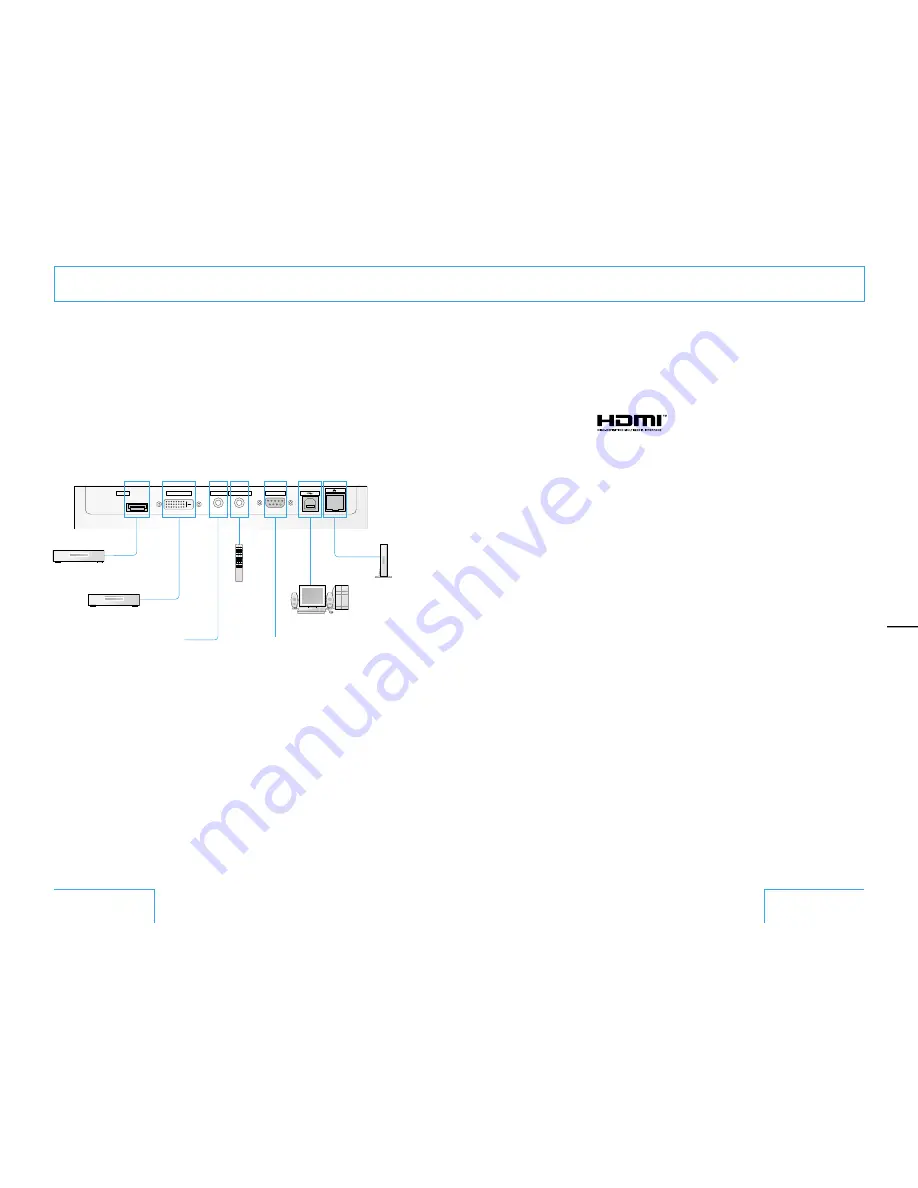
Connector panel (Right side)
1
HDMI connector
Connect to the HDMI output of your
component with an HDMI connector.
HDMI, the HDMI logo and High-Definition Multimedia
Interface are trademarks or registered trademarks of
HDMI Licensing LLC.
2
DVI-D connector
Connect to the DVI-D output of your
component with a DVI-D connector.
3
TRIGGER jack (monaural minijack)
Connect to send the ON or OFF condition of
the projector to external equipment.
However, you cannot use the connector as a
power source. When the projector is turned
off, no signal is output and when the
projector is turned on, a 12 V signal is
output.
4
CONTROL S IN jack (stereo minijack)
Connect to the control S out jacks of Sony
equipment.
Connect to the CONTROL S OUT jack on the
supplied remote when using it as a wired
remote. Even when you use the remote as a
wired remote, batteries must be inserted in
the remote.
5
REMOTE connector
This is a connector for system control with
which you can operate the projector from a
computer, etc.
6
USB connector
When the projector is connected to a
computer via this connector, you can adjust
the gamma values of the projector from the
computer using the ImageDirector software
provided on the CD-ROM that came with the
projector.
You cannot input a video signal from a
computer, etc. via this connector.
7
NETWORK connector
Connecting the projector to the network
enables control of the projector from a
computer and the sending of mail messages
that contain information on the present
status of the projector. For details, see page
68.
Remote
For system control
(Controlling the projector from
a computer, etc.)
Computer
For system control
(Controlling an
electrically-operated
screen, etc.)
Router/
Hub, etc.
Component with
an HDMI connector
Component with a
DVI-D connector
1
2
3
4
5
6
7
Installation/
Connections


