76
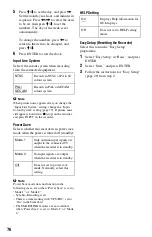
5
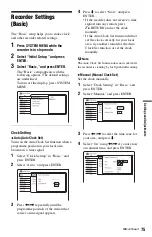
Press
M
/
m
to set the day, and press
,
.
Set the month, year, hour, and minutes in
sequence. Press
<
/
,
to select the item
to be set, then press
M
/
m
to set the
numbers. The day of the week is set
automatically.
To change the numbers, press
<
to
return to the item to be changed, and
press
M
/
m
.
6
Press ENTER to start the clock.
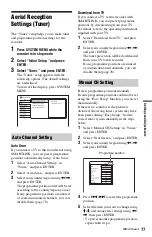
Input Line System
Selects the colour system when recording
from the connected equipment.
b
Note
When picture noise appears after you change the
“Input Line System” setting, change the “Input
Colour System” setting (page 79). If picture noise
still appears, hold down
x
(stop) on the recorder,
and press INPUT on the recorder.
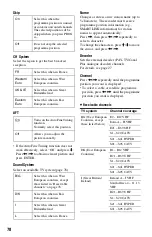
Power Save
Selects whether this recorder is in power save
mode when the power is turned off (standby).
b
Note
Power Save mode does not function in the
following cases, even when “Power Save” is set to
“Mode 1” or “Mode 2.”
– Synchro-Recording is set.
– There is a timer setting with “VPS/PDC” set to
“On” in the Timer List.
– The SMARTLINK features are not available
when “Power Save” is set to “Mode 1” or “Mode
2.”
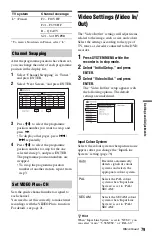
HELP Setting
Easy Setup (Resetting the Recorder)
Select this to run the “Easy Setup”
programme.
1
Select “Easy Setup” in “Basic,” and press
ENTER.
2
Select “Start,” and press ENTER.
3
Follow the instructions for “Easy Setup”
(page 20) from step 2.
NTSC
Records in NTSC or PAL-60
colour system.
PAL/
SECAM
Records in PAL or SECAM
colour system.
Mode 1
Only antenna input signals are
output to the connected TV
when the recorder is in standby.
Mode 2
No input signals are output
when the recorder is in standby.
Off
Does not set to power save
mode. Normally, select this
setting.
On
Displays Help information for
GUI displays.
Off
Does not set to HELP setting
mode.


