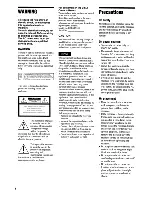
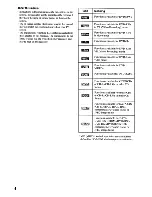
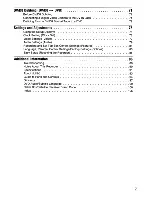
Sony RDR-GX355 - Tunerless DVD Recorder, Operating Instructions Manual
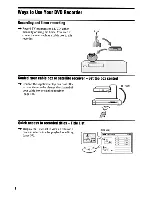
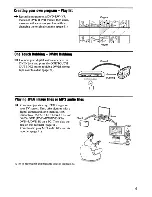
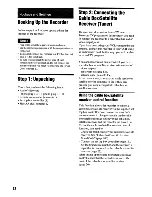
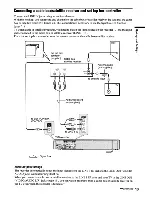
The Sony RDR-GX355 is a tunerless DVD recorder that allows you to easily record your favorite shows and movies. With its Quick Start Manual, you can quickly learn how to operate and set up this device. Download the free user manual from our website for detailed instructions on maximizing the features of this product.
Share
Download


Reviews:
No comments
Related manuals for RDR-GX355 - Tunerless DVD Recorder

DA-110P
Brand: DAC Pages: 2

DR-4700P
Brand: Daewoo Pages: 60

II
Brand: Nagra Pages: 3

PA-VR10E
Brand: Sharp Pages: 160

SB-P640
Brand: SB Pages: 11

WS-882
Brand: OM SYSTEM Pages: 156

RR-US510
Brand: Panasonic Pages: 44

DV425
Brand: Axis Pages: 60

Pressman BM-21
Brand: Sony Pages: 2

ICD-UX512BLK
Brand: Sony Pages: 4

ICD-SX46VTP - Icd Recorder With Voice
Brand: Sony Pages: 2

ICD-P520 - Digital Voice Recorder
Brand: Sony Pages: 2

ICD-P330F - Ic Recorder
Brand: Sony Pages: 2

TVVR41200
Brand: Abus Pages: 87

Open Eye HDDR-X240
Brand: PC Open Pages: 85

HDR-40
Brand: Datavideo Pages: 35

LOGOSCREEN cf
Brand: JUMO Pages: 32

LOGOSCREEN 500
Brand: JUMO Pages: 100


