1-21
84
DV/Digital8 Dubbing
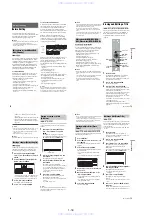
Before DV/Digital8 Dubbing
This section explains dubbing with a digital video
camera via the DV IN jack on the front panel. If
you want to dub by way of the LINE IN jacks, see
“Recording from connected equipment without a
timer” on page 57.
To record from the DV IN jack
The DV IN jack on this recorder conforms to the
i.LINK standard. You can connect any other
equipment that has an i.LINK (DV) jack, and
record digital signals.
Follow the instructions in “Preparing for DV/
Digital8 dubbing,” and then move on to the
section on dubbing. For more information about
i.LINK, see “About i.LINK” on page 108.
z
Hint
If you plan to do additional editing on a disc after the
initial dub, use the DV IN jack and record on a DVD-RW
(VR mode) or HDD.
You can connect a digital video camera to the DV
IN jack on the recorder to record or edit from a
DV/Digital8 format tape. Operation is
straightforward because the recorder will fast
forward and rewind the tape for you – you do not
need to operate your digital video camera. Do the
following to start using the “DV Edit” functions of
this recorder.
See the instruction manual supplied with the
digital video camera as well before connecting.
b
Notes
• The DV IN jack is for input only. It will not output
signals.
• You cannot use the DV IN jack when:
– your digital video camera does not work with this
recorder. Connect the camera to the LINE IN jack
and follow the instructions of “Recording from
connected equipment without a timer” on page 57.
– the input signal is not in DVC-SD format. Do not
connect a MICRO MV format digital video camera
even if it has an i.LINK jack.
– the images on the tape contain copy protection
signals, which limit recording.
• If you want to play the disc on other DVD equipment,
finalize the disc (page 40).
Hookups
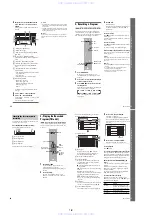
1
Press HDD or DVD to select the recording
destination.
If you select DVD, insert a disc (see “Inserting
a Disc” on page 31).
2
Insert the source DV/Digital8 format tape
into your digital video camera.
For the recorder to record or edit, your digital
video camera must be set to video playback
mode.
3
Press INPUT SELECT on the remote
repeatedly to select “DV.”
The front panel display changes as follows:
4
Press REC MODE on the remote repeatedly
to select the recording mode.
The recording mode changes as follows:
For details about the recording mode, see
page 49.
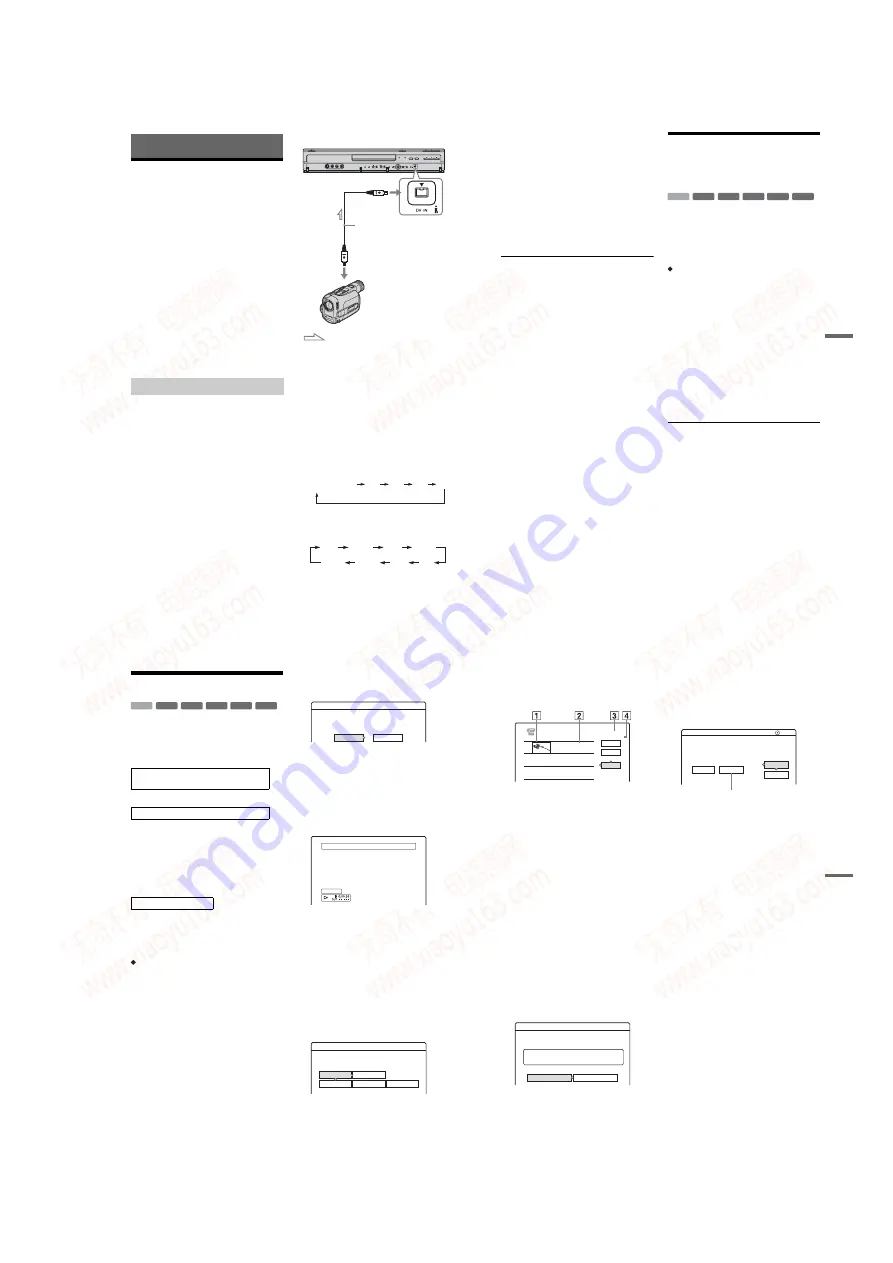
Preparing for DV/Digital8 dubbing
DVD recorder
to DV IN
i.LINK cable (not supplied)
DV output
Digital video camera
: Signal flow
L2
L1
L3
DV
Channel number
HQ
SP
HSP
LSP
SEP
EP
SLP
LP
85
DV/D
ig
it
al
8
Du
b
b
in
g
5
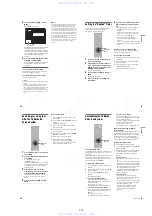
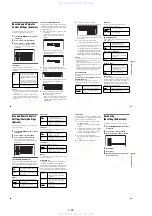
Press TOOLS on the remote to select “DV/
D8 Audio Input,” and press ENTER. Then,
select the setting for the audio input.
“Stereo1” (default): Records original sound
only. Normally select this when dubbing a DV
format tape.
“Mix”: Records both stereo 1 and 2.
“Stereo2”: Records additional audio only.
Select “Mix” or “Stereo2” only if you have
added a second audio channel when recording
with your digital video camera.
You are ready to start dubbing. Select one of
the dubbing methods on the following pages.
z
Hints
• You can turn off the recorder during dubbing. The
recorder completes dubbing even after being turned
off.
• You can adjust the settings for the recording picture
before recording. See “Adjusting the recording picture
quality and size” on page 53.
b
Notes
• You cannot connect more than one piece of digital
video equipment to the recorder.
• You cannot control the recorder using another device
or another recorder of the same model.
• You cannot record date, time, or the contents of the
cassette memory onto the disc.
• If you record from a DV/Digital8 format tape that is
recorded in multiple sound tracks, such as a tape with
multiple sampling frequencies (48 kHz, 44.1 kHz, or
32 kHz), no sound or an unnatural sound will be output
when playing back the sampling frequency switch
point on the disc.
• In order to use this recorder’s “Auto Chapter” setting
(pages 85, 86), be sure to correctly set the clock on your
digital video camera before shooting.
• The recorded picture may be momentarily affected if
the picture size of the source image changes, or if there
is nothing recorded on the tape.
Recording an Entire DV/
Digital8 Format Tape (One
Touch Dubbing)
You can record the entire contents of a DV/
Digital8 format tape onto a disc with a single press
of the ONE-TOUCH DUB button on the recorder.
The recorder controls the digital video camera for
the whole process, and completes the recording.
How chapters are created
The contents dubbed to the HDD or DVD become
a single title. When “Auto Chapter” of “Features”
setup is set to “On” (page 96), this title is divided
into chapters. When dubbing to the HDD or a
DVD-RW (VR mode), each shooting session on
the tape becomes a chapter on the disc. For other
discs, the recorder divides the title into chapters at
approximately 6 minute intervals.
Follow steps 1 to 5 of “Preparing for DV/
Digital8 dubbing” on page 84, and press ONE-
TOUCH DUB on the recorder.
The recorder rewinds the tape and then starts
recording the tape contents.
When the recording is finished, the recorder
rewinds the tape in the digital video camera.
To stop during recording
Open the remote’s cover and press
x
REC STOP.
Note that it may take a few seconds for the
recorder to stop recording.
z
Hints
• If you set “Finalize Disc” of “One Touch Dubbing” to
“Auto” in “Features” setup (page 97), the recorded disc
(except DVD-RW (VR mode)) will automatically be
finalized after recording is finished.
• You can play back a previously recorded title on the
HDD while One Touch Dubbing is in progress.
b
Notes
• When a blank space between the recordings on the tape
continues for more than five minutes, One Touch
Dubbing ends automatically.
• The recorder records a blank for five minutes before it
stops dubbing. To stop the blank recording, press
x
REC STOP.
-RWVR -RW
Video
+
RW
-
R
+
R
HDD
86
Program Edit
You can select scenes from a DV/Digital8 format
tape, and then automatically record selected
scenes to the HDD or a DVD.
To use this function, you will do the following:
m
Using the recorder’s remote control, fast forward
or rewind the tape to select the scenes. At this
point, the selected scenes are not copied to the
disc. The recorder only remembers the IN and
OUT points of the scenes that you selected for
dubbing. You can also reset, erase, or change the
order of the scenes.
After you have selected the scenes, the recorder
will fast forward and rewind the tape
automatically and record the scenes to the HDD or
a DVD.
The contents dubbed to the HDD or DVD become
a single title. When “Auto Chapter” of “Features”
setup is set to “On” (page 96), this title is divided
into chapters. When dubbing to the HDD or a
DVD-RW (VR mode), each shooting session on
the tape becomes a chapter on the disc. For other
discs, the recorder divides the title into chapters at
approximately 6 minute intervals.
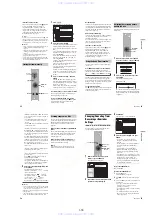
1
Follow steps 1 to 5 of “Preparing for DV/
Digital8 dubbing” on page 84, and press
SYSTEM MENU.
2
Select “DV/D8 EDIT,” and press ENTER.
The display asks if you want to start selecting
scenes.
• If you have previously saved a program, the
display asks if you want to edit an existing
program or to create a new program. To
resume editing the existing program, select
“Saved Data,” and go to step 6.
3
Select “Start,” and press ENTER.
The display for setting the IN point (start of
the scene) appears.
The scene starts to play in the background.
4
Select the IN point by pressing
m
/
M
,
and press ENTER.
The display for setting the OUT point (end of
the scene) appears. The scene starts to play in
the background from the IN point.
5
Select the OUT point by pressing
m
/
M
,
and press ENTER.
The display asks if you want to add the
selected scene to the Scene List menu.
To preview the scene, select “Preview.”
To reset either the IN or OUT point, select
“Change IN” or “Change OUT,” and repeat
the steps above.
Connect your digital video camera and
prepare for recording
Select and edit the scenes you want to dub
-RWVR -RW
Video
+
RW
-
R
+
R
HDD
Scene Selection
Do you want to select a scene?
Start
Cancel
Select scene(Set IN point)
Controlling...
Scenes Selection
Do you want to capture the scene
OK
Cancel
Preview
Change IN
Change OUT
0:00:30
between IN
and OUT 0:00:52?
87
DV
/D
ig
it
al
8
Du
b
b
in
g
6
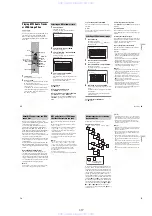
Select “OK,” and press ENTER.
A new Scene List menu appears with the
selected scene.
To add a scene, select “Add.”
A
Thumbnail picture
B
Time information
C
Total duration of the program
D
Total number of scenes
7
When you finish adding scenes, select the
scene you want to edit, and press ENTER.
The sub-menu appears.
“Move”: Changes the scene order. Follow the
explanations on the screen to change the order
by pressing
M
/
m
and ENTER.
“Erase”: Erases the scene. When asked for
confirmation, select “OK.”
“Preview”: Plays the selected scene.
“Change IN”: Changes the start of the scene.
Repeat from step 4.
“Change OUT”: Changes the end of the scene.
Repeat from step 5.
8
When you finish editing the Scene List,
select “OK,” and press ENTER.
The display for entering the title name
appears. To enter a new name, select “Enter,”
and follow the explanations on page 38.
9
Select “OK,” and press ENTER.
The default title name is fixed, and the display
asks if you want to start recording.
To change the disc media, select “Media” and
press
M
/
m
. To change the dubbing mode,
select “Dub Mode” and press
M
/
m
.
10
Select “Start,” and press ENTER.
The recorder starts recording the tape contents
as programmed.
• If the recording does not fit due to the
dubbing mode you selected, the display asks
if you want to continue.
To change the dubbing mode, select “Reset”
and repeat from step 9.
To have the recorder adjust the dubbing
mode, select “Auto Dub Mode.”
• If there is not enough disc space even after
changing the dubbing mode, the display
asks if you want to record halfway.
To continue, select “OK.”
To stop during recording
Open the remote’s cover and press
x
REC STOP.
Note that it may take a few seconds for the
recorder to stop recording.
b
Notes
• Contents recorded to the HDD or a DVD may not be
recorded as programmed if the tape’s time code is not
sequential or there are blanks between the recordings
on the tape. In this case, see “Recording from
connected equipment without a timer” on page 57.
• The start and end points of a program may be different
from what you have set if the source DV/Digital8
format tape is in any of the following conditions:
– Recording mode was changed during the recording.
– There is a blank space in the recorded portion of the
tape.
• If you set the beginning of the tape as the IN point and
the end point as the OUT point, the IN and OUT points
may move slightly during dubbing.
• You cannot set a scene to be shorter than one second.
0:00:30 - 0:00:52
0H00M22S
1
DV / D8 EDIT
SCENE LIST
Total
OK
Quit
Add
1
0:00:22
Scenes
Title Name
Enter the title name.
10/11/03 1:30PM - 11/12/03 4:46PM
OK
Enter
DV
2.6
DVD
GB
Change the dubbing mode if necessary.
Cancel
Start
DV / D8 Dubbing
Media
Dub Mode
Select "Start" to start dubbing.
SP 0.8
GB
Data capacity required for the dubbing
www. xiaoyu163. com
QQ 376315150
9
9
2
8
9
4
2
9
8
TEL 13942296513
9
9
2
8
9
4
2
9
8
0
5
1
5
1
3
6
7
3
Q
Q
TEL 13942296513 QQ 376315150 892498299
TEL 13942296513 QQ 376315150 892498299


