11
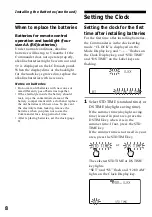
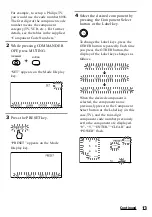
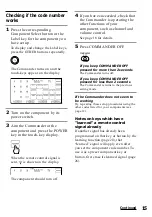
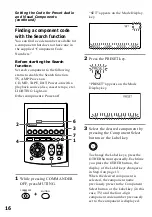
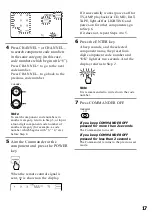
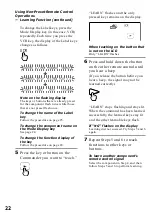
Each time the SET key is pressed, the
Label keys change as follows.
“CLOCK” appears and flashes on one
of the Label keys on the display.
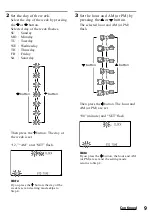
3
Press the CLOCK key.
The Commander enters clock setting
mode.
“CLOCK” appears on the Mode Display
key, and the current time flashes.
To select STD TIME (standard
time) or DS TIME (daylight
saving time)
When the Commander enters the
clock setting mode when the clock is
already set, the time mode previously
set (STD TIME or DS TIME) stays lit
and the other time mode flashes, and
the setting mode goes to Step 4.
If you want to change the time mode,
press the flashing key (STD TIME or DS
TIME). The selected STD TIME or DS
TIME key lights, and the setting mode
goes to Step 4.
If you do not want to change the time
mode, press the or button. The
setting mode goes to Step 4.
When the time mode is changed
from STD TIME to DS TIME
The time of the clock returns by one hour.
When the time mode is changed
from DS TIME to STD TIME
The time of the clock advances by one hour.
4
To set the clock, follow Steps 2 - 5
on page 9 - 10.
Note
If you press the SET key in Step 3 or 4, the
clock is set then. The clock starts from 0 second.
Summary of Contents for RM-AV3100 - Integrated Remote Commander
Page 110: ...110 Full Display ...
Page 112: ...Printed in Malaysia ...


