9
RM-AX4000
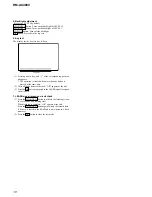
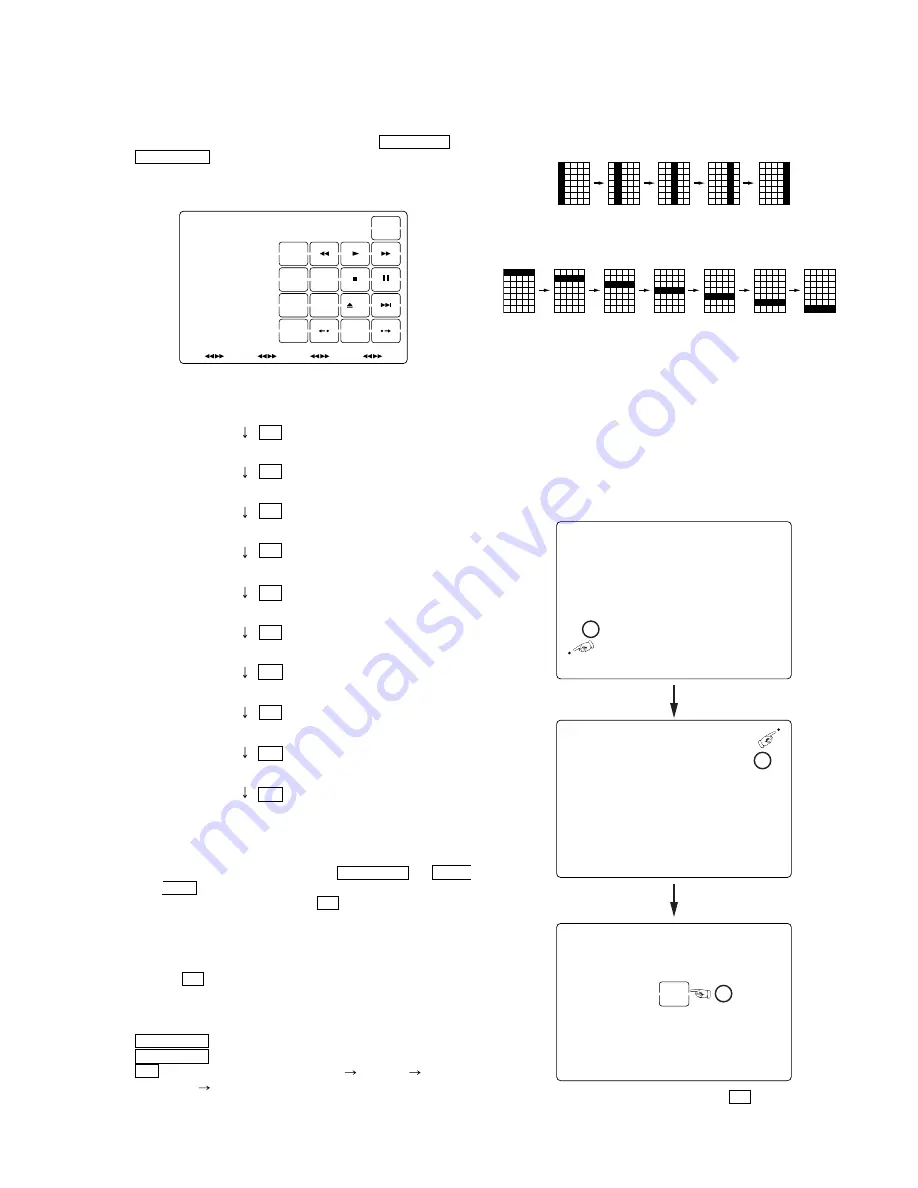
Setting the Test Mode
Install the battery while holding down the and
buttons, and turn on the power.
The display becomes as follows.
* The backlight is always on.
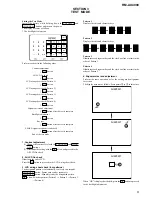
Perform each test in the following order:
1. Contrast adjustment
(1) Change the contrast level with the and CHAN
NEL– buttons.
(2) Determine the setting with the OK button, and proceed to the
All LCD On check.
2. All LCD On check
Illuminate the entire LCD.
Press the OK button to proceed to the LCD wiring sheet check.
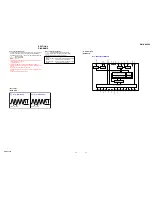
3. LCD wiring sheet check (four patterns)
The designated pattern is automatically sent every two seconds.
CHANNEL– button: Pauses auto send or resumes it.
button: Manually sends the designated pattern.
OK button: Switches patterns (Pattern 1
Pattern 2
Pattern 3
Pattern 4)
Pattern 1
Displays the title and character keys
Pattern 2
Displays the title and character keys
Pattern 3
Illuminates each segment key and the clock one line at a time in the
order of Pattern 1.
Pattern 4
Illuminates each segment key and the clock one line at a time in the
order of Pattern 2.
4. Alignment test and adjustment
Perform the same operation as for the setting mode alignment
correction.
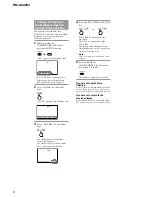
The display becomes as follows. Press points
1
to
3
in this order.
SECTION 3
TEST MODE
CONTRAST
2
1
3
5
4
6
ENTER
+10
8
0
7
9
POWER
REC
INPUT
DISPLAY MAIN/SUB
LIST
A/B
TOP MENU
Contrast adjustment
All LCD On check
LCD wiring sheet check (Pattern 1)
LCD wiring sheet check (Pattern 2)
LCD wiring sheet check (Pattern 3)
LCD wiring sheet check (Pattern 4)
Alignment test and adjustment
Backlight adjustment
Key test
LEARN signal reception circuit check
End of the test mode
OK button
OK button
OK button
OK button
OK button
OK button
OK button
OK button after the test is complete
OK button after the test is complete
OK button after the test is complete
ALIGNMENT
1
ALIGNMENT
2
ALIGNMENT
3
When “OK” is displayed at the title, press the OK button to proceed
to the backlight adjustment.


