


4
Features
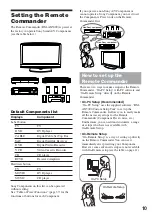
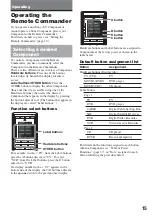
The RM-AX5000 is a full-featured Universal
Remote Commander that easily consolidates all of
your remote controls into one, providing full control
of up to 18 different Components, including audio,
video, and home theater. The following are its main
features.
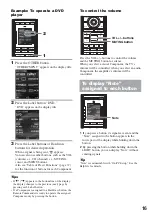
Control up to 18 Components
With the Remote Commander, you can control up to
18 Components, including your TV, DVD Player,
Cable Set Top Box, Satellite Receiver, DVR, VCR,
CD Player, Receiver, etc.
Centralized control of Sony A/V
Components with one Remote Commander
The Remote Commander is preset at the factory to
operate Sony brand Components, so you can use it
out of the box as a control center for your Sony A/V
Components.
Remote control signals for non-Sony
Components are also included
The Remote Commander also recognizes the Preset
codes for most major brands Components, not only
Sony. Just select the corresponding codes to control
all of your A/V Components.
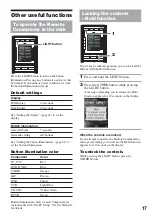
XPRESS functions for executing macros to
operate several A/V Components by just
one button
Groups of commands from different Components
can be set for up to 12 XPRESS functions. For
example, when you watch a movie on a DVD player
using a TV and Receiver/Amplifier, you can turn on
all Components by the press of a single button, even
selecting the necessary inputs at the same time,
automatically. Available buttons for the XPRESS
functions appear on the display.
Also, XPRESS functions can memorize the power
on/off and input status of each Component, and send
a corresponding signal all with a single button press.
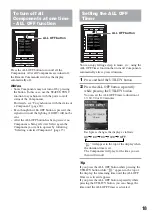
Clock display and Timer function
Up to 12 Timer Actions can be programmed to
automatically turn on/off Components and other
controls (such as recording, stopping, etc.)
Learning function lets you program other
remote control signals you may need
The Remote Commander can learn the (infrared)
remote control signals of other devices such as air
conditioners, lightings, etc. (some appliances or
functions may not work.)
System Control function executes a macro
by pressing one button
In addition to the XPRESS function, more settings
can be programmed to perform a macro just by
pressing one button. You can program up to 9
System Control functions.
Furthermore, you can program a macro to other
buttons as a single step of an XPRESS function or
Component operation.
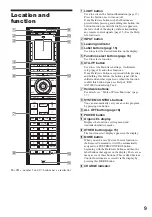
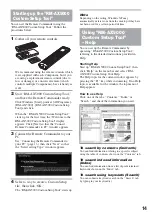
Bright and Clear Full-color (65k colors)
Organic EL Display and Button Illumination
Bright and easily readable color OLED (Organic
Light-Emitting Diode) Display with wide viewing
angle. You can customize the display by uploading
your own images. The illuminated key pad makes
the buttons clearly visible.
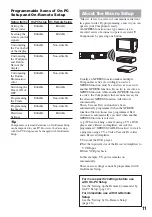
The supplied software “RM-AX5000 Custom
Setup Tool” for easy Remote Commander
set-up
By installing the “RM-AX5000 Custom Setup Tool”
on the supplied CD-ROM onto your PC, you can
customize the setting of the Remote Commander
according to your preferences. You can also
program various advanced settings easily.
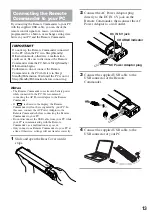
The settings programmed on your PC can be
transferred to the Remote Commander as necessary
using the supplied USB cable.
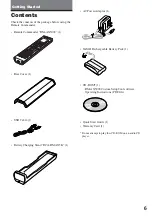
Summary of Contents for RM-AX5000
Page 52: ...4 000 116 11 1 ...


