60
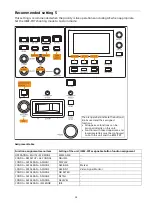
Operation using ASSIGN 4, ASSIGN
5, and ASSIGN 6
Press ASSIGN 4, ASSIGN 5, or ASSIGN 6. The
button is lit yellow, and the adjustment item and
setting of the function assigned to the button is
displayed on the LCD panel.
For details about function assignments to assign
buttons, see “Assigning Functions to Assign
Setting Specific
Functions using
Shortcuts (ILME-FR7)
When the IRIS, GAIN, SHUTTER, ASSIGN 4,
ASSIGN 5, or ASSIGN 6 button is pressed on the
menu control block, the setup item and setting
of the function assigned to the button is
displayed on the LCD panel or camera image.
You can change the setting using the VALUE
knob (FUNCTION menu or multi-function dial
mode).
This allows you to set some functions more
quickly than by using normal menu operations.
Note
To use functions displayed on the camera image,
set the camera to superimpose the screen
display on the image output used for operating
this unit.
*1 Picture profile is not supported on the ILME-FR7.
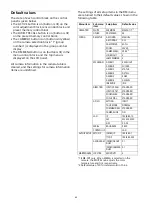
Target buttons/functions
LCD display Setting
display
destination
Dedicated
buttons
Iris
IRIS
Camera
image
ISO/gain
ISO/GAIN
Camera
image
Shutter
SHUTTER
Camera
image
ASSIGN 4 to
ASSIGN 6
buttons
*1
DETAIL level
DETAIL
LEVEL
LCD panel
Knee point
KNEE
LCD panel
Exposure
compensation
AE LEVEL
Camera
image
ND filter
ND FILTER
Camera
image
Audio input
level
AUDIO LVL
LCD panel
Camera
assignable
button
ASSIGN 1 to
ASSIGN 9
Camera
image
Lens FOCUS
HOLD button
FOCUS
HOLD
Camera
image
Summary of Contents for RM-IP500
Page 86: ...Sony Corporation ...


