29
Basic Operations
Basic Operations
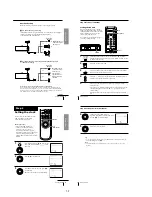
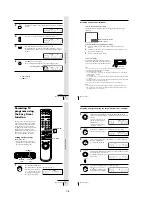
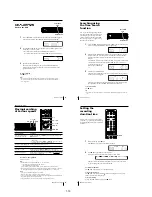
1
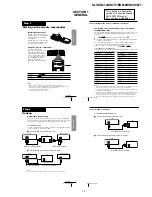
• When “–:– –” is displayed in the display window, push the
EASY TIMER knob.
• To change the clock setting, push and hold the EASY TIMER knob
on the VCR for more than three seconds.
The CLOCK indicator and the current clock setting appear in the
display window.
2
Set the current time using the EASY TIMER knob.
1
Turn the EASY TIMER knob clockwise or counterclockwise to
enter the current hour.
2
Push the EASY TIMER knob to confirm the hour setting.
3
Turn the EASY TIMER knob to increase or decrease the minutes
setting by a minute.
Press ENTER (AM/PM) to
change AM and PM.
Setting or changing the
Easy Clock
When “–:– –” is displayed in the VCR’s
display window, the VCR clock has not
been set. You need to set the clock using
the Easy Clock function before setting
the timer. You can also change the
current time using the Easy Clock
function.
CH +/–
Number
buttons
EASY
TIMER
ENTER (AM/PM)
EASY TIMER
EASY TIMER
1
2
3
4
5
6
7
8
9
0
EASY TIMER
knob
SP
APC
CLOCK
START
AM
SP
APC
CLOCK
START
AM
continued
Basic Operations
30
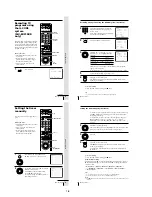
Recording TV programs using the Easy Timer function (continued)
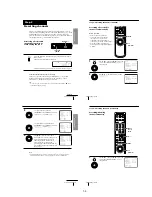
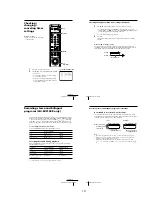
3
Push the EASY TIMER knob to confirm the clock setting.
The VCR enters the timer recording setting mode.
To continue the Easy Timer
setting, go to step 2 in
“Setting the Easy Timer” on
page 27.
To quit the Easy Timer setting mode without changing any settings,
push the EASY TIMER knob repeatedly until the
t
indicator
appears in the display window.
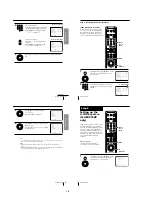
To set the timer and clock setting using the remote commander
You can also use the remote commander to set the Easy Timer and Easy
Clock. The operations on the VCR and the remote commander correspond as
follows:
To
Confirm the setting and go to
the next setting
Change the time by 15 minutes
(in START/STOP mode)
Change the time by one minute
(in START/STOP mode)
Select the channel
Change the hour/minute by
one hour/minute (in CLOCK
mode)
Do this on the VCR
Push the EASY TIMER
knob
Turn the EASY TIMER
knob or hold
C/– down
Press C/–
Turn the EASY TIMER
knob or press
C/–
Turn the EASY TIMER
knob or press
/–
Do this on the remote
commander
Press EASY TIMER
Hold CH +/– down
Press CH +/–
Press CH +/– or INPUT
SELECT
Press CH +/–
You can also use the number buttons to set the clock, start and stop times,
and the channel you want to record. Just press the number buttons to enter
the hours and minutes. For example:
• To set the clock to “8:20”, press 0, 8, EASY TIMER , 2, 0 and EASY TIMER
in sequence.
• To set the start or stop time to “8:20”, press 0, 8, 2, 0 and EASY TIMER in
sequence.
If you make a mistake, re-enter the correct digits before pressing
EASY TIMER .
EASY TIMER
SP
APC
START
PM
31
Basic Operations
Basic Operations
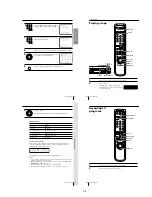
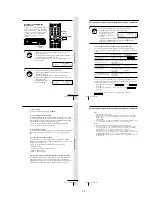
To stop recording
To stop the VCR while recording, press
x
STOP.
To check or change the timer setting
Push the EASY TIMER knob repeatedly until the setting you want to check
or change flashes. Then re-enter the new setting, if necessary. If you do not
want to change any of the settings, push the EASY TIMER knob repeatedly
until the
t
indicator appears in the display window.
You can also change the timer setting using the TIMER SET/CHECK
(
) menu. For details, see page 45.
To cancel the timer setting
To cancel the Easy Timer setting while doing the setting, press CLEAR on the
remote commander or press C and – on the VCR at the same
time.
To use the VCR after setting the timer
To use the VCR before a timer recording begins, just press
?/1
. The
t
indicator turns off and the VCR switches on. Remember to press
?/1
to reset
the VCR after using the VCR.
You can also do the following tasks while the VCR is recording:
• Reset the counter.
• Display tape information on the TV screen.
• Check the timer settings.
• Watch another TV program.
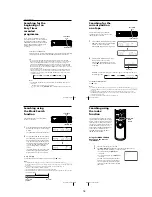
To watch the recorded program right after the Easy Timer recording
The SEARCH MODE indicator starts flashing when the VCR finishes the
Easy Timer recording. To watch the recorded program, push the EASY
TIMER knob. The VCR turns on, starts searching, then automatically starts
playback from the beginning of the recording. For details, see page 37.
continued
Basic Operations
32
Tips
• (SLV-ED919KR and ED717KR)
To record from a source connected to LINE-1 IN or LINE-2 IN jacks, press INPUT
SELECT or CH +/– or turn the EASY TIMER knob to display “L1” or “L2” in the
display window.
• (SLV-ED212KR)
To record from a source connected to LINE-1 IN jacks, press INPUT SELECT or CH
+/– or turn the EASY TIMER knob to display “L” in the display window.
Notes
• You cannot set the Easy Timer if eight programs have already been set.
• You can set the timer for only one program using the Easy Timer function. If you
want to set the timer for other programs, use the G-CODE system or the TIMER
SET/CHECK (
) menu. For details, see pages 33 and 35.
• You cannot set the date using the Easy Timer function. Set the date using the
CLOCK SET (
) menu if you want to set the timer with the G-CODE system
or the TIMER SET/CHECK (
) menu. For details, see page 11.
• The
t
indicator flashes in the display window when you complete the setting with
no tape inserted.
Recording TV programs using the Easy Timer function (continued)
1-7
Summary of Contents for RMT-V310
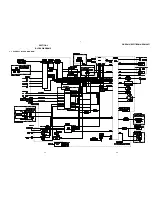
Page 24: ...SLV ED212 ED717 ED818 ED919 LF1 3 1 3 2 SECTION 3 BLOCK DIAGRAMS 3 1 OVERALL BLOCK DIAGRAM ...
Page 27: ...SLV ED212 ED717 ED818 ED919 LF1 3 4 AUDIO BLOCK DIAGRAM 3 7 3 8 ...
Page 28: ...SLV ED212 ED717 ED818 ED919 LF1 3 5 TUNER BLOCK DIAGRAM 3 9 3 10 ...
Page 29: ...SLV ED212 ED717 ED818 ED919 LF1 3 6 MODE CONTROL BLOCK DIAGRAM 3 11 3 12 ...


