1-16E
64
Additional Information
Playback
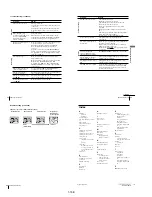
The sound from a tape
recorded with the VCR is not
in stereo or the STEREO
indicator in the display
window is flashing.
Symptom
Remedy
¥
Adjust the tracking.
¥
The video heads are dirty. Clean the video heads
using the Sony T-25CLD, E-25CLDR, or T-25CLW
video head cleaning cassette as explained above.
No TV programme appears on
the TV screen.
¥
Make sure the TV is set to the video channel. If you
are using a monitor, set it to video input.
¥
Existing broadcasts may interfere with the VCR.
Reset the RF channel output of your VCR (see
page 17).
¥
Select the correct source with the INPUT SELECT
button. Select a programme position when recording
TV programmes; select a line input when recording
from other equipment.
TV reception is poor.
¥
Make sure the aerial cable is connected securely.
¥
Adjust the TV aerial.
¥
Make sure the TV system is correctly set for your TV.
¥
Make sure TV SYSTEM (B/G, D/K, I, B/B,
U.S
—
ANT., U.S
—
HRC, U.S
—
IRC or JAPAN) in the
INSTALLATION menu is set to the same system in
your local area.
The recorded picture has no
colour or unusual colour.
¥
Set COLOUR SYSTEM in the USER SET menu
according to your local colour system.
The tape starts playing as
soon as it is inserted.
¥
The safety tab has been removed. To record on this
tape, cover the tab hole (see page 34).
The tape is ejected when you
press
z
REC.
¥
The safety tab has been removed. To record on this
tape, cover the tab hole (see page 34).
¥
The tape is defective.
¥
If you made A/V connections, check the audio cable
connection.
¥
If you made connections using the aerial cable only,
make sure the TV system is set correctly for your
area.
The picture has no sound.
Recor
ding
Nothing happens when you
press
z
REC.
¥
Make sure the tape is not at its end.
Troubleshooting (continued)
65
Additional Inf
ormation
Additional Information
Timer recor
ding
Symptom
Remedy
The timer does not operate.
¥
Check that the clock is set.
¥
Make sure a tape has been inserted.
¥
Check that the safety tab has not been removed.
¥
Make sure the tape is not at its end.
¥
Make sure a programme has been set for timer
recording.
¥
Make sure your timer settings are past the current
time.
¥
The clock stops if the VCR is disconnected from the
mains. Reset the clock and timer.
¥
Turn the power off and unplug the mains lead.
Others
A tape cannot be inserted.
¥
Check that a tape is not already in the tape
compartment.
The remote commander does
not function.
¥
Make sure you are pointing the remote commander at
the remote sensor on the VCR.
¥
Replace all the batteries in the remote commander
with new ones if they are weak.
¥
Make sure the
¥
TV/VIDEO remote control switch is
set correctly.
The selected input line
connector number does not
appear in the display window.
¥
Press INPUT SELECT to display the connected line.
¥
The recording condition of the tape is very poor and
tracking cannot be adjusted.
The VCR needs to be cleaned.
The display window becomes
dim.
¥
The display window automatically becomes dim
when the VCR is in standby mode.
The tracking meter does not
appear on the TV screen.
¥
Clean the cabinet, panel and controls with a dry, soft
cloth, or a soft cloth slightly moistened with a mild
detergent solution. Do not use any type of solvent,
such as alcohol or benzine.
continued
66
Additional Information
Symptoms caused by contaminated video heads
¥
Normal picture
¥
Rough picture
¥
Unclear picture
¥
No picture (or
black & white
screen appears)
initial
contamination
terminal
Troubleshooting (continued)
Sony Corporation
AC68-01837A
Index
A
Adjusting
picture 56
tracking 56
Aerial hookup 13
ASC (Auto Sharpness Control)
56
Audio track 54
Audio/video hookup 14
Auto Set Up 15
C
Changing the programme
position 25
Changing the station name 28
Cleaning the video heads 63
Clock setting 18
Colour system
compatible colour systems
2
setting 30
Connecting
the VCR and your TV 13
to a stereo system 14, 60
to a TV with audio/video
jacks 14
Counter 31
D
Demonstration 41
Disabling the programme
positions 26
Dubbing.
see
Editing
E
Easy Timer 36
Editing 60
EP mode 32
H
Hi-fi audio track 54
I
Index scan 55
Index search 55
L
Language selection 15, 21
LP mode 32
M
Manual fine tuning 24
Monaural 53
Monitoring
during playback 54
during recording 52
N
NICAM broadcasts 53
Normal audio track 54
O
Optional setting 58
P
Playback 30
at various speeds 48
frame-by-frame 48
selecting the sound 52
slow motion 48
Power save 57
Presetting channels 22
R
Recording 32
bilingual programmes 52
duration time 49
saving 34
stereo programmes 52
timer setting 45
using the Easy Timer 36
using the G-CODE system
42
while watching another
programme 34
RF channel 15, 17
S
Safety tab 34
Searching
at various speeds 48
using the index function 55
G-CODE
recording 42
SP mode 32
Stereo 52
T
Timer setting 45
cancelling 50
changing 50
checking 50
daily/weekly recording 44,
46
using the Easy Timer 36
using the G-CODE system
42
Z
ZWEITON broadcasts 52
Summary of Contents for RMT-V408A
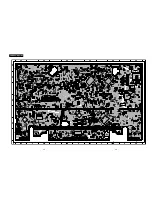
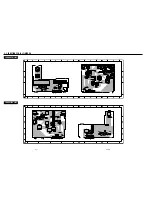
Page 28: ...3 1 MAIN PCB AUS 3 3 3 4 COMPONENT SIDE ...
Page 29: ...3 6 3 5 CONDUCTOR SIDE ...
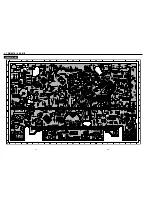
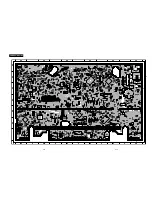
Page 30: ...3 2 MAIN PCB E HK ME 3 7 3 8 COMPONENT SIDE ...
Page 31: ...3 10 3 9 CONDUCTOR SIDE ...
Page 32: ...3 3 FUNCTION PCB Hi Fi MODEL 3 11 3 12E COMPONENT SIDE CONDUCTOR SIDE ...
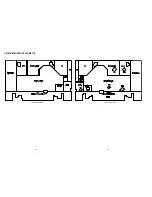
Page 34: ... BLOCK IDENTIFICATION OF MAIN PCB Component Side Conductor Side 4 3 4 4 ...
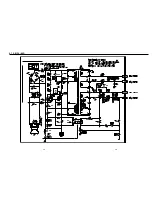
Page 35: ...4 1 S M P S AUS PWR OFF PWR ON 1 2 4 6 4 5 ...
Page 36: ...4 2 S M P S E HK ME 4 7 4 8 PWR OFF PWR ON 1 2 ...
Page 37: ...4 3 POWER 4 10 4 9 ...
Page 38: ...6 5 7 3 4 0 8 9 4 4 SYSTEM CONTROL SERVO 4 11 4 12 ...
Page 41: ... VIDEOPROCESS IN VIDEOPROCESS OUT AUDIOPROCESS IN AUDIOPROCESS OUT qj 4 7 TM BLOCK 4 18 4 17 ...
Page 42: ... OSD VIDEO PROCESS IN OSD VIDEO PROCESS OUT qk 4 8 OSD VPS PDC 4 19 4 20 ...
Page 43: ...4 9 A2 NICAM ED925 ED929 EZ725 EZ727 4 21 4 22 ...
Page 45: ...4 11 SUB Hi Fi MODEL 4 25 4 26 ...
Page 48: ...4 32E MEMO ...

