1-2
8
Getting Started
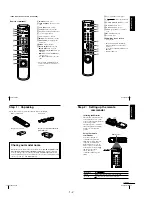
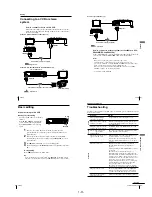
Remote commander
1
2
3
4
5
6
7
8
9
0
1
Z
EJECT button (30)
2
INPUT SELECT button (32) (45)
(62)
3
TV/VIDEO button
(for TV)
4
CLEAR button (31) (42) (50)
5
Programme number buttons* (42)
6
-/-- (ten s digit) button
7
VOL (volume) +/
—
buttons
8
z
REC (record) button (33) (49)
9
REC SPEED (recording speed)
button (32)
q;
MENU button (21) (50)
qa
X
PAUSE/
M
button (21) (30)
x
STOP/
m
button (21) (30)
m
REW (rewind)/
<
button (21)
(30) (48)
M
FF (fast-forward)/
,
button
(21) (30) (48)
H
PLAY/OK button* (21) (30)
(48)
* The
H
PLAY, AUDIO MONITOR,
number 5 and PROG + buttons have a
tactile dot.
Index to parts and controls (continued)
9
Getting Started
Getting Star
ted
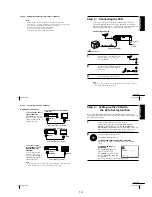
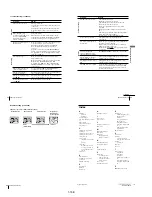
qs
?/1
(on/standby) switch (43)
qd
¥
TV/VIDEO remote control switch
(11)
qf
AUDIO MONITOR button*
1
*
2
(52)
qg
G-CODE button*
3
(42)
qh
DISPLAY button (31) (33)
qj
PROG (programme) +/
—
buttons*
1
(34)
qk
y
SLOW button (48)
ql
×
2 button (48)
w;
./>
INDEX SEARCH
buttons (55)
*
1
The
H
PLAY, AUDIO MONITOR,
number 5 and PROG + buttons have a
tactile dot.
*
2
not available on SLV-ED323ME/SG and
ED225PS
*
3
SLV-ED929MI only
1
2
3
4
5
6
7
8
9
0
10
Getting Started
Step 1 : Unpacking
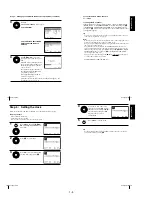
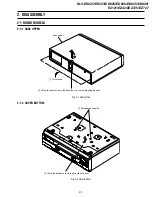
Check that you have received the following items with the VCR:
¥
Remote commander
¥
Aerial cable
¥
R6 (size AA) batteries
¥
Plug adaptor (SLV-ED828ME and
ED323ME only)
Check your model name
The instructions in this manual are for the 8 models: SLV-ED929MI, ED925PS,
ED828ME/SG, ED825PS, ED323ME/SG and ED225PS. Check your model
name by looking at the rear panel of your VCR. SLV-ED929MI is the model
used for illustration purposes. Any difference in operation is clearly indicated in
the text, for example, SLV-ED929MI only.
11
Getting Started
Getting Star
ted
Step 2 : Setting up the remote
commander
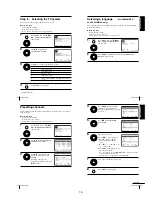
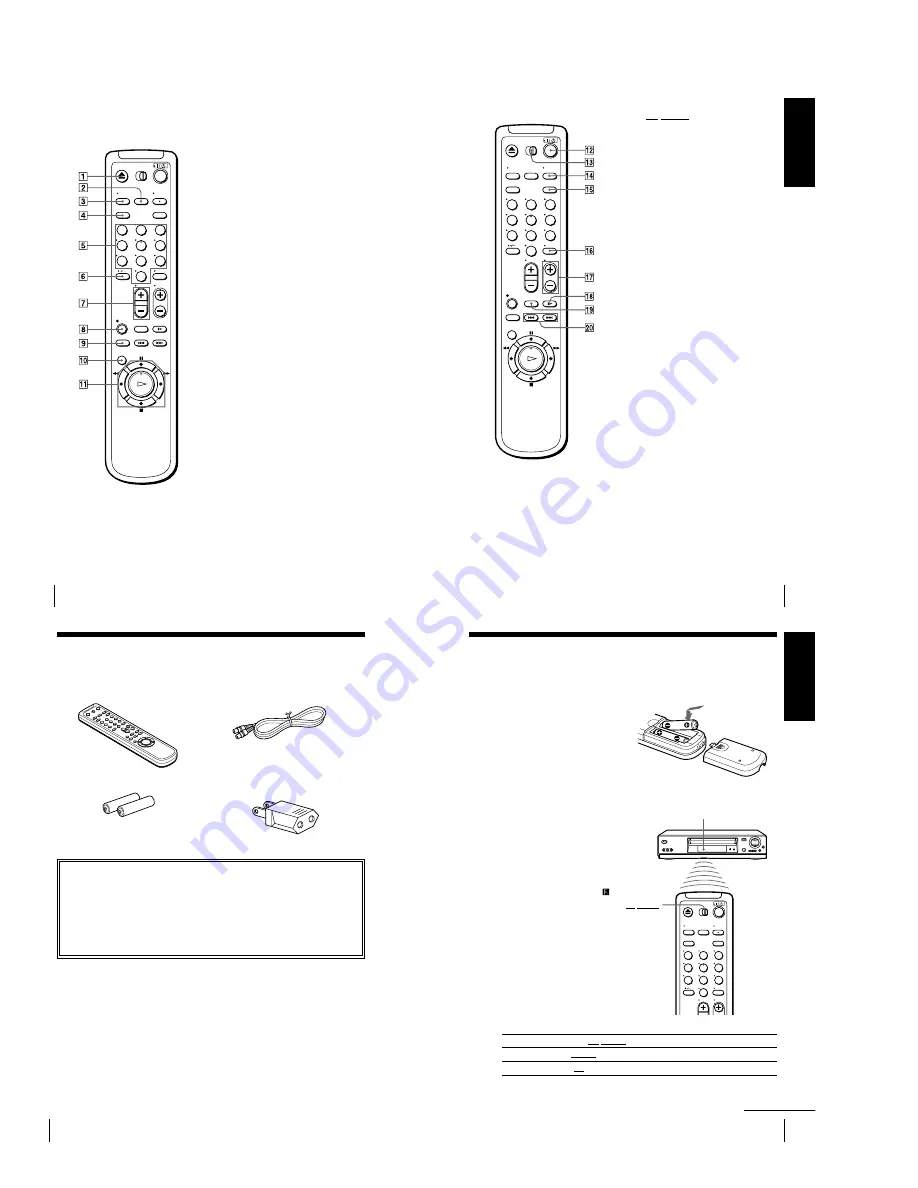
Inserting the batteries
Insert two R6 (size AA) batteries
by matching the + and
—
on the
batteries to the diagram inside the
battery compartment.
Insert the negative (
—
) end first,
then push in and down until the
positive (+) end clicks into
position.
Using the remote
commander
You can use this remote
commander to operate this
VCR and a Sony TV. Buttons
on the remote commander
marked with a dot (
¥
) can be
used to operate your Sony TV.
If the TV does not have the
symbol near the remote
sensor, this remote
commander will not operate
the TV.
1
2
3
4
5
6
7
8
9
0
Remote sensor
¥TV/VIDEO
To operate
Set ¥TV/VIDEO to
the VCR
VIDEO and point at the remote sensor at the VCR
a Sony TV
¥
TV and point at the remote sensor at the TV
continued
Summary of Contents for RMT-V408A
Page 28: ...3 1 MAIN PCB AUS 3 3 3 4 COMPONENT SIDE ...
Page 29: ...3 6 3 5 CONDUCTOR SIDE ...
Page 30: ...3 2 MAIN PCB E HK ME 3 7 3 8 COMPONENT SIDE ...
Page 31: ...3 10 3 9 CONDUCTOR SIDE ...
Page 32: ...3 3 FUNCTION PCB Hi Fi MODEL 3 11 3 12E COMPONENT SIDE CONDUCTOR SIDE ...
Page 34: ... BLOCK IDENTIFICATION OF MAIN PCB Component Side Conductor Side 4 3 4 4 ...
Page 35: ...4 1 S M P S AUS PWR OFF PWR ON 1 2 4 6 4 5 ...
Page 36: ...4 2 S M P S E HK ME 4 7 4 8 PWR OFF PWR ON 1 2 ...
Page 37: ...4 3 POWER 4 10 4 9 ...
Page 38: ...6 5 7 3 4 0 8 9 4 4 SYSTEM CONTROL SERVO 4 11 4 12 ...
Page 41: ... VIDEOPROCESS IN VIDEOPROCESS OUT AUDIOPROCESS IN AUDIOPROCESS OUT qj 4 7 TM BLOCK 4 18 4 17 ...
Page 42: ... OSD VIDEO PROCESS IN OSD VIDEO PROCESS OUT qk 4 8 OSD VPS PDC 4 19 4 20 ...
Page 43: ...4 9 A2 NICAM ED925 ED929 EZ725 EZ727 4 21 4 22 ...
Page 45: ...4 11 SUB Hi Fi MODEL 4 25 4 26 ...
Page 48: ...4 32E MEMO ...


