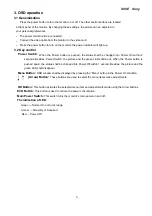


S95E Sony
22
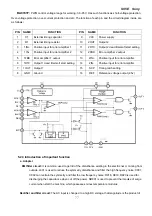
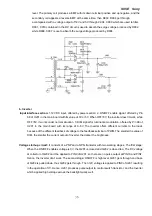
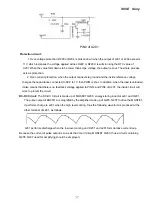
I). LIGHT SENSOR : When ECO Auto mode,the BACKLIGHT is changed as Light sensor input
X :Light Sensor input, Y : Backlight Value setting,
j). VCTi DEBUG : VCTi can be setted on DEBUG on/off, When you want to controll anything.
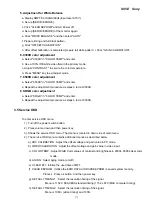
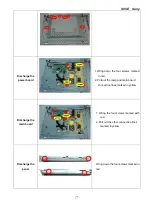
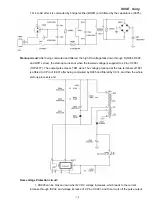
4. Disassembly flow chart
4.1 Disassembly steps
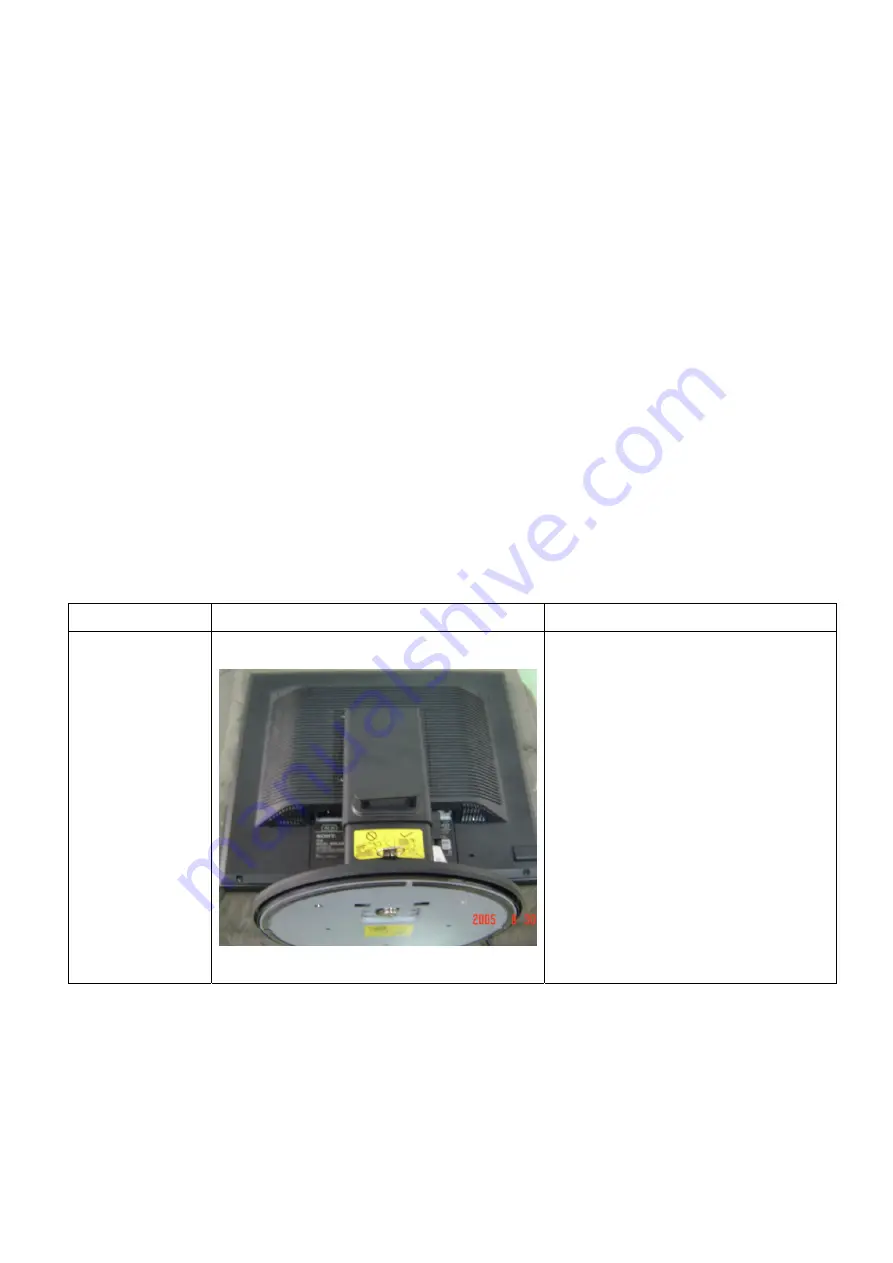
Notices
1. Lay the monitor on a steady table with a piece of clean cloth mat under it for preventing scratching the
panel.
2. Be careful when open the bezel and rear cover with the tool that mentioned above for preventing mangling
them.
3. Put away the screws for preventing rolling on the panel and scratching it.
4. Be careful and don’t scratch the connection line when open the shield.
5. Press the interface with a hand and pull or insert the connection line with the other.
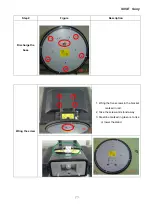
Flow Chart
Step1 Figure
Description
Prepare
Put the monitor on a clean soft cloth
with panel facing to the table.
Summary of Contents for S95E
Page 1: ...S95E Sony 1 Service Manual TFT LCD COLOR COMPUTER DISPLAY SONY ...
Page 3: ...S95E Sony 3 1 Precaution Warning on power connections Installation ...
Page 4: ...S95E Sony 4 Handing the LCD screen Maintenance Transportation ...
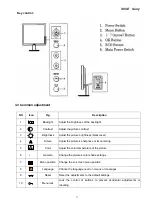
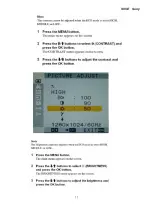
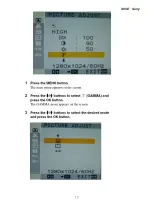
Page 10: ...S95E Sony 10 Adjustment steps of each menu ...
Page 11: ...S95E Sony 11 ...
Page 12: ...S95E Sony 12 ...
Page 13: ...S95E Sony 13 ...
Page 14: ...S95E Sony 14 ...
Page 15: ...S95E Sony 15 ...
Page 16: ...S95E Sony 16 ...
Page 17: ...S95E Sony 17 ...
Page 18: ...S95E Sony 18 ...
Page 19: ...S95E Sony 19 ...
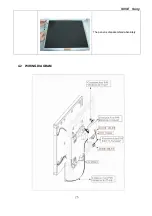
Page 26: ...S95E Sony 26 The panel is disassembled absolutely 4 2 WIRING DIAGRAM ...
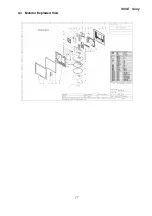
Page 27: ...S95E Sony 27 4 3 Monitor Exploded View ...
Page 39: ...S95E Sony 39 ...
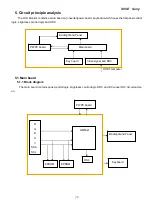
Page 63: ...S95E Sony 63 8 Schematic ...
Page 64: ...S95E Sony 64 ...
Page 65: ...S95E Sony 65 ...
Page 66: ...S95E Sony 66 ...
Page 67: ...S95E Sony 67 ...
Page 68: ...S95E Sony 68 ...
Page 69: ...S95E Sony 69 ...


