Basic Operations
41
Basic Operations
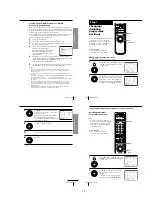
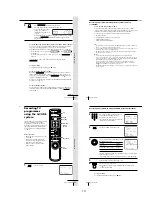
Tips
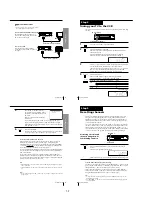
• To select a programme position, you can use the programme number buttons on the
remote commander. For two-digit numbers, press the
?
(ten’s digit) button
followed by the programme number buttons.
• You can select a video source from the LINE-1 IN jacks. Press INPUT SELECT or
PROG +/– to display “L1” in the display window.
• The display appears on the TV screen indicating information about the tape, but the
information will not be recorded on the tape.
• If you do not want to watch TV while recording, you can turn off the TV.
• You can have the VCR stop recording automatically after starting at a specified
time. For details, see “Setting the recording duration time” on page 53.
Notes
• The display does not appear during still (pause) mode or slow-motion playback.
• It may take up to one minute for the VCR to calculate and display the remaining
tape length after you press DISPLAY.
• The remaining tape length does not appear while playing or recording in the NTSC
system.
Basic Operations
42
Recording TV
programmes
using the Easy
Timer function
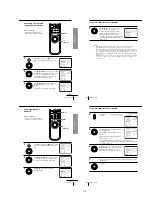
The Easy Timer function allows you to
make a timer recording of a programme
without turning on your TV. Set the
recording timer to record only one
programme that will be broadcast
within the next 24 hours using the
EASY TIMER button. If the VCR clock
has not been set, you can also set the
clock before setting the timer recording.
Setting the Easy Timer
Before you start…
• Insert a tape with its safety tab in
place. Make sure the tape is longer
than the recording time.
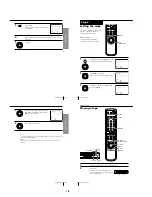
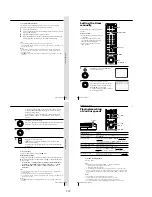
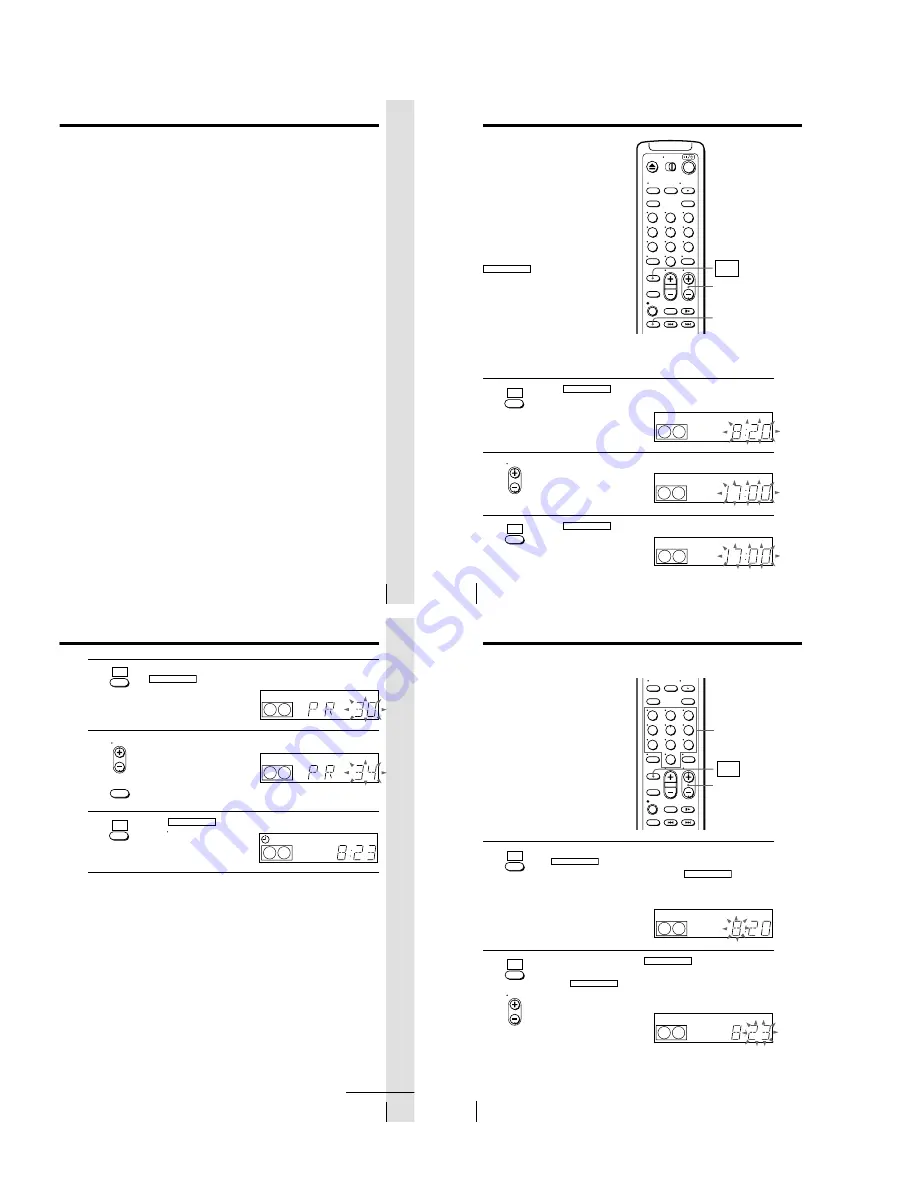
1
Press EASY TIMER .
The START indicator appears in the display window.
If the clock has not been set,
“–:– –” appears. Go to step 2
in “Setting or changing the
Easy Clock” on page 44.
2
Press PROG +/– to increase or decrease the time by one minute.
Hold down PROG +/– to
increase or decrease the time
by 15 minutes.
3
Press EASY TIMER to confirm the start time setting.
The STOP indicator appears.
SP
APC
START
SP
APC
START
PROG +/–
SP
STOP
APC
PROG
EASY
TIMER
1
2
3
4
5
6
7
8
9
0
REC SPEED
EASY
TIMER
EASY
TIMER
Basic Operations
43
Basic Operations
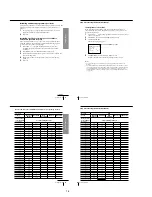
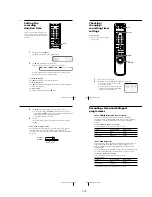
4
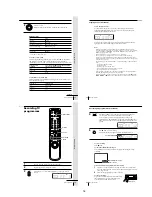
Set the recording stop time in the same way as in step 2, then press
EASY TIMER .
A programme number flashes.
5
Press PROG +/– to select the programme you want to record.
To select the tape speed, press
REC SPEED.
6
Press EASY TIMER to confirm the setting.
The
t
indicator appears in
the display window and the
VCR stands by for recording.
SP
APC
LP
APC
SP
continued
EASY
TIMER
PROG
EASY
TIMER
REC SPEED
Basic Operations
44
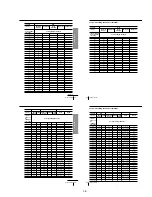
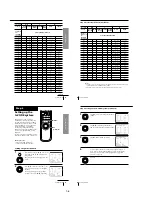
Setting or changing the
Easy Clock
When “–:– –” is displayed in the display
window, the VCR clock has not been set.
You need to set the clock using the Easy
Clock function before setting the timer.
You can also change the current time
using the Easy Clock function.
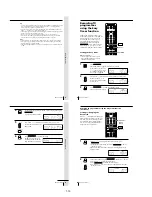
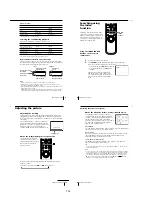
1
• When “–:– –” is displayed in the display window, press
EASY TIMER .
• To change the clock setting, hold down EASY TIMER for more
than three seconds.
The CLOCK indicator and the current clock setting appear in the
display window.
2
Set the current time using the EASY TIMER and PROG +/– button.
1
Press PROG +/– to enter the current hour.
2
Press EASY TIMER to confirm the hour setting.
3
Press PROG +/– to increase or decrease the minutes setting by a
minute at a time.
PROG +/–
Programme
number
buttons
EASY
TIMER
1
2
3
4
5
6
7
8
9
0
SP
APC
CLOCK
START
SP
APC
CLOCK
START
Recording TV programmes using the Easy Timer function
(continued)
EASY
TIMER
PROG
EASY
TIMER
1-10
Summary of Contents for SLV-LF1
Page 26: ...SLV LF1 3 1 3 2 SECTION 3 BLOCK DIAGRAMS 3 1 OVERALL BLOCK DIAGRAM ...
Page 29: ...SLV LF1 3 4 AUDIO BLOCK DIAGRAM 3 7 3 8 ...
Page 30: ...SLV LF1 3 5 TUNER BLOCK DIAGRAM 3 9 3 10 ...
Page 31: ...SLV LF1 3 6 MODE CONTROL BLOCK DIAGRAM 3 11 3 12 ...


