1-7
28
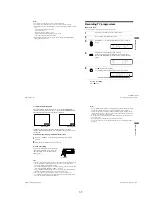
Playing a tape
Notes
• The counter resets to “00:00” whenever a tape is reinserted.
• The counter stops counting when it comes to a portion with no recording.
• Depending on your TV, the following may occur while playing an NTSC-recorded
tape:
– The picture becomes black and white.
– The picture shakes.
– No picture appears on the TV screen.
– Black streaks appear horizontally on the TV screen.
– The colour density increases or decreases.
• While setting the menu on the TV screen, buttons for playback on the remote
commander do not function.
29
Recording TV programmes
B
a
si
c
Op
er
a
tio
ns
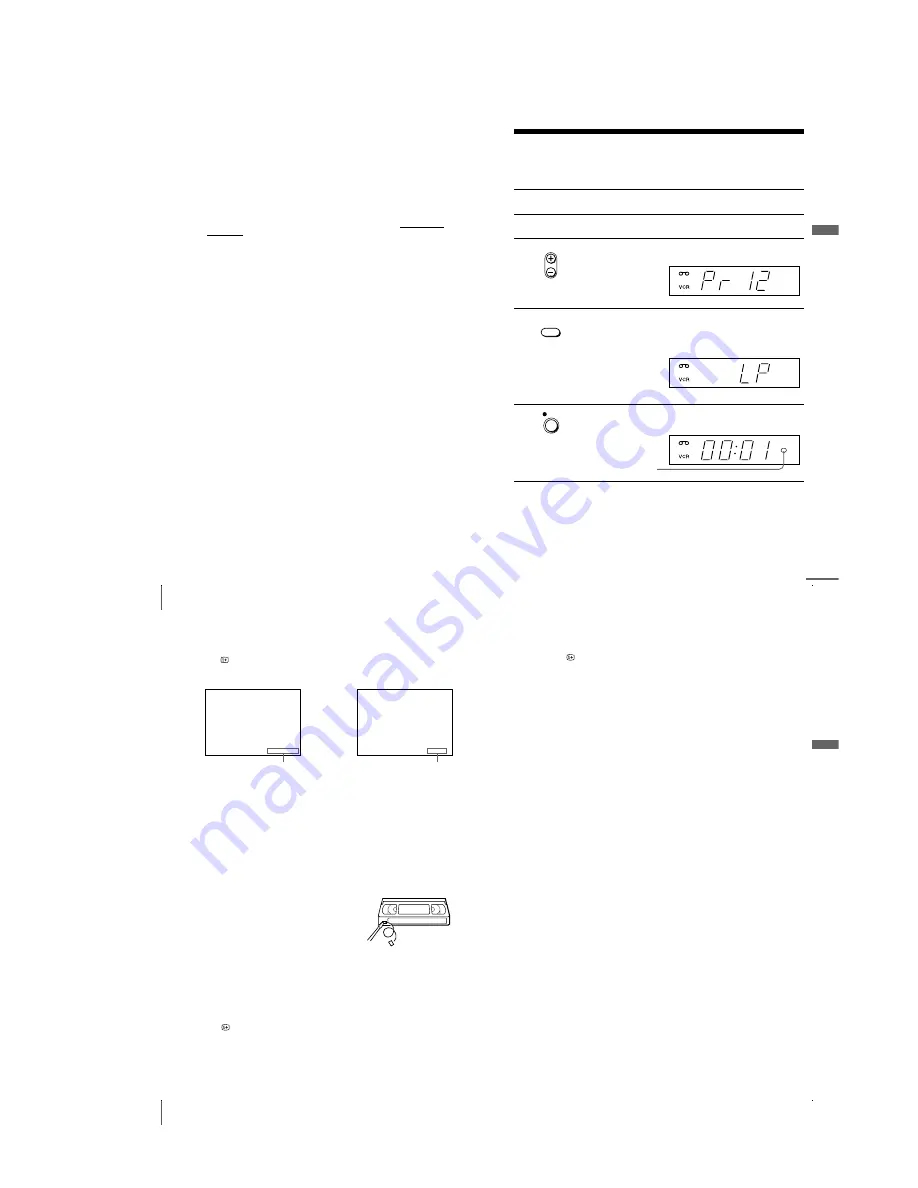
Recording TV programmes
Before you start...
• Refer to “Index to parts and controls” for button locations.
To stop recording
Press
x
STOP.
1
Turn on your TV and set it to the video channel.
2
Insert a tape with its safety tab in place.
3
Press PROG +/– to select the programme position you want to
record.
4
Press SP/LP to select the tape speed, SP or LP.
LP (Long Play) provides recording time twice as long as SP.
However, SP (Standard Play) produces better picture and audio
quality.
5
Press
z
REC to start recording.
The recording indicator lights up red in the display window.
•
PROG
SP / LP
REC
Recording indicator
continued
31
Recording TV programmes
B
a
si
c
Op
er
a
tio
ns
Notes
• The
DISPLAY information does not appear during pause mode and the various
speeds of playback mode. However, it will appear during normal playback.
• If a tape has portions recorded in both PAL and NTSC systems, the time counter
reading will not be correct. This discrepancy is due to the difference between the
counting cycles of the two video systems.
• When you insert a non-standard commercially available tape, the remaining time
may not be correct.
• The remaining time is intended for rough measurement only.
• About 30 seconds after the tape begins playback, the tape remaining time will be
displayed.
30
Recording TV programmes
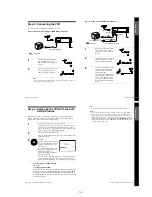
To check the remaining time
Press
DISPLAY. With the display on, press COUNTER/REMAIN to
check the remaining time. Each time you press COUNTER/REMAIN, the
time counter and the remaining time appear alternately.
In order to get an accurate remaining time indication, be sure TAPE
SELECT in the USER SET menu is set according to the tape type you use
(see page 44).
To watch another TV programme while recording
To save a recording
To prevent accidental erasure, break off the
safety tab as illustrated. To record on the
same tape again, cover the tab hole with
adhesive tape.
Tips
• To select a programme position, you can use the programme number buttons on the
remote commander. For two-digit numbers, press the
-
(ten’s digit) button
followed by the programme number buttons.
• If you connect additional equipment to an input connector, you can select the input
signal using the INPUT SELECT or PROG +/– buttons.
• The
DISPLAY information appears on the TV screen indicating information
about the tape, but the information won’t be recorded on the tape.
• If you don’t want to watch TV while recording, you can turn off the TV.
• The remaining tape length may not be indicated accurately for short tapes such as
E-20 or E-30, or tapes recorded in the LP mode.
1
Press
t
TV/VIDEO to turn off the VCR indicator in the display
window.
2
Select another programme position on the TV.
4 6
1 :
R E M A I N
2 2
0
0
0
:
:
S P
Remaining time
Time counter
Safety tab
Summary of Contents for SLV-SE210B
Page 7: ... 7 BRACKET HANDLING Twist ...
Page 8: ... 8 MEMO ...
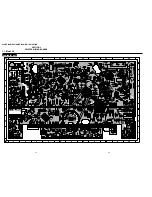
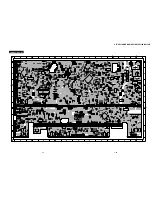
Page 25: ...SLV SE210B SE210D SE210G SX110A SX110B CONDUCTOR SIDE 3 3 3 4E ...
Page 27: ...SLV SE210B SE210D SE210G SX110A SX110B 4 1 S M P S Π4 3 4 4 ...
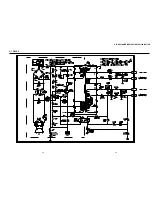
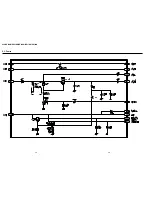
Page 28: ...SLV SE210B SE210D SE210G SX110A SX110B 4 2 Power 4 5 4 6 ...
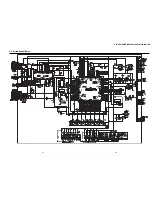
Page 29: ...SLV SE210B SE210D SE210G SX110A SX110B 4 3 System Control Servo ˇ ˆ 4 7 4 8 ...
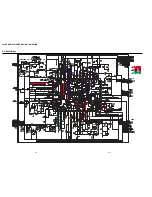
Page 30: ...SLV SE210B SE210D SE210G SX110A SX110B Æ Ú Ò Ô ı 4 4 Audio Video 4 9 4 10 ...
Page 31: ...SLV SE210B SE210D SE210G SX110A SX110B 4 5 TM Block 4 11 4 12 ...
Page 32: ...SLV SE210B SE210D SE210G SX110A SX110B 4 6 OSD VPS PDC 4 13 4 14 ...
Page 33: ...SLV SE210B SE210D SE210G SX110A SX110B 4 7 SECAM SLV SE210B SX110B model 4 15 4 16 ...
Page 34: ...SLV SE210B SE210D SE210G SX110A SX110B 4 8 Input Output 2 Scart Jack 4 17 4 18 ...
Page 35: ...SLV SE210B SE210D SE210G SX110A SX110B 4 9 Input Output 1 Scart Jack 4 19 4 20 ...
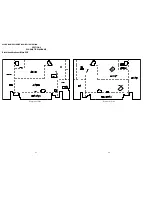
Page 37: ...SLV SE210B SE210D SE210G SX110A SX110B 4 23 4 24E ...


