– 23 –
SECTION 3
TEST MODE
[Radio System Test]
• This mode is activated when
[GREETING]
key is pressed in the
Test Mode Idle status.
1.
Operation in Radio System Test mode
• In the Radio System Test mode, the RSSI is always moni-
tored at IC601
#•
pin (SIG-IN), and if RSSI is present (SIG-
IN =”Low”), the ANSWER LED turns on, or if RSSI is not
present(SIG-IN = “High”), the LED turns off.
• Current channel number is displayed on 7-SEG LED.
2.
Operation by key input
• In the Radio System Test mode, the base unit always moni-
tors the key inputs, and generates a key touch tone and goes
in the following statuses according to each key pressed.
[PAGE]
key
• Radio channel is incremented by one.
• TX ON/OFF and RX ON/OFF are same as the condition before
the channel was incremented by one.
• Channel number and 7-SEG LED display vary as follows:
1CH
→
2CH
→
. . . .
→
19CH
→
20CH
“1”
“2”
“19”
“0”
↑
↓
T4CH
←
. . . .
←
T1CH
←
25CH
←
. . . .
←
21CH
“9”
“6”
“5”
“1”
[ANSWER ON/OFF]
key
• Transmit mode is turned on.
• Even in the condition other than transmit mode, key input be-
comes active to turn on the transmit mode.
[GREETING]
key
• Receive mode is turned on.
• Even in the condition other than receiver mode, key input be-
comes active to turn on the receive mode.
[TIME]
key
• Transmit & receive mode is turned off.
• Even in the condition other than transmit & receive mode, key
input becomes active to turn off the transmit & receive mode.
[SET/REC]
key
• RSSI gain is set to “Low”.
(Once the gain is set to “Low”, low gain is kept during the Test
mode.)
[MEMO]
key
• Message transmission test
• ID=AAAH and DATA=AAAH in length of frame sync + normal
message frame length are transmitted continuously until
[MEMO]
key is pressed again. When
[MEMO]
key is pressed, a message
transmission is stopped, and TX ON/OFF and RX ON/OFF are
returned to the condition before the message transmission.
[ERASE]
key
• Test Mode Idle status is resumed.
• The Radio System Test mode quits, and the Test Mode Idle sta-
tus is resumed.
3-1.
BASE UNIT
[Start-up method]
1. Set the
[DIAL MODE]
switch to the P (PULSE) side.
2. Reset the POWER ON (connect the AC adapter plug) while
pressing
[TIME]
,
[REPEA T]
,
[PLA Y/ST OP]
keys.
3. Set the
[DIAL MODE]
switch to the T (TONE) side. After that
back to the P (PULSE) side.
4. Using the signal in step 3 as a trigger, the base unit reads chan-
nel information with the key matrix, and starts the Test mode.
5. After the Test mode started, the base unit generates a comple-
tion tone, then based on the read channel information, it sets
the channel and goes in Test Mode Idle status under the follow-
ing conditions:
• Relay ON (receiving status)
• 7-SEG LED “c” display
• RSSI gain HIGH
* For the DB0~DB4 logic of key matrix and channel setting, refer
to the frequency table.
[Operation in Test Mode Idle status]
In the Test Mode Idle status, the base unit always monitors the key
inputs, and generates a key touch tone and goes in the following
modes according to each key pressed.
•
[GREETING]
key ................. Radio System Test
•
[TIME]
key .......................... Audio System Test
•
[SET/REC]
key .................... Key • LED • Terminating Test
•
[ANSWER ON/OFF]
key ...... Switch • LED Test
•
[REPEAT]
key ..................... Dial • Auto Hold Reset • Charge
Test
•
[PLAY/STOP]
key ................ C-ID Test
•
[ERASE]
key ....................... Test Mode Quit
The base unit quits Test mode and goes in Idle status.
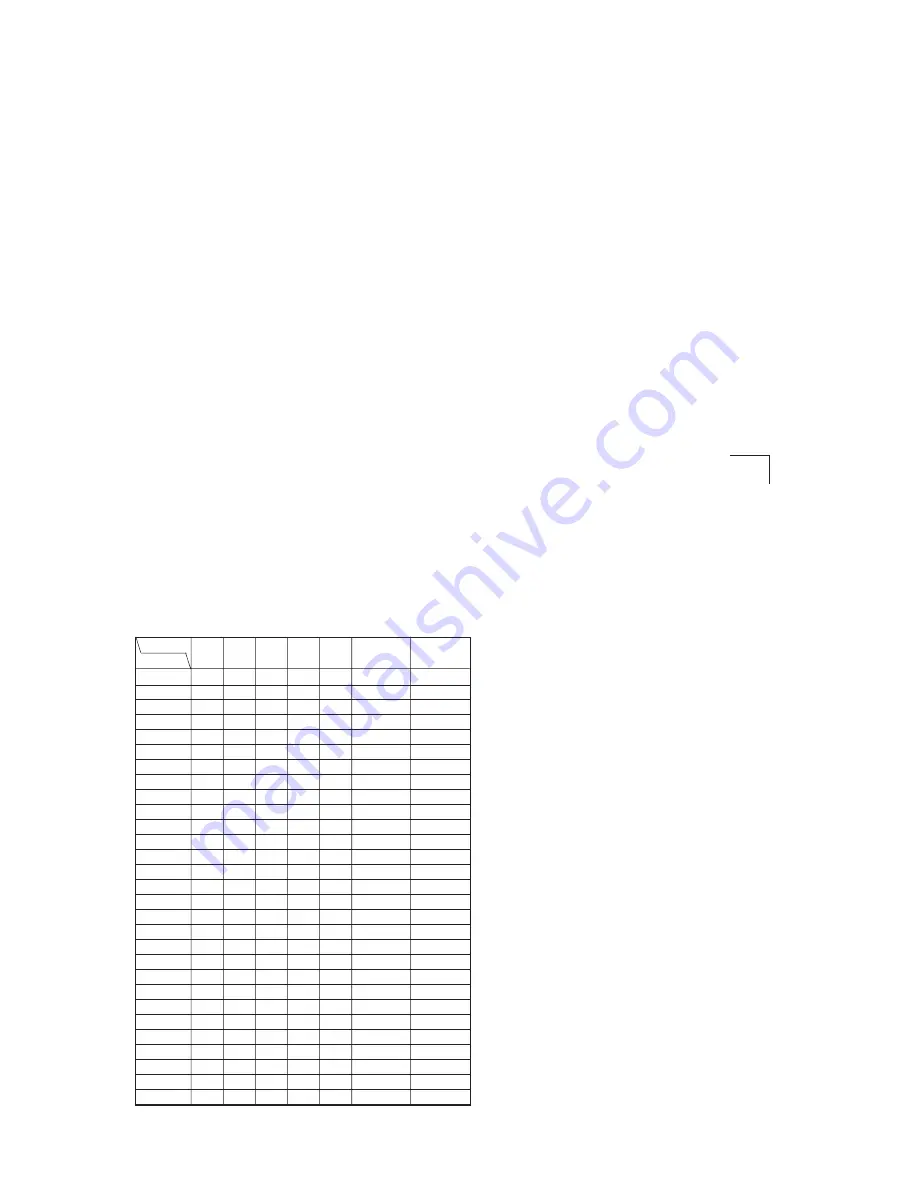
BASE UNIT FREQUENCY TABLE
5
4
3
2
1
TX FREQUENCY RX FREQUENCY
DB4
DB3
DB2
DB1 DB0
(MHz)
(MHz)
Channel
Pin No.
1CH
0
0
0
0
0
43.720
48.760
2CH
0
0
0
0
1
43.740
48.840
3CH
0
0
0
1
0
43.820
48.860
4CH
0
0
0
1
1
43.840
48.920
5CH
0
0
1
0
0
43.920
49.020
6CH
0
0
1
0
1
43.960
49.080
7CH
0
0
1
1
0
44.120
49.100
8CH
0
0
1
1
1
44.160
49.160
9CH
0
1
0
0
0
44.180
49.200
10CH
0
1
0
0
1
44.200
49.240
11CH
0
1
0
1
0
44.320
49.280
12CH
0
1
0
1
1
44.360
49.360
13CH
0
1
1
0
0
44.400
49.400
14CH
0
1
1
0
1
44.460
49.460
15CH
0
1
1
1
0
44.480
49.500
16CH
0
1
1
1
1
46.610
49.670
17CH
1
0
0
0
0
46.630
49.845
18CH
1
0
0
0
1
46.670
49.860
19CH
1
0
0
1
0
46.710
49.770
20CH
1
0
0
1
1
46.730
49.875
21CH
1
0
1
0
0
46.770
49.830
22CH
1
0
1
0
1
46.830
49.890
23CH
1
0
1
1
0
46.870
49.930
24CH
1
0
1
1
1
46.930
49.990
25CH
1
1
0
0
0
46.970
49.970
T1CH
1
1
0
0
1
43.780
48.800
T2CH
1
1
0
1
0
43.890
48.970
T3CH
1
1
0
1
1
46.800
49.910
T4CH
1
1
1
0
0
46.900
49.950
Summary of Contents for SPP-A400 - Cordless Telephone With Answering Machine
Page 3: ... 3 This section is extracted from instruction manual SECTION 1 GENERAL ...
Page 4: ... 4 ...
Page 5: ... 5 ...
Page 6: ... 6 ...
Page 7: ... 7 ...
Page 8: ... 8 ...
Page 9: ... 9 ...
Page 10: ... 10 ...
Page 11: ... 11 ...
Page 12: ... 12 ...
Page 13: ... 13 ...
Page 14: ... 14 ...
Page 15: ... 15 ...
Page 16: ... 16 ...
Page 17: ... 17 ...
Page 18: ... 18 ...
Page 19: ... 19 ...
Page 20: ... 20 ...
Page 33: ......
Page 34: ......
Page 35: ......
Page 36: ......
Page 37: ......
Page 38: ......


