13
GB
C
onnections & se
ttings (multi r
oom/single r
oom)
List of messages after Auto Calibration
measurements
•
Code 31:
Front speakers are not selected properly. Select the front
speakers using SPEAKERS, and then perform Auto
Calibration again.
•
Code 32, Code 33:
– Speakers were not detected or not connected properly.
– None of the front speakers are connected or only one front
speaker is connected.
– Either the surround left or surround right speaker is not
connected.
– A surround back speaker is connected only to the SPEAKERS
SURROUND BACK/FRONT HIGH/FRONT B/BI-AMP/ZONE 2 R
terminal. If connecting only one surround back speaker,
connect it to the SPEAKERS SURROUND BACK/FRONT HIGH/
FRONT B/BI-AMP/ZONE 2 L terminal.
– Either the front high left or front high right speaker is not
connected.
The optimizer microphone is not connected. Make sure
that the optimizer microphone is connected properly, and
then perform Auto Calibration again.
If the optimizer microphone is connected properly but the
error code still appears, the optimizer microphone cable
may be damaged.
•
Warning 40:
The measurement process has been completed and a high
noise level has been detected. You may be able to achieve
better results if you try the process again in a quiet
environment.
•
Warning 41, Warning 42:
The input from the microphone is too large.
– The distance between the speaker and the microphone may
be too small. Set them further apart, and then perform the
measurement again.
•
Warning 43:
The distance and position of a subwoofer cannot be
detected. This may be caused by noise. Try performing the
measurement in a quiet environment.
•
NO WARNING:
There is no warning information.
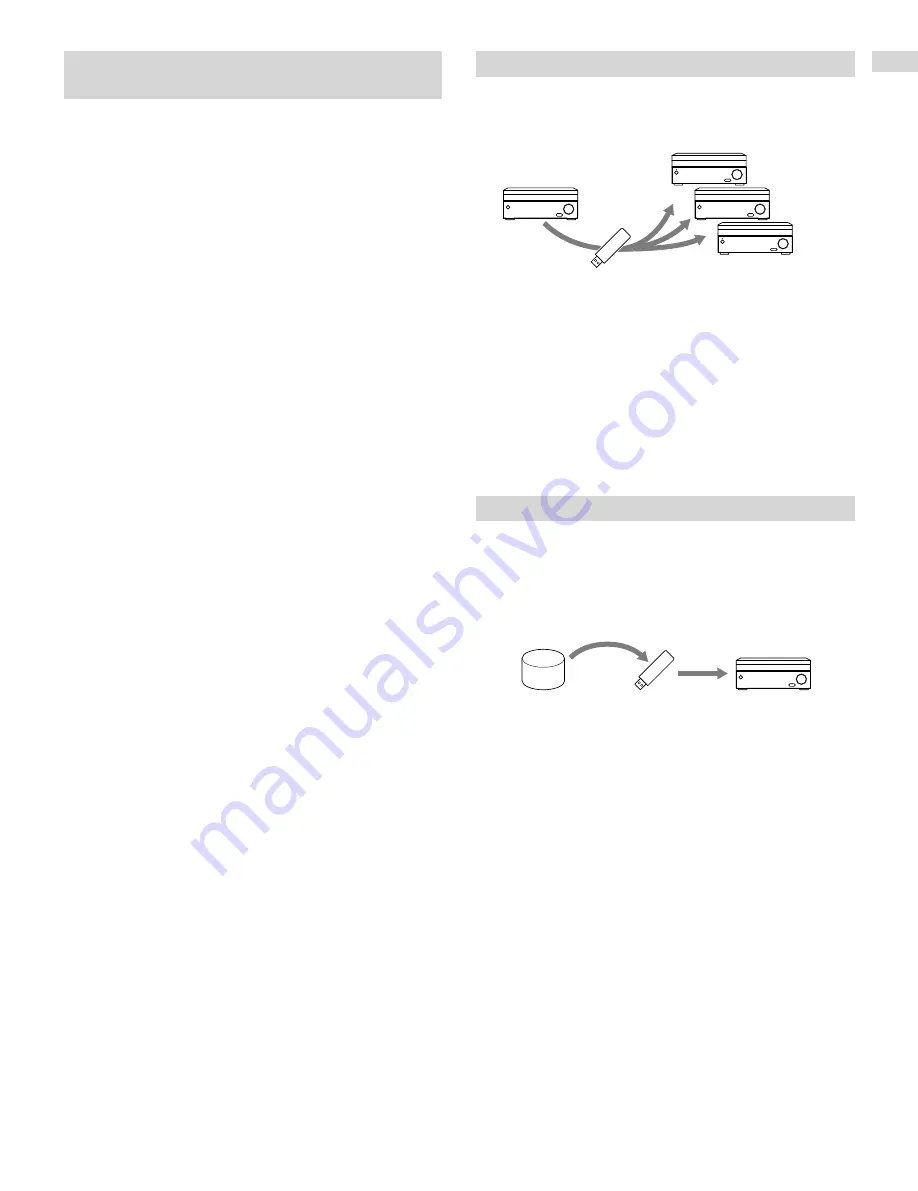
Saving/loading settings of the receiver
You can save the settings to a USB flash drive and restore
the saved settings to the receiver or to another receiver of
the same model.
Saving
Loading
To save the settings
Insert a USB flash drive to the USB port on the front panel of
the receiver.
Select [Setup] - [Install Setup] - [Save/Load] - [Save] from the
home menu.
To load the settings
Insert to the USB port on the front panel of the receiver a
USB flash drive on which the settings are saved.
Select [Setup] - [Install Setup] - [Save/Load] - [Load] from the
home menu.
Updating the firmware with a USB flash drive
Make sure to perform the following steps when a firmware
update is delivered.
You can download the update firmware from the following
website.
http://www.sony.com/essupport
Saving
New firmware
Updating
1
Copy the file for updating to the top level
directory (just under the root directory) of the
USB flash drive (FAT16 or FAT32 with more than
100 MB of free space).
2
Turn the receiver on.
3
Insert the USB flash drive into the USB port on
the front panel of the receiver.
4
Select [Setup] - [System Setup] - [USB Update]
from the home menu.
[UPDATING…XXX%] will be displayed on the front
display. The receiver will automatically reboot after the
update completes.
Note
•
It takes up to 50 minutes for the update to complete.
Summary of Contents for STR-ZA1000ES
Page 21: ...21GB Others ...
Page 41: ...21FR Autres ...


