2-3(E)
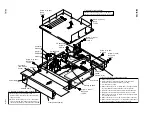
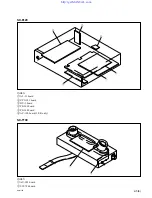
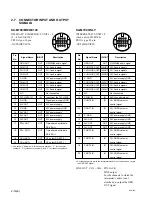
SX-M700
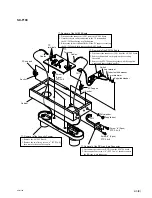
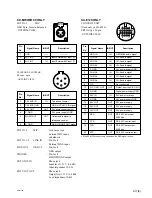
SX-T100
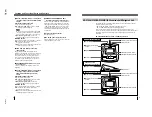
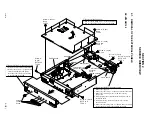
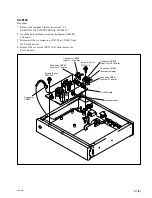
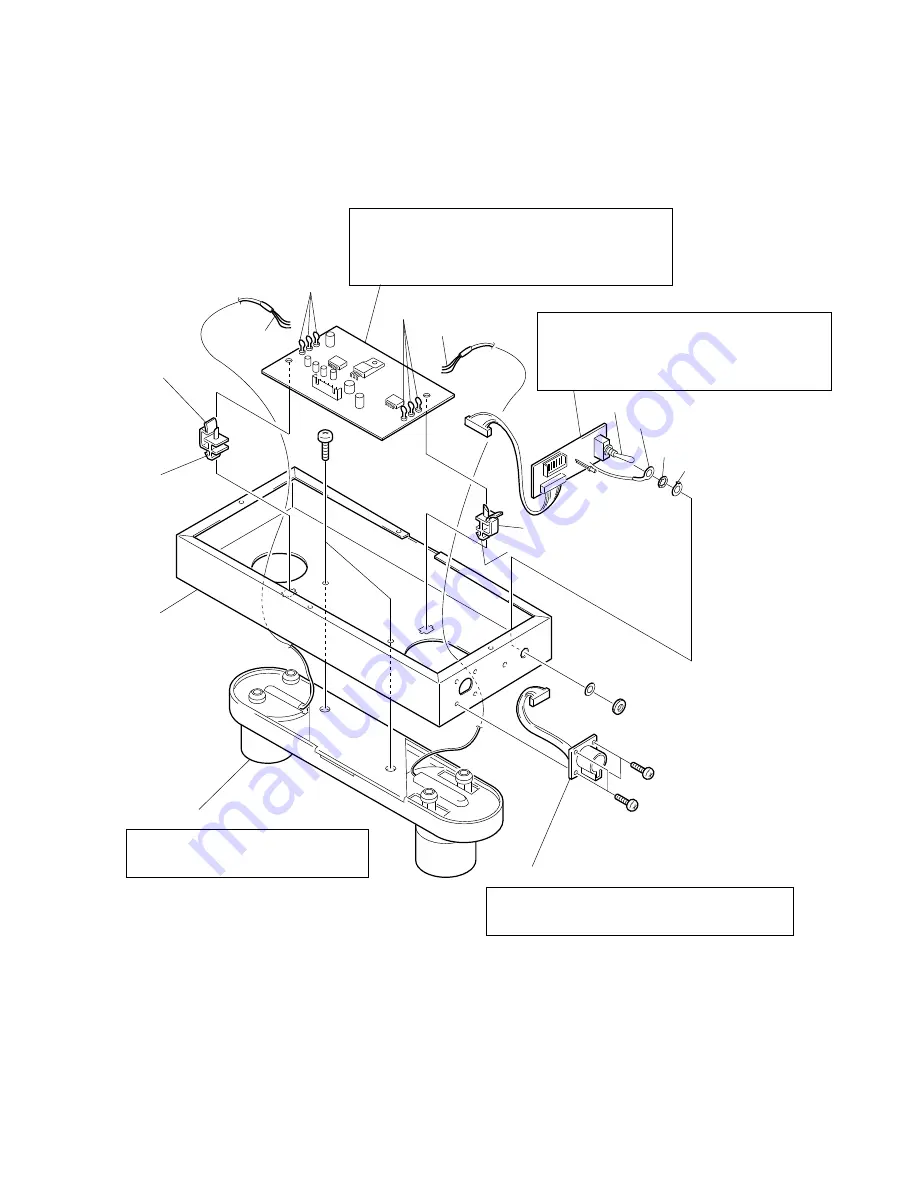
1. Disconnect the connector (CN1) from the AU-202 board.
2. Unsolder the six cables connected to the TP terminals on
the AU-202 board using a soldering iron.
3. Release the two mechanical locks of the PC supports securing
the AU-202 board, then remove the AU-202 board.
1
Removal of the AU-202 Board
Cables
TP
terminals
TP
Terminals
Cables
PC support
Anchor
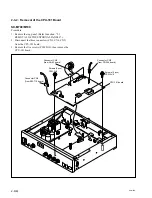
Screw “a”
(2 pcs)
PTP 3
x
8
Cabinet
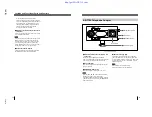
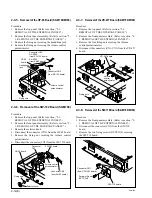
1. Remove the AU-202 Board.
2. Remove the two fixing screws “a” (PTP 3
x
8),
then remove the acoustic coupler.
2
Removal of the Acoustic Coupler
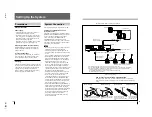
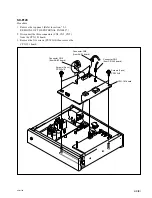
1. Disconnect the connector (CN2) from the SW-704 board.
2. Unscrew the four screws “b” (PTP 2.6
x
6), then disconnect
the RP-type 6-pin connector.
3
Removal of the RP-type 6-pin Connector
Screw “b” (2 pcs)
PTP 2.6
x
6
Screw “b” (2 pcs)
PTP 2.6
x
6
Poly-washer
Supplied nut
CN2
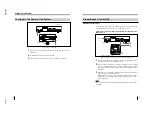
PC Support
Anchor
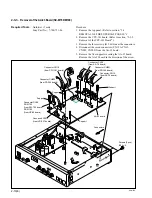
Swtich
Lug terminal
Inner toothed washer,
6 mm diameter
Supplied washer
4
Removal of the SW-704 Board
1. Disconnect the connector (CN1) from the AU-202 board.
2. Remove the nut and 6 mm poly-washer securing
the switch.
3. Remove the SW-704 board together with the supplied
washer and inner toothed washer.
CN1
Summary of Contents for SX-M100
Page 75: ...SX M700 6 12 TMP68301AFR 16 TOSHIBA http getMANUAL com ...
Page 111: ...8 2 8 2 SX M700 SX M700 AUDIO SX M700 BLOCK SX M700 BLOCK AUDIO BLOCK ...
Page 112: ...8 3 8 3 SX M700 SX M100 BLOCK SX M100 BLOCK SX M100 AUDIO AUDIO BLOCK ...
Page 113: ...8 4 8 4 SX M700 SX E120 DIGITAL SX E120 BLOCK SX E120 BLOCK DIGITAL BLOCK ...
Page 114: ...8 5 8 5 SX M700 SX E120 BLOCK SX E120 BLOCK SX E120 AUDIO AUDIO BLOCK ...
Page 115: ...8 6 8 6 SX M700 SX T100 AU 202 SX T100 BLOCK SX T100 BLOCK AU 202 BLOCK http getMANUAL com ...
Page 116: ...8 7 8 7 SX M700 SXA 120 BLOCK SXA 120 BLOCK SXA 120 AUDIO CPU 188 BLOCK ...
Page 120: ......
Page 126: ......
Page 128: ......
Page 130: ......
Page 132: ......
Page 136: ......

