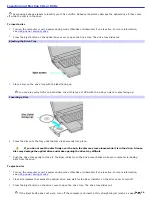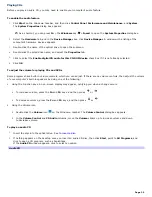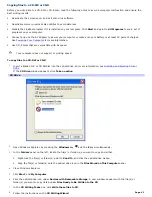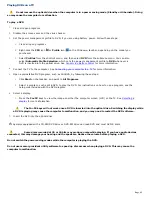
Playing DVDs on a TV
Do not remove the optical drive when the computer is in a power saving mode (Standby or Hibernate). Doing
so may cause the computer to malfunction.
To play a DVD
1.
Close all open programs.
2.
Disable the screen saver and the virus checker.
3.
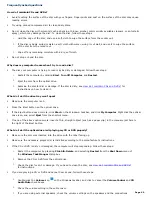
Set the power management profile to DVD, if you are using battery power. Follow these steps:
1.
Close all open programs.
2.
Right-click the
CPU
icon
or
Profile
icon
on the Windows
®
taskbar, depending on the model you
purchased.
3.
Select
Profiles
from the shortcut menu, and then select
DVD
from the submenu menu. You can also
select
Automatic Profile Selection
, which sets the power management profile to
DVD
whenever a
DVD is inserted into the optical drive. See
Conserving Battery Power
for more information.
4.
Connect the TV to the computer. See
Connecting your computer to a TV
for more information.
5.
Open a preinstalled DVD program, such as WinDVD, by following these steps:
1.
Click
Start
on the taskbar, and point to
All Programs
.
2.
Select a program, such as WinDVD, to play the DVD. For instructions on how to use a program, see the
help guide included with the DVD program.
6.
Select a display.
1.
Press the
Fn+F8
keys to view the image on either the computer screen (LCD) or the TV. See
Selecting a
display
for more information.
The Fn+F8 keys will not work once a DVD is inserted into the optical drive. Switching the display while
a DVD is playing may cause the computer to malfunction, and you may need to restart the DVD software.
7.
Insert the DVD into the optical drive.
Systems equipped with a CD-RW/DVD drive or DVD-RW drive can read DVD and most DVD-R discs.
Some discs recorded at 20 or 24 bits may produce noise while playing. If you have audio devices
connected, this may damage your hearing and the speakers. Reduce the volume before playing a DVD.
Do not switch the power saving modes while the computer is playing the DVD.
Do not use memory-resident utility software to speed up disc access when playing a DVD. This may cause the
computer to malfunction.
Page 45
Summary of Contents for VAIO PCG-GRV670
Page 40: ...Page 40 ...
Page 52: ...Printer Connections Printing With Your Computer Page 52 ...
Page 74: ...Mice and Keyboards Using the Keyboard Connecting External Mice and Keyboards Page 74 ...
Page 84: ...Page 84 ...
Page 87: ...Floppy Disks PC Cards and i LINK Connections Using a Floppy Disk Drive Using PC Cards Page 87 ...


