About
t
h
e s
o
ft
w
a
re
on your
Sony
not
e
book
Using Imaging software
52
5
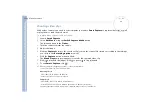
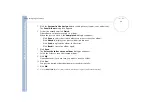
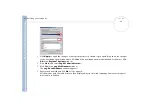
Click the
Customize the design
button to add pictures, frames, text, and effects.
The
Panel Album
dialog box appears.
6
Follow the wizard and click
Finish
.
PictureGear now creates your photo album.
When the process is done, the
Completed
dialog box appears.
Click
Save
to select the location where you want to save your album.
Click
Check
to display your photo album in a browser.
Click
Send
to upload the album to the server.
Click
Back
to create the album again.
7
Click
Save
.
The
Select the folder to save album
dialog box appears.
8
Select the folder to save the created album.
9
Click
OK
.
PictureGear asks if you are sure you want to create a folder.
10
Click
Yes
.
You get the message that the album was saved successfully.
11
Click
OK
.
Click the
Make Soon
button to create your album immediately, using the PictureGear default settings.

