Projecting
7
GB
1
Turn on both the unit and the equipment connected to
the unit.
2
Press INPUT to display the input palette on the
screen.
3
Select the equipment from which you want to display
images.
Press INPUT repeatedly or press
M
/
m
/
(enter) to
select the equipment from which to project.
1
Press the
?
/
1
(On/Standby) button.
The message “POWER OFF?” appears.
2
Press the
?
/
1
(On/Standby) button again before the
message disappears.
The ON/STANDBY indicator flashes in green and the
fan continues to run to reduce the internal heat.
The fan stops and the ON/STANDBY indicator
changes from flashing green to remaining red.
The power is turned off completely, and you can
disconnect the AC power cord.
Never disconnect the AC power cord while the indicator is flashing.
Tip
You can turn off the unit by holding the
?
/
1
(On/Standby) button for
about 1 second, instead of performing the above steps.
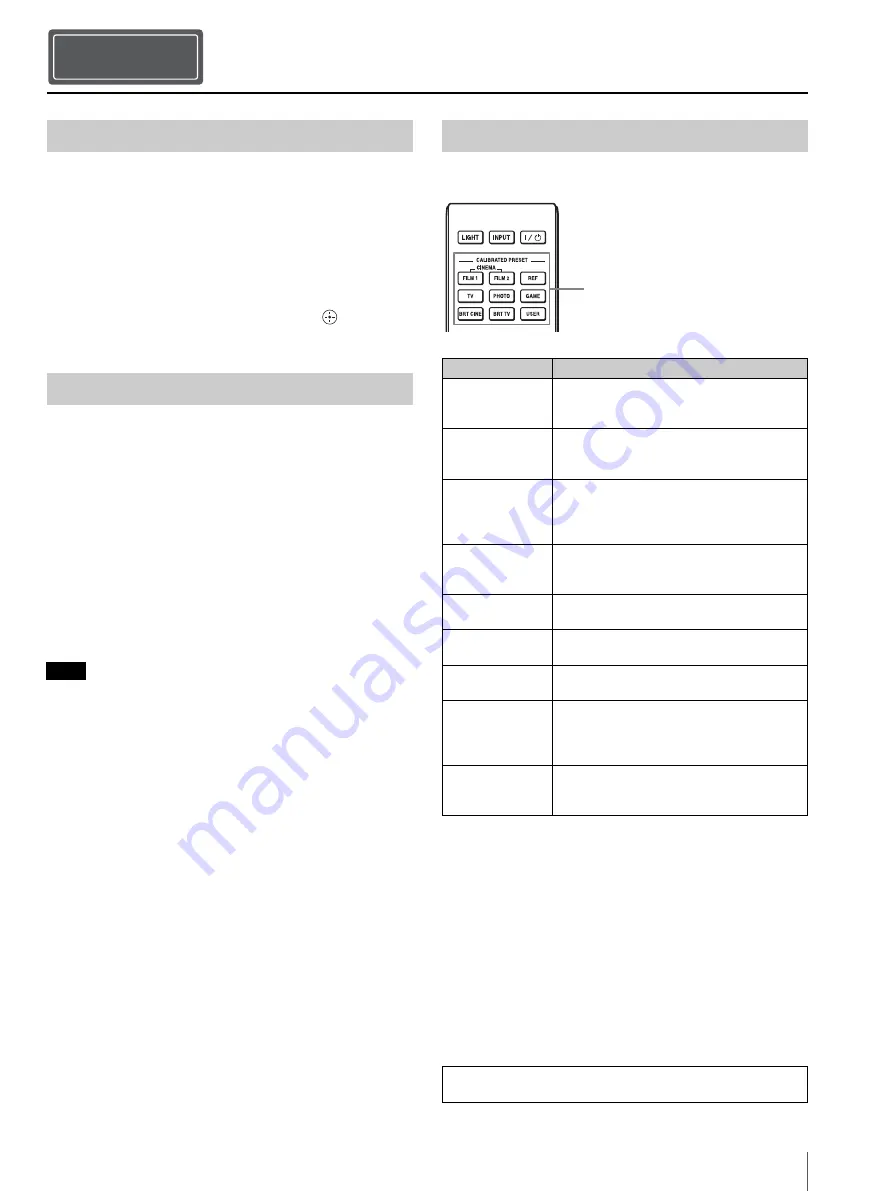
Press one of the CALIBRATED PRESET buttons.
Projecting
Step 4
Projecting the Picture
Turning Off the Power
Note
Selecting the Picture Viewing Mode
Setting items
Description
CINEMA FILM 1 Picture quality suited to reproducing the
highly dynamic and clear images typical of
master positive film.
CINEMA FILM 2 Picture quality suited to reproducing the rich
tone and color typical of a movie theater,
based on the “CINEMA FILM 1.”
REF
A picture quality setup suitable for when you
want to reproduce faithfully the original
image quality, or for enjoying image quality,
without any adjustment.
TV
Picture quality suited for watching TV
programs, sports, concerts, and other video
images.
PHOTO
Ideal for projecting still images taken with a
digital camera.
GAME
Picture quality suited to gaming, with well-
modulated colors and fast response.
BRT CINE
Picture quality suited for watching movies in
a bright environment, such as a living room.
BRT TV
Picture quality suited for watching TV
programs, sports, concerts, and other video
images in a bright environment, such as a
living room.
USER
Adjusts the picture quality to suit your taste
then saves the setting. The factory default
setting is the same as “REF.”
CALIBRATED PRESET buttons
For more information, refer to “Projecting” in the Operating
Instructions contained in the supplied CD-ROM.


