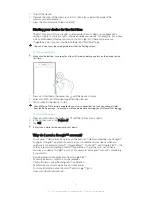


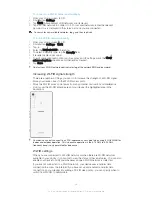
Flicking
•
Scroll quickly, for example, in a list or on a web page. You can stop the scrolling
movement by tapping the screen.
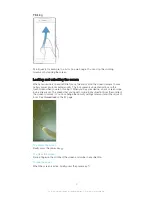
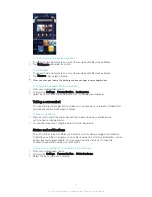
Locking and unlocking the screen
When your device is on and left idle for a set period of time, the screen darkens to save
battery power and locks automatically. This lock prevents unwanted actions on the
touchscreen when you are not using it. When you buy your device, a basic screen swipe
lock is already set. This means that you have to swipe in any direction from the middle of
the screen to unlock it. You can change the security settings later and add other kinds of
locks. See
Screen lock
on the 37 page.
To activate the screen
•
Briefly press the power key .
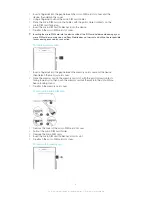
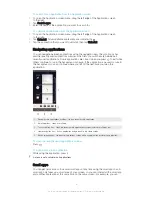
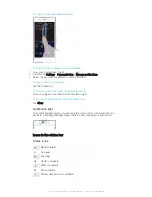
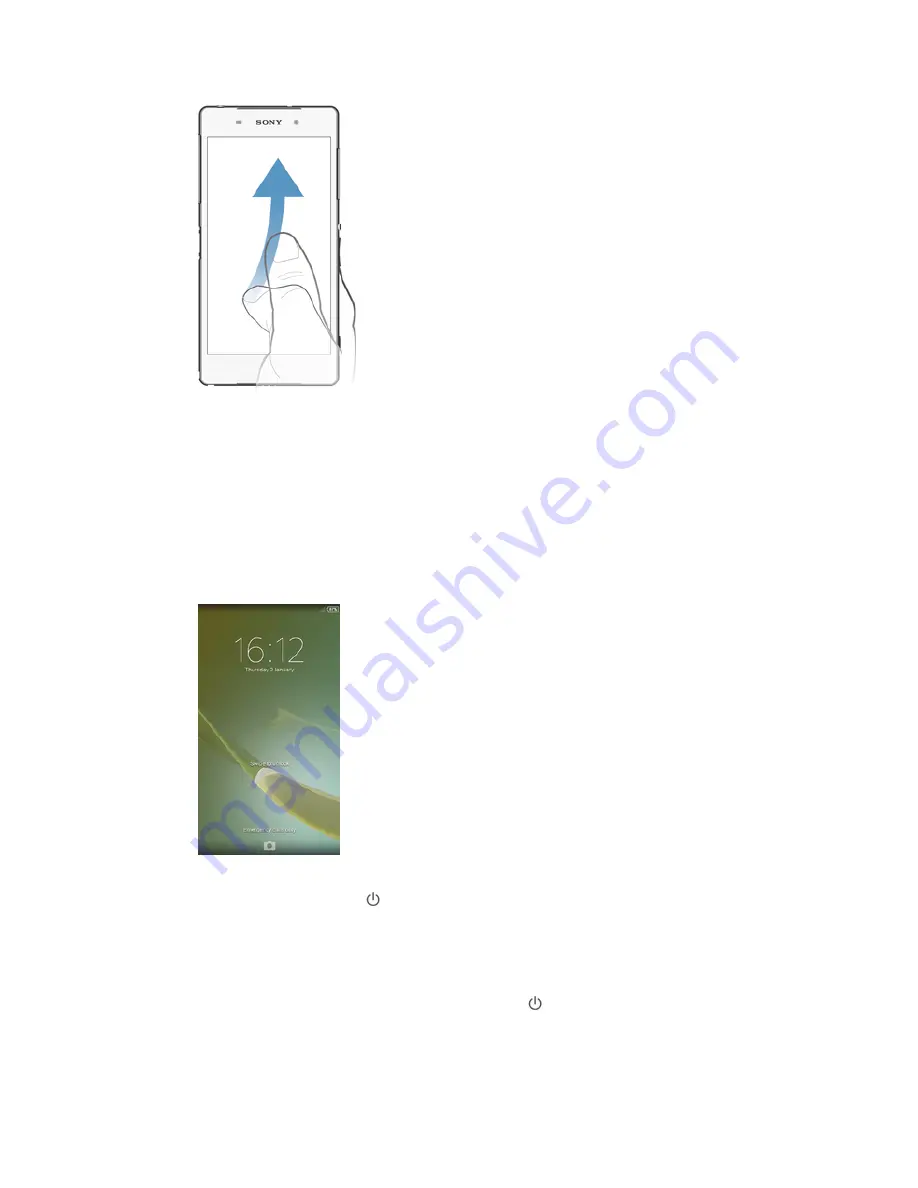
To unlock the screen
•
Place a finger on the middle of the screen and swipe in any direction.
To lock the screen
•
When the screen is active, briefly press the power key .
13
This is an Internet version of this publication. © Print only for private use.